
Handle carbide tools with clean, dry hands
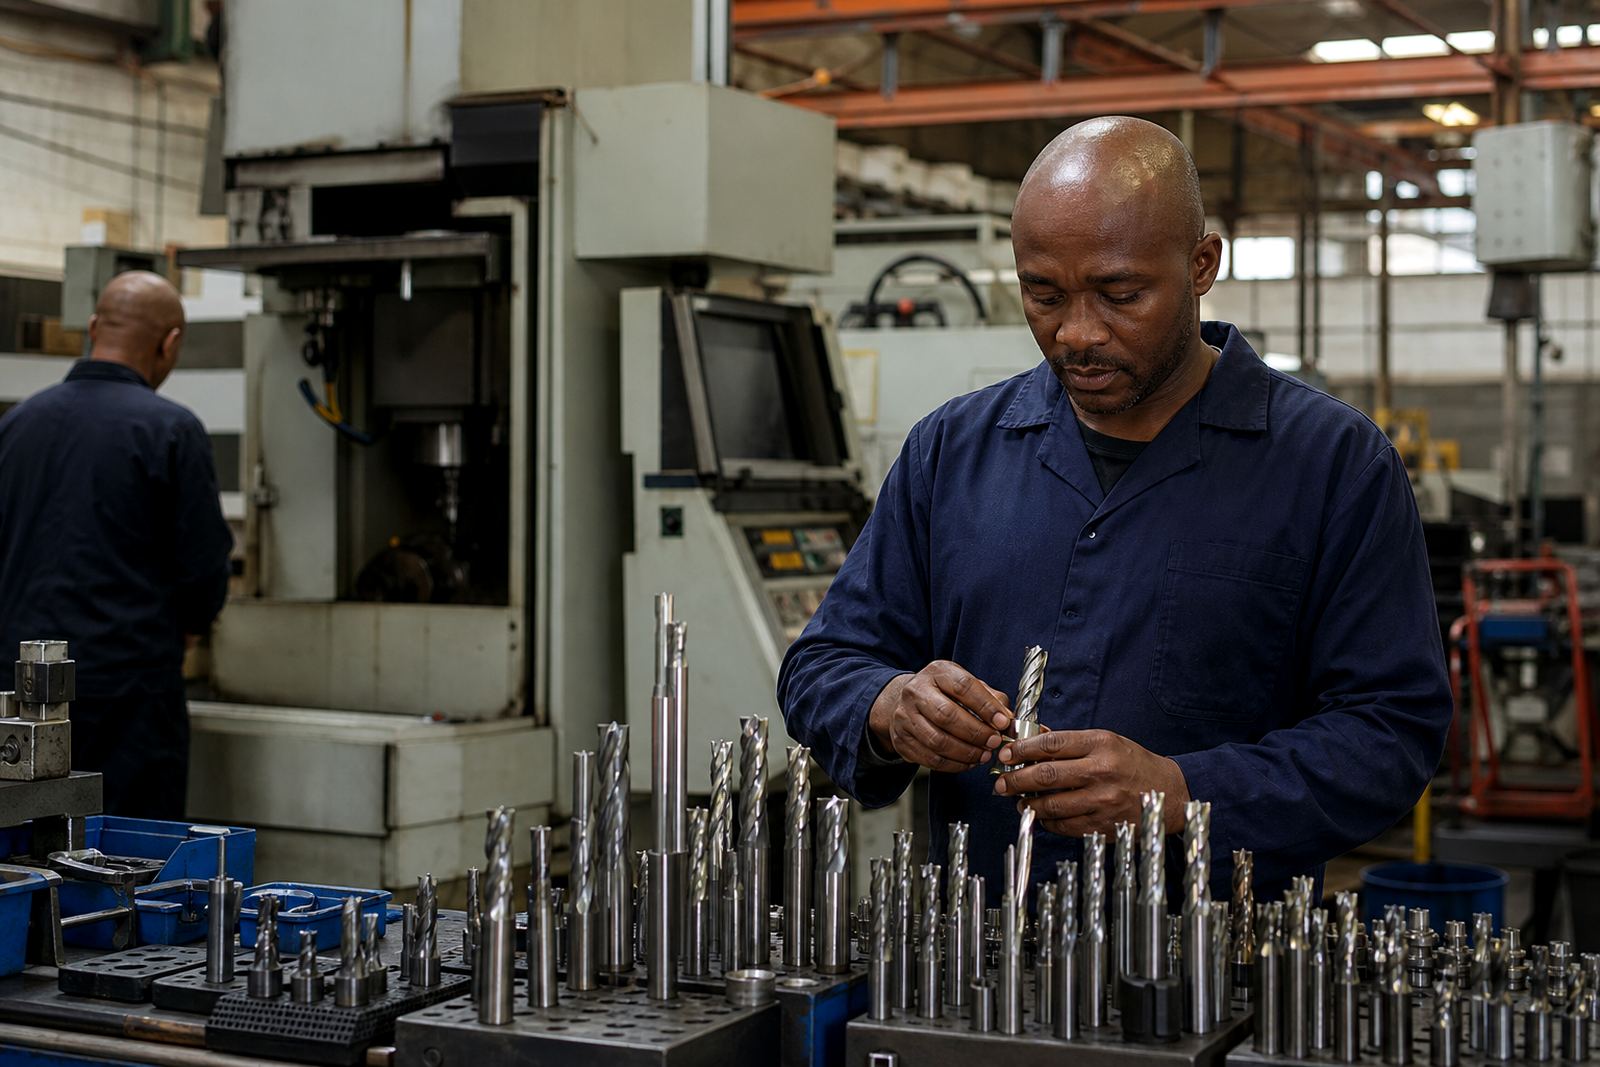
Carbide tools are precise and they do not like knocks, grit or damp fingers. When tools are moved from the box to the machine, keep the flute edges away from steel benches, loose swarf and oily rags. A small chip on the cutting edge can show up as chatter, poor finish or shorter tool life in the very next part.
Use a tray or foam insert when moving tools between prep, storage and the machine. In workshops around Germiston, Johannesburg and Pretoria, that simple habit helps prevent tools rolling together and striking each other. If a tool has been dropped, do not guess. Inspect it properly before it goes back into production.
- Lift tools by the shank, not the cutting edges.
- Keep packaging, caps and sleeves for repeat storage.
- Separate new, used and damaged tools clearly.
- Wipe off coolant and oil before putting tools away.
Store end mills and drills so the cutting edges stay protected
Carbide performs best when it is stored where it cannot move around. Keep tools in their original tubes, labelled drawers or fitted racks. Mixed bins are a bad idea because the points and flutes can nick each other, especially on longer drills and smaller diameter end mills.
In coastal areas such as Durban and Gqeberha, moisture control matters too. Even though carbide itself is resistant, the shanks, holders and packaging can suffer from humidity if they are left open. A closed cupboard or lidded cabinet is better than an open shelf near a door or loading bay. If your shop sees load-shedding, keep storage areas tidy and dry so tools are not left exposed during changeovers.
- Store by diameter, flute count and tool length.
- Keep coated and uncoated tools separated if your shop tracks them that way.
- Use dry cabinets or sealed drawers in humid areas.
- Do not leave loose tools on machine tables overnight.
Inspect tools before setup and after a run
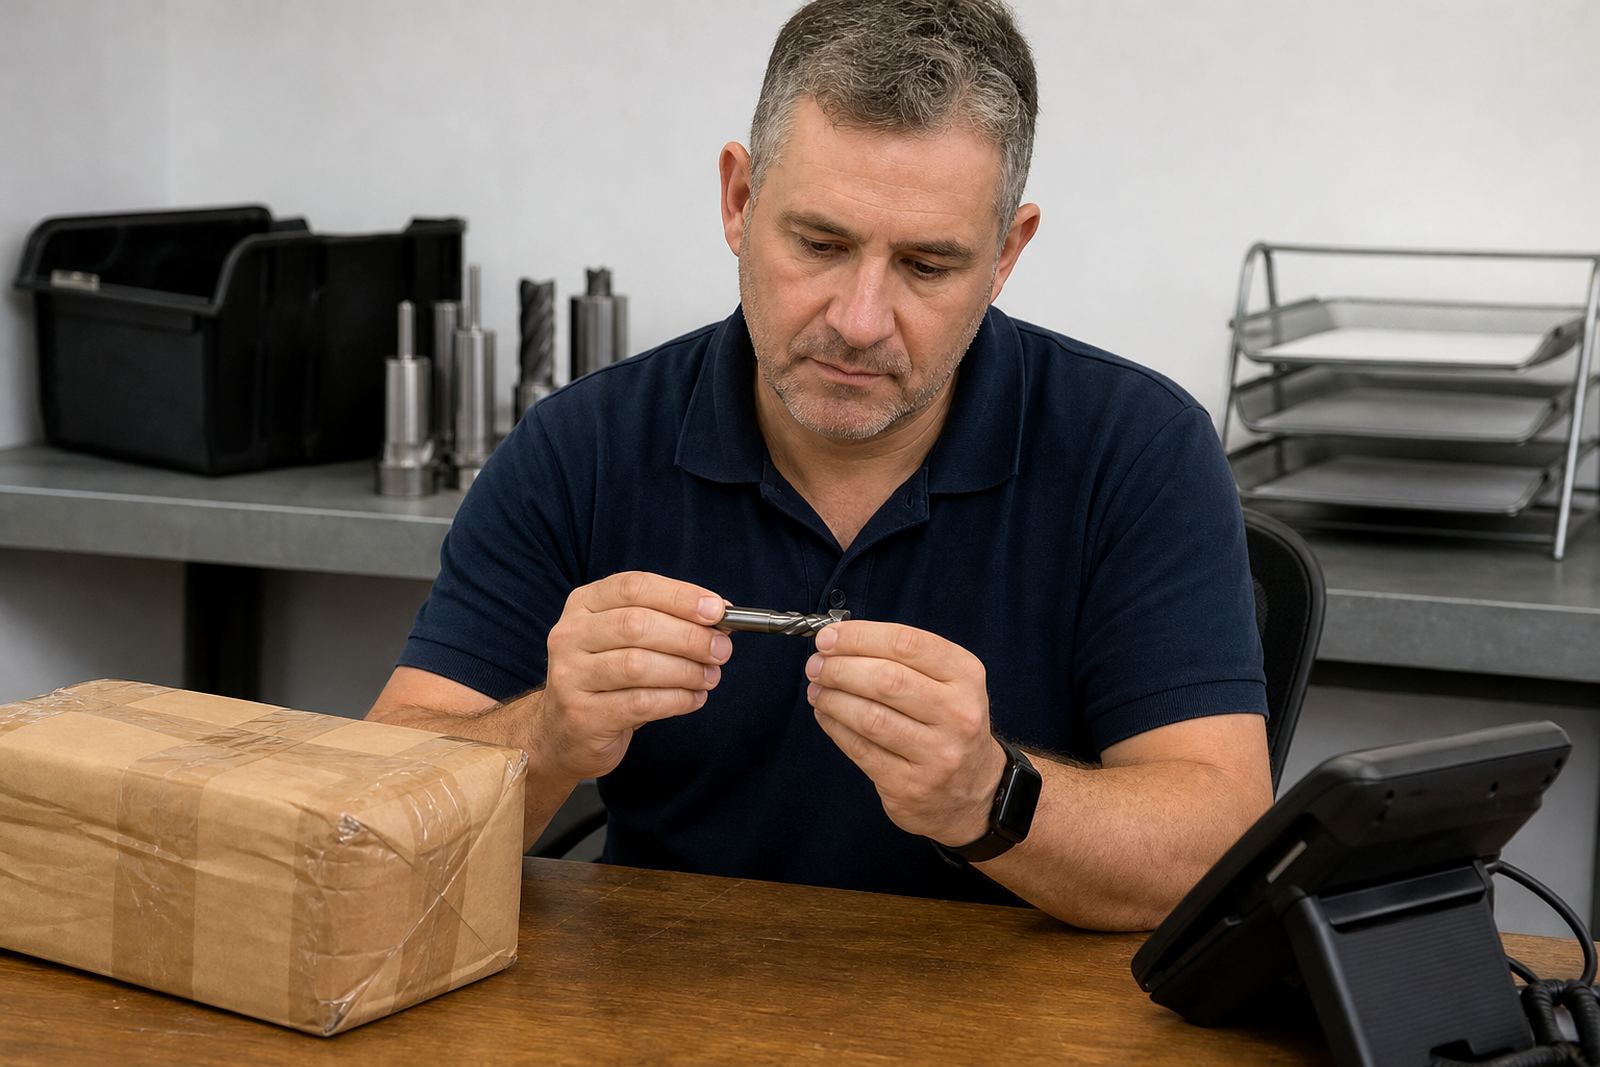
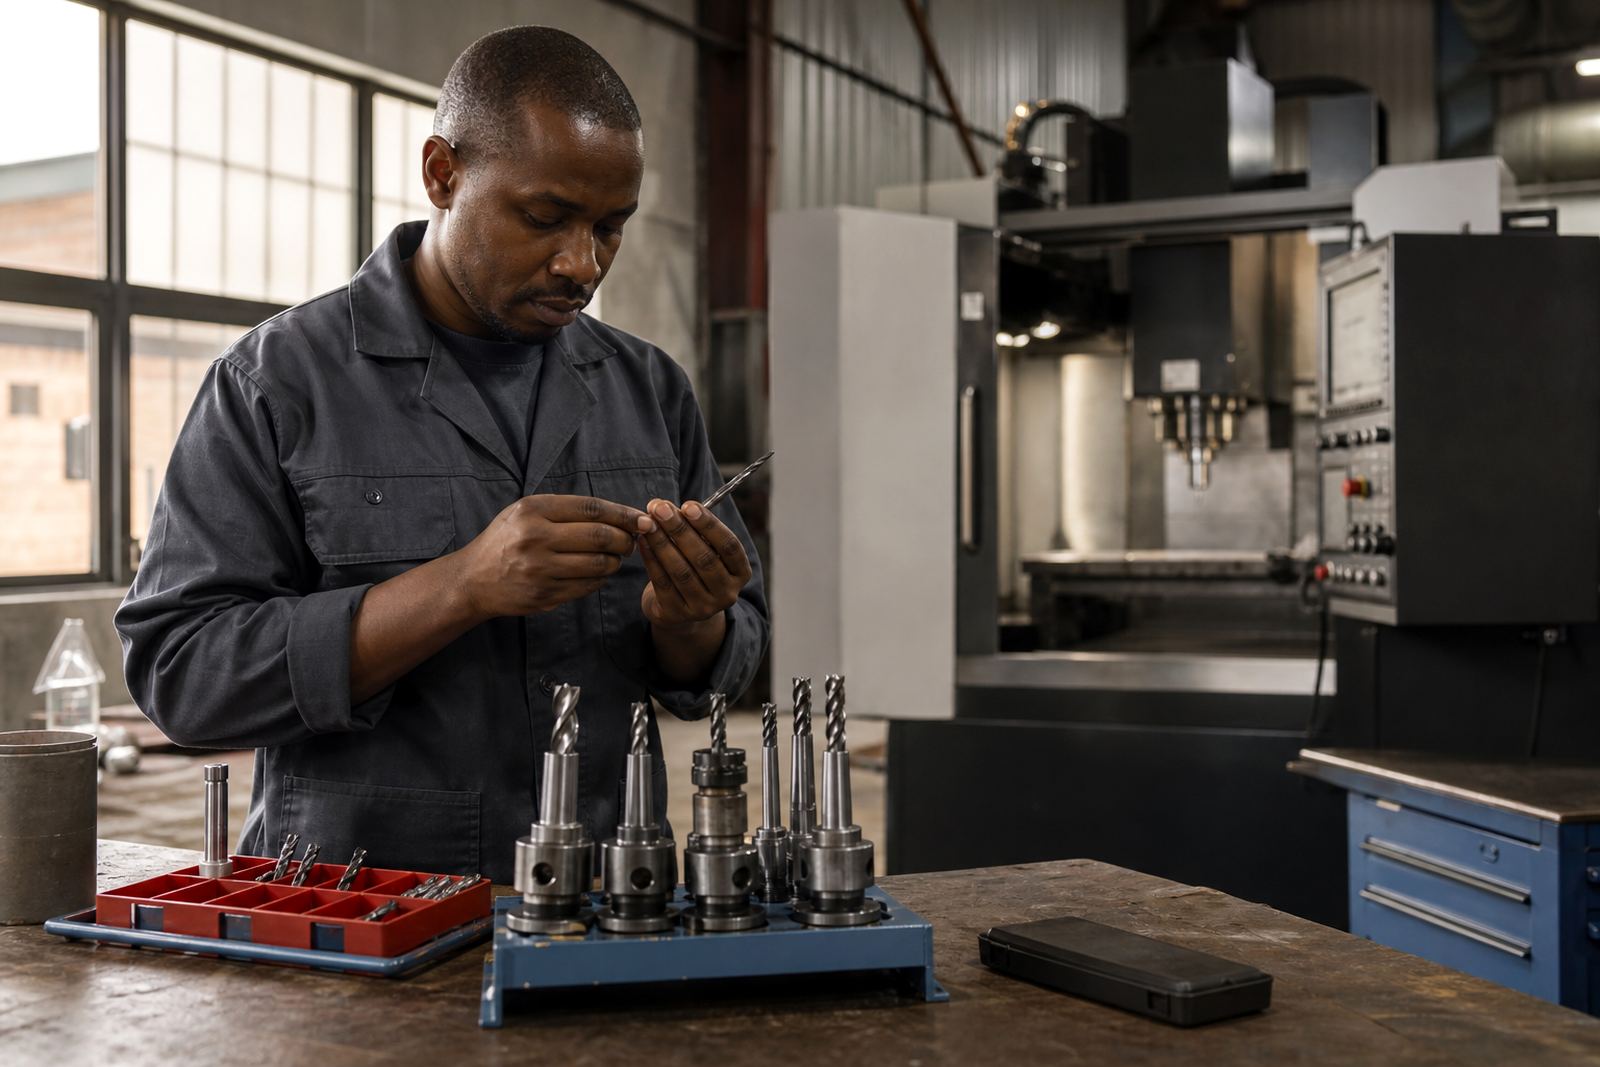
A quick inspection saves downtime. Before setup, check the cutting edges under good light and look for chips, rubbing marks, rust stains on the shank and any signs of previous overload. After a run, clean the tool and look at the wear pattern. A dull edge, built-up material or uneven wear tells you something about the cut, the material or the holder setup.
If a tool is used on stainless steel, mild steel, aluminium or other materials in the same week, label it clearly. That helps your team match the right tool to the right application and avoid mixing up worn tools with fresh stock. Johan in technical support often sees repeat wear issues that start with a tool that looked fine from a distance but had a small edge chip or a bent shank.
- Check flute edges, point condition and shank straightness.
- Look for heat tint, welding of material and chipped corners.
- Track tools that have been resharpened or reconditioned.
- Remove any tool that gives an unusual sound or finish during the cut.
Match storage and setup to the job at hand
Tool life improves when the tool matches the job and is kept ready for that specific task. A short end mill for roughing should not be mixed into the same bin as a finishing tool for aluminium. Likewise, a drill used for deep-hole work needs a different care routine from a short pilot drill. Good stock planning makes this easier because the right tool is on hand before the machine is waiting.
For shops in Boksburg, Alberton and Centurion, the pressure is often on urgent changeovers and same-day jobs. Keep a simple card or digital record with material, diameter, coating, feeds, speeds and results. That record does more than save time, it also helps the team spot patterns when a tool keeps failing too early.
- Label tools by material and operation type.
- Keep a basic record of feed, speed and cutting depth.
- Separate trial tools from production tools.
- Revisit setup notes when a job is repeated.
Spot the signs of wear before the cut starts to suffer
Many shops keep running a tool for too long because the wear is gradual. Watch for longer cycle times, rising spindle noise, extra burrs, rough edges or a change in chip shape. These are early signs that the tool is nearing the end of its useful life. If the machine starts pushing harder to maintain the same finish, the cutting edge may already be past its best.
On aluminium, edge built-up can be the first warning. On steel and stainless, flank wear or small chips may show first. When this happens, stop and compare the tool with a fresh one. A quick comparison often tells you more than a long guess, and it can save a bad batch.
Ask for support when tool life keeps dropping
If a tool keeps failing too early, the answer is not always to buy a different size. Sometimes the issue is material match, speed feed balance, tool holder condition or simple swarf removal. Our team in Wadeville, Germiston supports CNC machining shops across South Africa with tool selection, application support, speed feed advice, tool life optimisation and production standardising.
For urgent tool supply, sample tool trials and technical quotations, clients can send an enquiry through the contact page. We also assist with on site consultation for shops in Johannesburg, Pretoria, Cape Town, Durban and Gqeberha, where practical checks on setup, storage and wear patterns can make a noticeable difference. Proper care is not complicated, but it has to be consistent if you want repeatable results.