
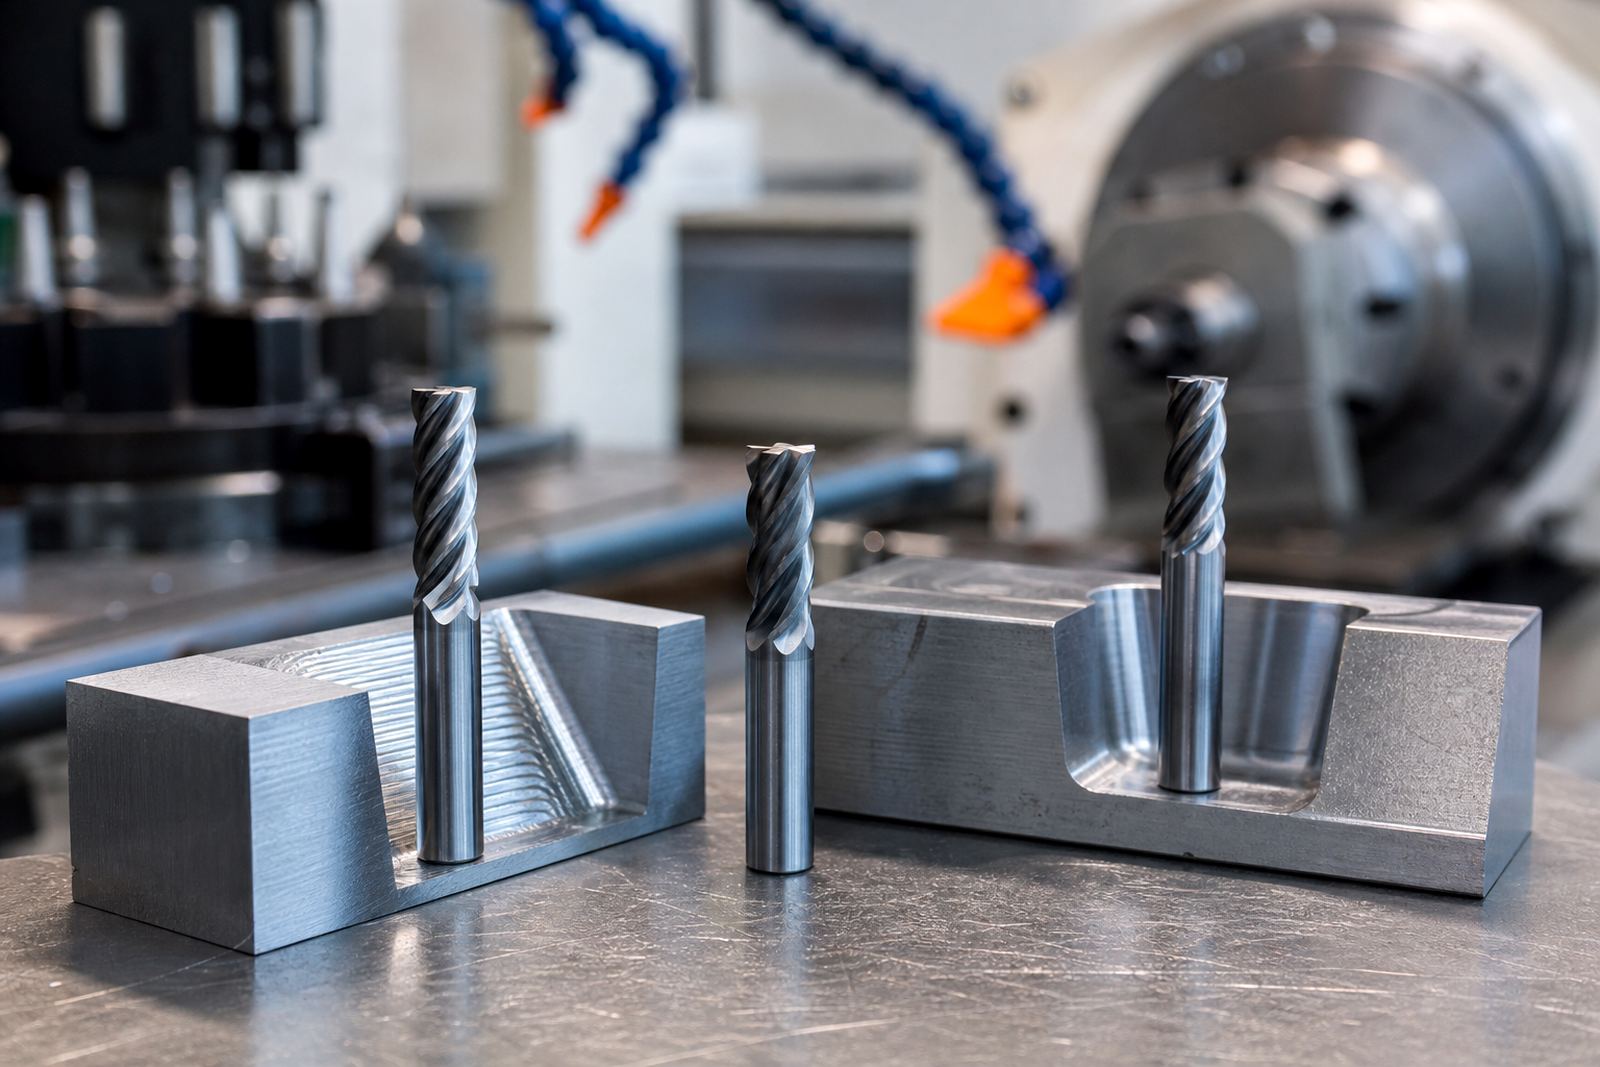
Why the entry move matters before the first chip breaks
Many machining problems show up before the actual cutting starts. If the tool enters the material badly, you can get chatter, premature edge wear, broken corners or a part that needs extra cleanup. That is why the entry method should match the tool geometry, material and machine condition, not just whatever is quickest.
In South African shops, the pressure is usually practical: keep the spindle running, avoid scrap and work around mixed material batches, power interruptions and tight delivery windows. A good entry method helps with all three. On a machine in Wadeville or Jet Park, the difference between a clean entry and a hard impact can mean one less restart and a better chance of getting the batch out on time.
- Use the entry method that suits the cutter, not only the toolpath.
- Check whether the machine can hold the required feed during entry.
- Match the method to the material, especially on stainless, tool steel and heat resistant alloys.
What ramping does well in everyday CNC work
Ramping means the tool enters the material at an angle while moving along the path. Instead of dropping straight down, the cutter cuts progressively, which spreads the load across the edge. For many solid carbide end mills, this is a practical way to enter pockets, slots and profiles without shocking the tool.
Ramping is often a better choice when you need controlled chip evacuation and a smoother transition into full cutting depth. It is especially useful on jobs where the workpiece has a hard skin, or where the machine and workholding are sound but not ideal for a direct plunge. The tool is still cutting, so feed and coolant or air management matter. If the chips stay in the cut, the benefit drops quickly.
- Good for pocket entry, long profiles and helical style moves.
- Helps reduce shock on small diameter end mills.
- Works well when you need to keep the cut moving and avoid dwell marks.
- Not ideal if the ramp angle is too steep for the flute design.
Where plunging makes sense and when to avoid it
Plunging means the tool feeds straight down into the material. It is fast and direct, and in the right case it can be very efficient. Some tools are designed for this, especially certain drills and plunge capable end mills. When the job calls for a vertical entry into a blind hole, or when you need to start a feature in a thick section quickly, plunging can save time.
The risk is higher cutting load at the centre of the tool, where chip evacuation is often weakest. A standard end mill that is not intended for plunging can rub, heat up or chip at the corner. In harder grades and gummy materials, that can turn into a worn tool after only a few parts. If the machine has vibration, poor clamping or inconsistent spindle performance during load-shedding recovery, a direct plunge gets less forgiving.
- Best for drills and cutters designed for axial cutting.
- Useful for starting holes, deep pockets with the right tool, and short cycle time work.
- Can overload standard end mills if the tool has no centre cutting strength or chip space.
- Avoid it when the material is prone to work hardening or when chip removal is poor.
How to choose between ramping and plunging on the shop floor
The decision should start with the tool, then the material, then the machine. A solid carbide end mill with good flute clearance may handle a shallow ramp in mild steel or aluminium, while a drill is usually the better answer for a straight hole. If you are machining stainless, heat treated steel or cast materials, entry strategy becomes even more important because chip control changes fast.
A practical rule is simple: if you need a side cutting move from the start, ramp. If you need a hole and the tool is meant to cut axially, plunge. If the job is mixed or uncertain, test on a sample piece first. That small test can show whether the chips are breaking cleanly or packing around the cut. It also helps with tool life planning, especially when you need to keep standardised settings across multiple machines.
- Choose ramping when side cutting load can be spread over distance.
- Choose plunging when the tool is built for axial entry and chip clearance is adequate.
- Use test cuts to confirm feed, spindle load and finish before production.
- When in doubt, ask whether the entry move is protecting or stressing the cutting edge.
A Germiston example: one part, two entry methods
A shop in Germiston machining a mild steel bracket for a local assembly line had been using one entry method for every feature. For shallow pockets they plunged straight down with a standard end mill, then wondered why the corners were wearing early and the finish needed extra deburring. On the same part, the bolt holes were taking longer than they should because the entry was being treated like a milling move instead of a drilling move.
By separating the two operations, the shop improved both tool life and cycle time. The pocket was entered with a shallow ramp using a suitable end mill, while the holes were moved to a proper drill cycle. The result was steadier spindle load, cleaner chips and fewer surprises when the material batch changed slightly. The operator still checked coolant and clamping, because even a good entry method will not fix loose work or a blocked flute.
This is common across Johannesburg, Pretoria and Cape Town too. A practical entry choice saves time, but only if the rest of the setup is right.
Practical checks before you lock in the toolpath
Before setting the final program, it helps to check the basics. A ramp that is too steep can overload the tool, while a plunge that looks fast on paper can cost more in rework. Material condition, hole depth, flute count and machine rigidity all affect the result. Shops that work on urgent orders or stock planning know how quickly a small error can ripple through the day.
If the machine is running through load-shedding recovery or the operator is changing between jobs with little margin, keep the entry method as simple and repeatable as possible. Stable setup beats guesswork. For technical quotations and application support, it is often better to match the tool to the entry method first, then set the feed and speed around that choice.
- Confirm the tool is suitable for ramping or plunging before programming.
- Check flute space for chip evacuation, especially in deep cuts.
- Keep entry moves consistent across repeat jobs so production can be standardised.
- Review the first few parts for chip colour, edge wear and sound.
The practical takeaway for South African machining shops
Ramping and plunging are not rivals, they are tools in the same process. Ramping suits side cutting and controlled entry, while plunging suits tools made for axial cutting and direct hole formation. The best choice depends on the cutter, the material and the machine, not on habit. That is why experienced shops keep both options in play and choose with the job in front of them.
For CNC machining centres across South Africa, from Wadeville to Durban and Gqeberha, the goal is the same: keep the cut stable, protect the tool and finish the part cleanly. A few seconds spent choosing the right entry method can save a whole batch later. It also makes tool life easier to plan and stock easier to manage, which matters when demand shifts quickly.