
Why deburring starts at the machine, not the bench
Most shops still think of deburring as a final clean-up task, but that approach costs time and adds variation. If every operator leaves a different edge break, the part may pass inspection one day and come back the next. On production parts this becomes expensive very quickly, especially when batches are moving through Johannesburg, Pretoria, Cape Town or Durban under tight delivery dates.
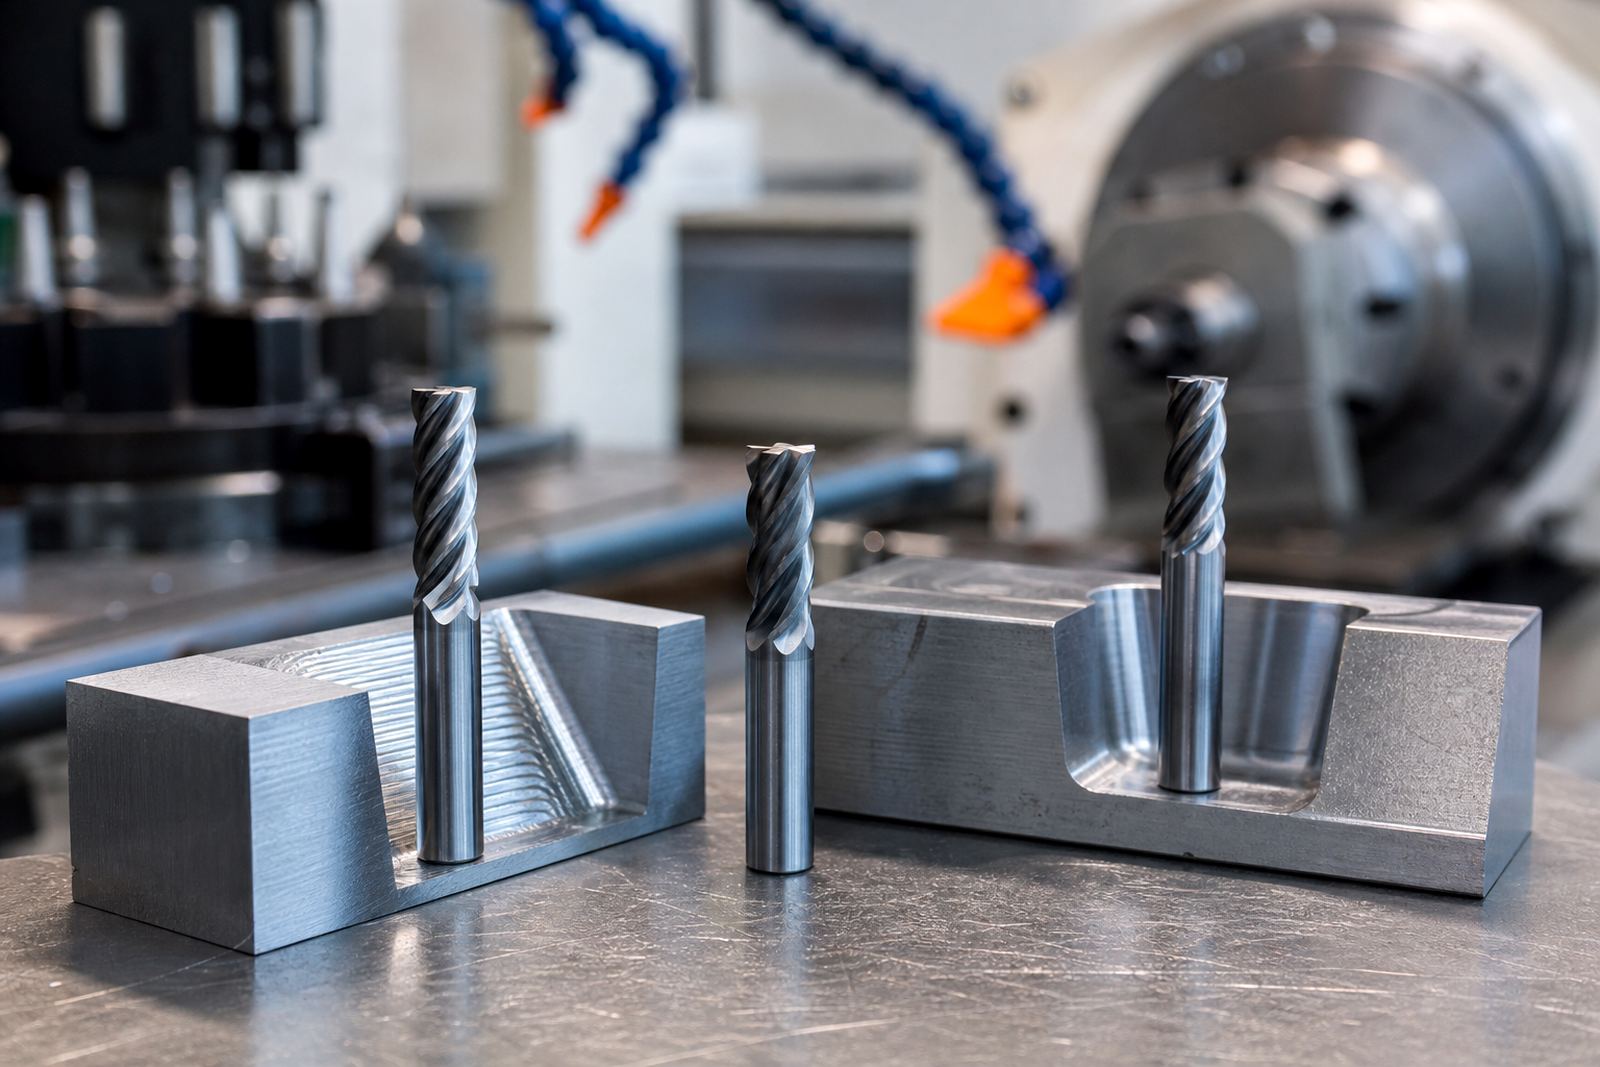
Carbide makes sense here because it holds a sharp cutting edge and stays consistent across repeat jobs. That matters on CNC machining centres where the goal is to create a controlled chamfer or edge break straight after the main cut. The better the edge condition at the machine the less manual work is needed later, and the lower the risk of scratched faces or uneven hand finishing.
For many local shops the real gain is not only time. It is repeatability. A stable deburring process helps with assembly fit, safety handling and cleaner parts for coating or plating. In humid coastal conditions around Gqeberha and Durban, cleaner edges also reduce the chance of trapped moisture and staining on machined components.
Choosing the right carbide tool for edge break work
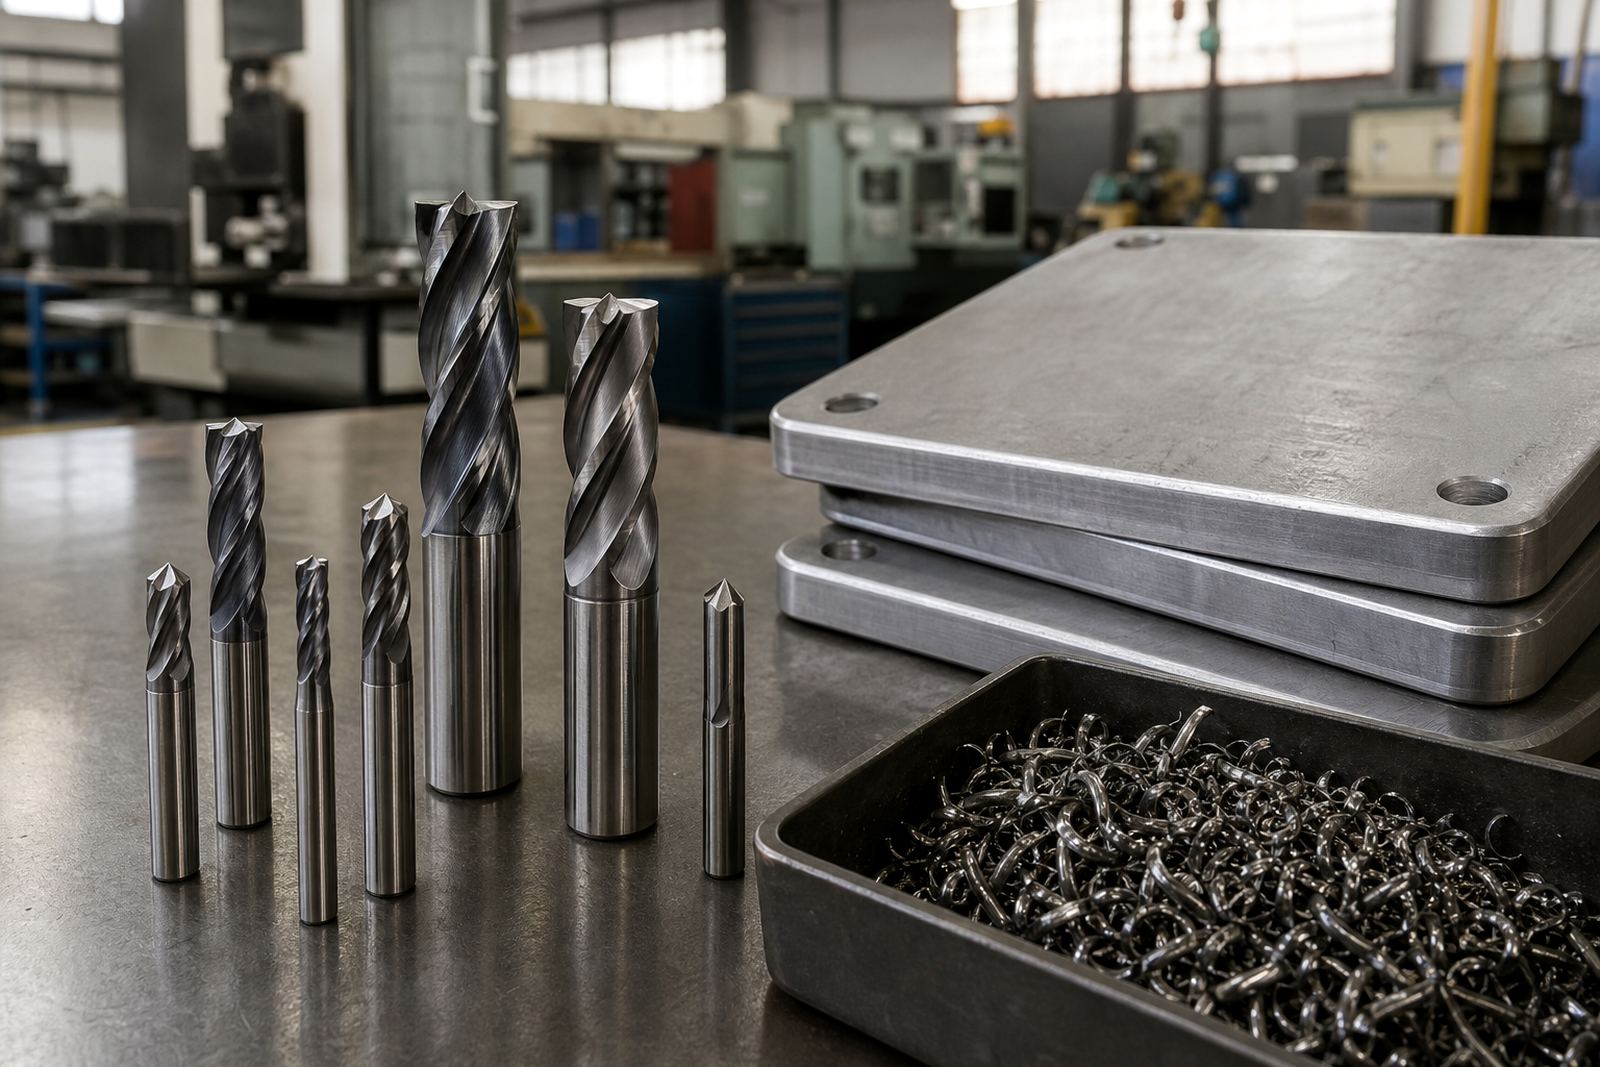
Not every end mill is suited to deburring. The best choice depends on the edge, the material and how much material needs to come off. For light edge breaks, a small diameter solid carbide end mill or a purpose sized chamfer tool can remove burrs without digging into the part. Where the burr is heavier, a more controlled finishing pass may be needed before the chamfer.
The cutting edge must suit the job. A tool with poor geometry can chatter on thin walls, leave a ragged finish or pull a burr back into the corner. Shops working mild steel, stainless steel, aluminium or cast materials should match the tool to the material and the machine rigidity. On older machines or during load-shedding recovery, a tool that cuts cleanly at sensible speeds is often better than pushing for maximum feed.
- Use a sharp solid carbide tool for consistent edge break sizes.
- Match flute count and geometry to the material being cut.
- Keep tool overhang as short as possible on small parts.
- Check spindle condition and runout before blaming the tool.
- Set one standard chamfer size for repeat jobs where possible.
Using chamfer passes to reduce hand finishing time
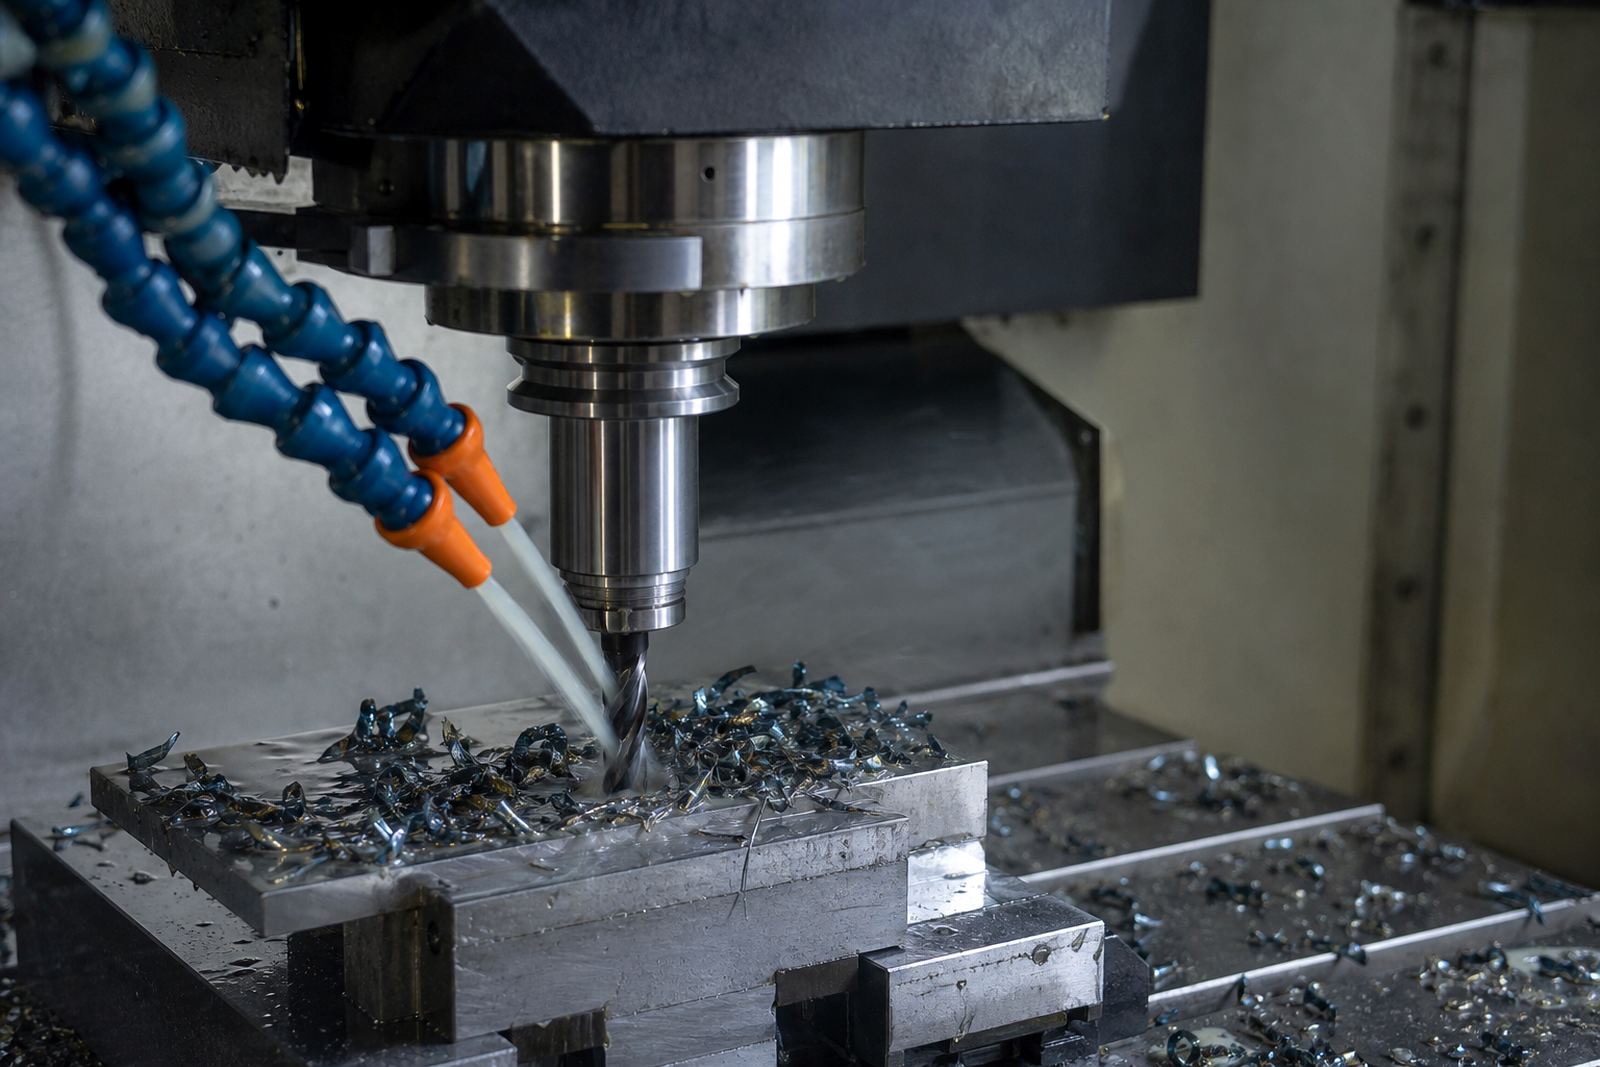
A controlled chamfer pass can remove the need for extensive hand work. Instead of sending a part to a bench grinder or file station, the CNC can cut a clean edge break in the same cycle. This works well on brackets, plates, machined housings and parts that need handling without sharp edges. The trick is to keep the pass light and consistent, not aggressive.
On many jobs a shallow chamfer is enough to remove the burr and make the part safe to handle. If the drawing allows it, standardise the chamfer across similar parts so the programmer, setter and inspector all know what to expect. That reduces arguments over finish and saves time on repeat orders. In a busy Gauteng workshop, shaving even 30 seconds off each part can add up to hours over a shift.
Where the burr is stubborn, a two step approach often works best. First remove the main burr with a light milling pass, then follow with a finer edge break. This is often cleaner than trying to take everything off in one hit and it keeps the tool cutting rather than rubbing.
Small milling tools for tight corners and thin sections
Small milling tools are useful where chamfers must reach tight corners, slots or internal features. They can also help on thin sections where a larger tool would push the material away instead of cutting it. On delicate work, the main challenge is controlling vibration and tool deflection. If the setup is weak, the edge break will vary and the burr may still remain on the last few millimetres.
For this reason, setup discipline matters. Use proper clamping, keep the stickout short, and avoid forcing the tool into a corner at a feed rate that suits heavier cutting. A clean deburring pass should leave a uniform edge around the full profile, with no sharp points left on the exit side. That is especially important for parts going into assemblies where operators handle them by hand.
- Use smaller tools for narrow slots and internal edges.
- Reduce stickout to improve stability and finish.
- Check that the tool path does not leave corner spikes.
- On thin walls, use lighter cuts and a steady climb milling approach.
Material differences that change burr behaviour
Burrs do not behave the same way in every material. Aluminium tends to form a softer burr that can smear if the tool is dull. Stainless steel may form a harder edge that needs a cleaner cutting action. Mild steel often leaves a predictable burr, but the size changes with tool wear, coolant delivery and spindle speed. That is why a deburring method that works on one job can fail on another.
Shops supplying mining, automotive, fabrication and general engineering customers across South Africa often need a few standard methods rather than one fixed rule. Keep notes on the material, tool size, edge break required and the feed and speed settings that gave the best result. Over time this becomes a useful internal standard and saves a lot of trial and error.
In coastal areas, stock also needs to be stored properly. Moisture can affect not only the raw material but also how cleanly the tool cuts if rust or contamination has started on the part. A clean dry part gives a better finish and reduces the chance of rework.
A practical Germiston example from a busy production floor
A machining shop in Wadeville handling repeat steel parts for local assembly had a simple problem: too much time was being lost at the bench. Operators were removing burrs by hand after every batch and the finish was not always uniform. The parts were not complicated, but the volume made the manual work expensive. The shop changed the process by adding a light carbide chamfer pass on the CNC after the main profiling cycle.
The result was not dramatic in the showroom sense, but it mattered on the floor. Hand finishing dropped, part handling became safer and inspection was easier because the edge condition stayed consistent from one batch to the next. The programmer only needed a small adjustment, yet the saving repeated on every order. That is often how deburring improvements pay back in a real South African workshop, one job at a time.
For shops in Germiston, Boksburg, Alberton and Centurion, the lesson is the same: if the machine can do a clean edge break, let it. Manual deburring should be the exception, not the default.