
Start with the finish you need on the part
Before you choose a finishing tool, decide what the final surface must look like and how the part will be used. A mould cavity, aluminium plate, mild steel fixture and stainless component all need a different approach, even if the cutter looks similar on the shelf. The best result comes from matching the tool to the material, the machine and the amount of stock left after roughing.
For most CNC shops, finishing starts after roughing has left a small and even allowance. Too much stock makes the finishing tool work hard and can leave witness marks. Too little stock can cause rubbing, heat build up and poor surface quality. In South African workshops where power interruptions and load-shedding can break production flow, it helps to keep a simple rule sheet for each machine so the next operator can pick up the job without guesswork.
- Check the final surface requirement, not only the drawing dimensions.
- Confirm the material grade and hardness before choosing the cutter.
- Leave a consistent finish allowance from roughing, usually light and even.
- Match tool length to the smallest possible stickout for the job.
Choose the right cutter geometry for walls, floors and corners
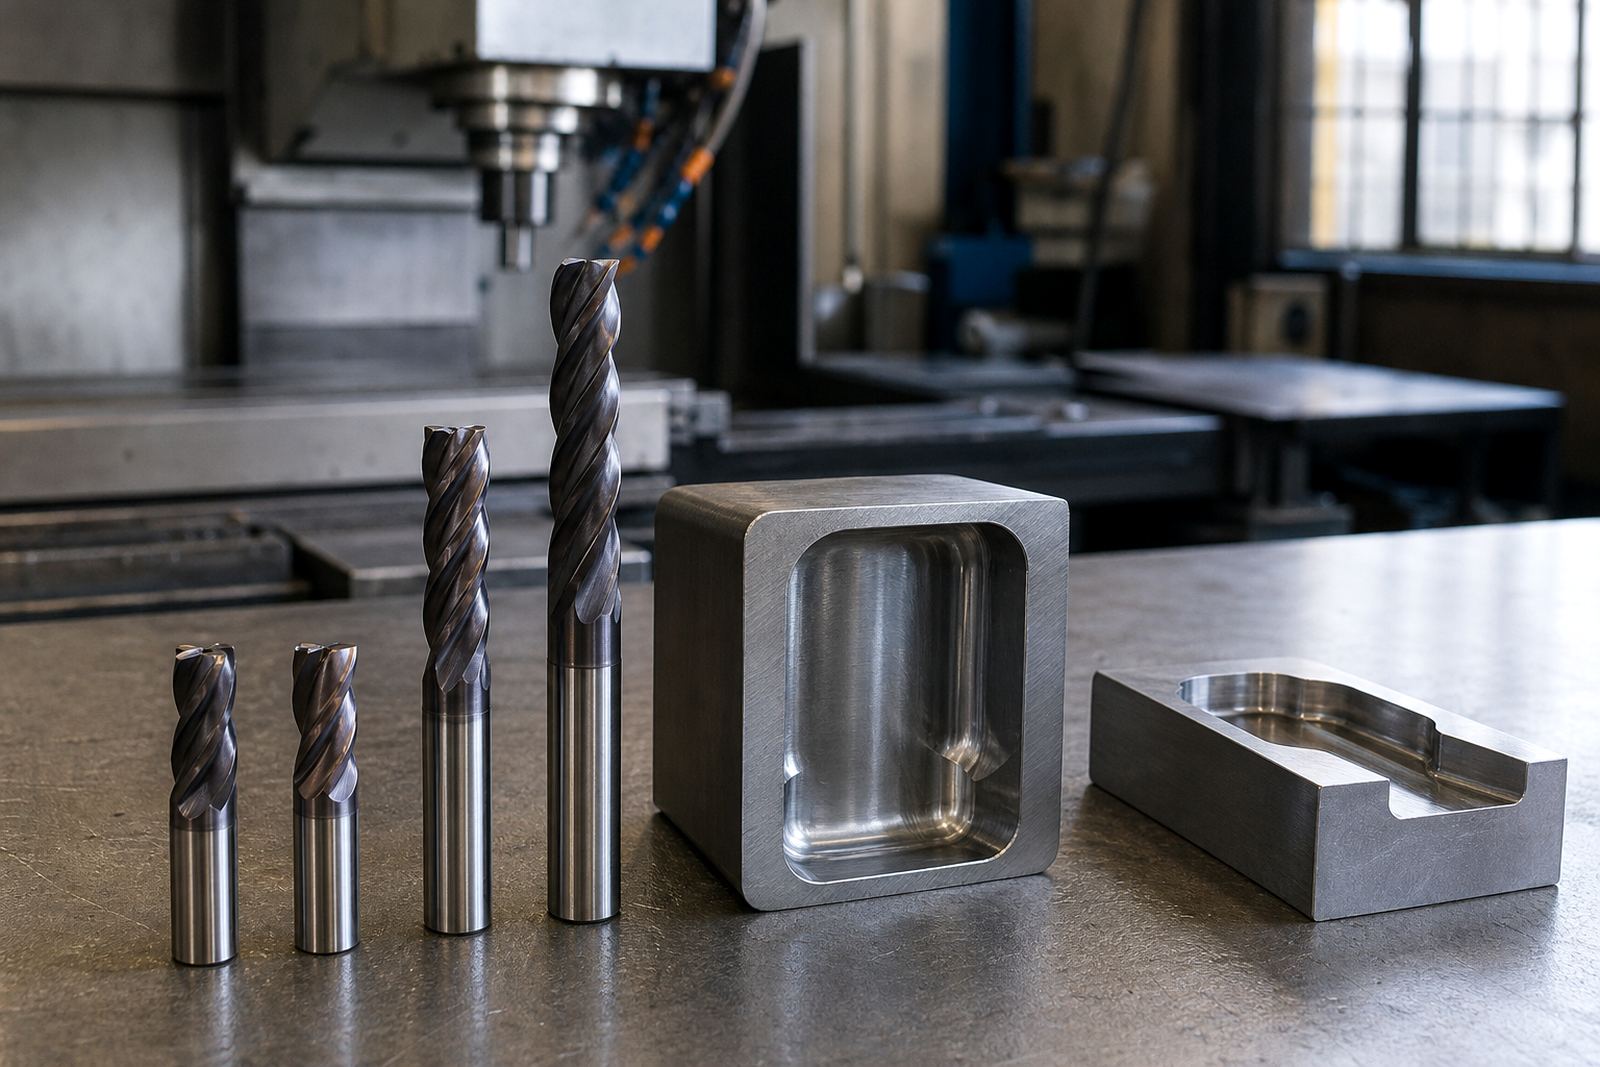
Finishing walls and floors needs different geometry. A square end mill can give sharp floor edges and clean sidewalls, but if chatter is a problem a corner radius style may be better. Ball nose cutters are commonly used for 3D contours, curved surfaces and mould work where a smooth surface is more important than a sharp internal corner. For fine edge detail, a smaller diameter tool can reach tight areas, but it must still be rigid enough to hold accuracy.
Coating and flute design matter as well. In aluminium, a polished flute and sharp cutting edge help move chips out quickly. In steel and stainless, a finishing cutter with the correct flute count can improve surface quality and edge retention. In humid coastal conditions such as Durban or Gqeberha, proper storage matters too because carbide tooling still needs protection from corrosion on holders and tooling systems, especially if the shop floor is open to sea air.
- Use square end mills for sharp floors and vertical walls where possible.
- Use ball nose tools for 3D surfaces and blended contours.
- Use corner radius tools when edge strength matters and chatter must be reduced.
- Keep cutters dry and stored properly, especially near the coast.
Set feed, speed and step over for a cleaner finish
Finishing is not just about sharp carbide. It is also about how the tool is loaded. A common mistake is running a finishing cutter too slowly because the operator wants to play safe. That often causes rubbing, heat and a dull looking wall. On the other hand, too much feed can mark the surface or push the cutter off line. The right balance depends on the machine, the holder, the material and the tool diameter.
Step over is one of the biggest factors in finish quality for contour work. A smaller step over usually gives a better surface, but it also increases cycle time. The shop needs to decide where the extra minutes are worth it. On high value mould work, a finer step over may save hand finishing later. On production parts, a slightly coarser pass may be acceptable if the drawing allows it and the edge quality stays within spec.
- Keep spindle speed and feed matched to the material, not copied from another job.
- Reduce step over for better surface finish on 3D and sidewall passes.
- Avoid rubbing by maintaining a proper chip load.
- Test one toolpath first if the material is new or the part is critical.
Control tool deflection before it ruins the finish
Deflection is a common cause of poor finish, taper and size error. A tool that bends under load can leave one side of the wall shiny and the other side rough, or it can chatter at the bottom of a pocket. The longer the tool sticks out, the more likely this becomes. That is why the first job in finishing is often to shorten the setup, not the program.
Use the shortest possible gauge length and make sure the holder is clean. A dirty collet or worn holder can cause runout that shows immediately on the part. For longer reach work, such as deep pockets or narrow cavities, consider whether the part should be finished in stages rather than forcing a long tool to do everything in one pass. If the job is ongoing, tool life data should be recorded so the next run starts with fewer surprises.
- Minimise stickout wherever the part geometry allows it.
- Check holder cleanliness and runout before the first cut.
- Use staged machining for deep features instead of overextending one cutter.
- Track tool life by material and machine for repeat jobs.
Use the right finishing approach for common South African shop materials
Different materials behave differently in South African production shops. Mild steel usually gives predictable results, but the finish can suffer if the machine is underpowered or the toolpath leaves heavy engagement. Stainless steel needs careful attention to heat and chip evacuation. Aluminium can finish beautifully, but if the flute packing is poor the surface will mark quickly. Tool selection should follow the material, the coolant setup and the machine condition.
Shops in Johannesburg, Pretoria, Germiston and Boksburg often run mixed work, from one-off parts to production batches. That means the best finishing tool is often the one that gives reliable repeatability, not just a good looking first cut. For urgent work, keep a few standard diameters on hand so you can move from test piece to production without waiting for imports or special orders.
- Mild steel: use a stable setup and avoid heavy finishing engagement.
- Stainless steel: manage heat, chip flow and tool pressure carefully.
- Aluminium: keep chips moving and use a sharp edge that cuts cleanly.
- Mixed production: standardise common diameters and length options.
Build a finishing checklist before the job starts
A simple checklist saves time when the machine is busy and the pressure is on. It also helps new operators follow the same standard from shift to shift. If a part is coming back for repeat production, record the successful setup so you do not have to start from zero every time. That is especially useful when tool stock, machine time and labour all need to be planned tightly.
For shops supplying local engineering, mining, fabrication and automotive work, the finishing stage often decides whether a part goes straight to assembly or back for rework. A few extra minutes spent on the checklist can save hours later. If the finish is critical, make sure the drawing, program and tool list all agree before the first run. Small mistakes at this stage are expensive, and the fix is usually simple if caught early.
- Part drawing checked against the program and tool list.
- Finishing stock allowance confirmed.
- Tool diameter, flute count and reach verified.
- Coolant, air blast or chip evacuation confirmed.
- First part inspected for wall finish, floor finish and edge condition.
When to ask for application support and sample trials
Some finishing problems do not need a new machine, they need better tool selection or a different cutting strategy. If a surface is still rough after changing feeds and speeds, the issue may be in tool geometry, runout, material hardness or the way the job is clamped. This is where technical support and sample trials can save time and scrap. A short test on the right material is often enough to confirm whether the cutter is suitable.
CuTools Carbide supplies solid carbide end mills and drills from Wadeville, Germiston to CNC machining shops across Johannesburg, Pretoria, Cape Town, Durban and Gqeberha. The team can assist with tool selection, speed and feed advice, tool life optimisation, process troubleshooting, material matching, stock planning, urgent tool supply and on site consultation. If your finishing work needs tighter walls, cleaner floors or better edge detail, the right starting point is a proper tool match, not guesswork.