
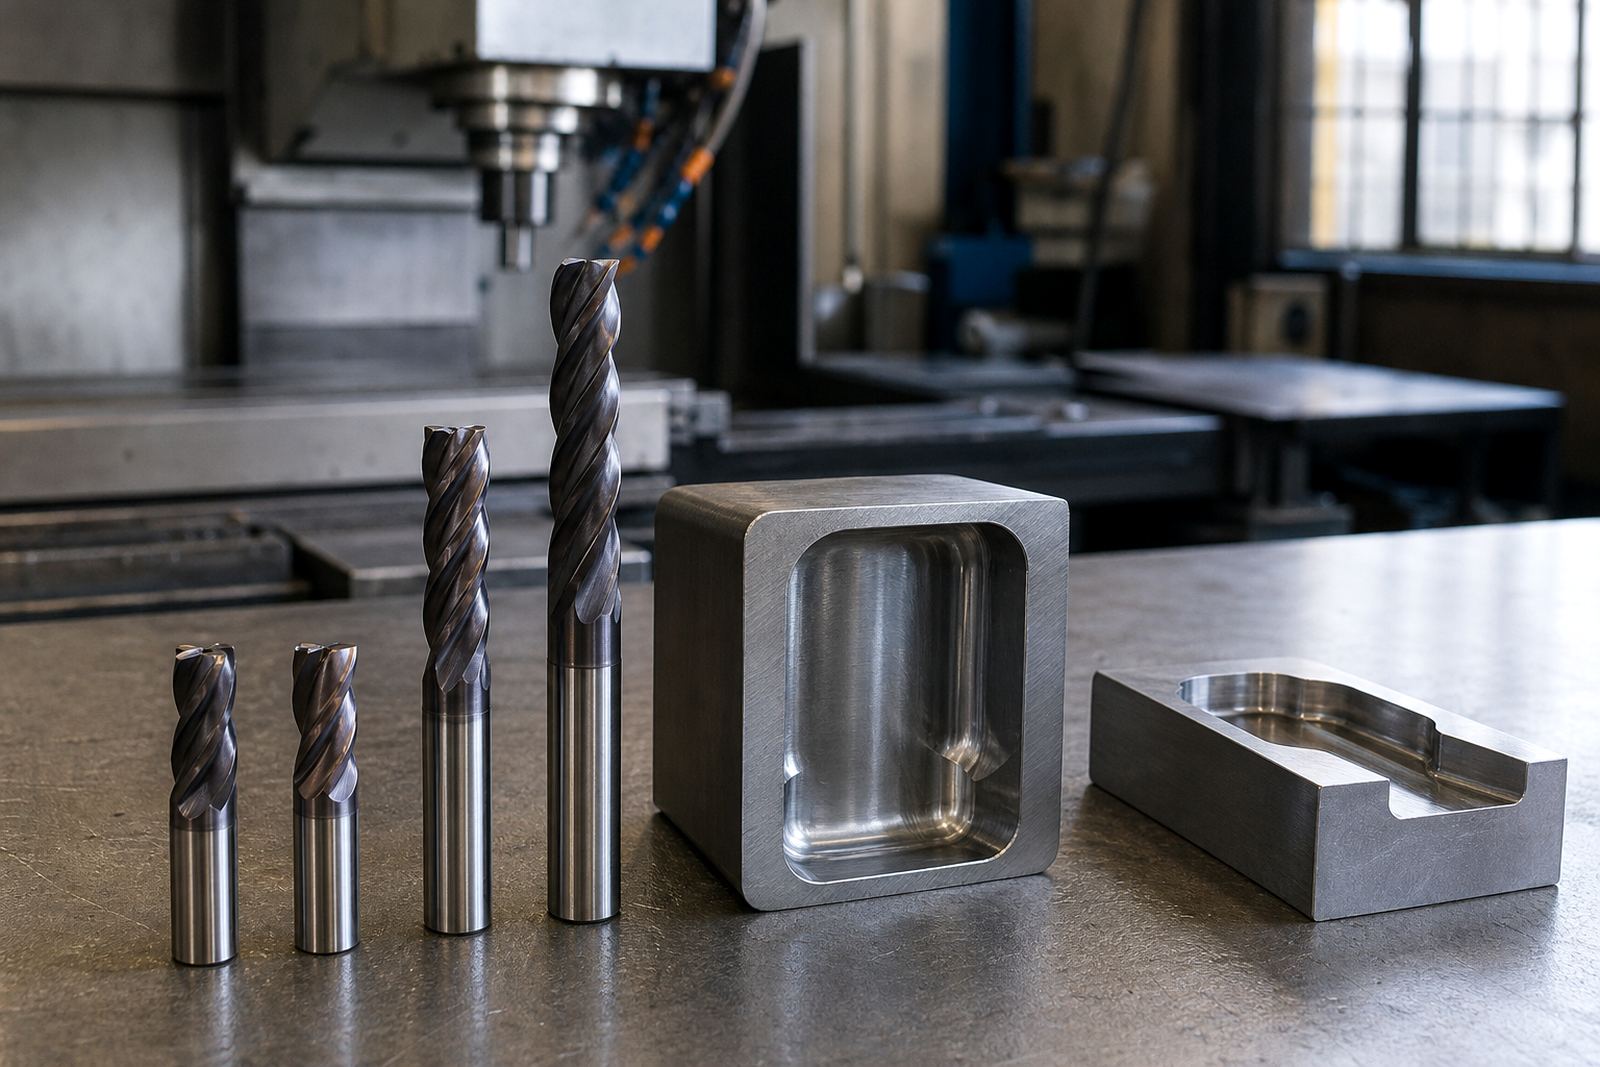
Why shorter tools usually cut better
On a CNC machining centre, every extra millimetre of tool overhang adds flex. That flex shows up as chatter, tapered walls, broken edges and a rougher surface, especially on stainless steel, tool steel and harder alloys. If you can machine the feature with a shorter solid carbide end mill or drill, you usually get a cleaner cut and longer tool life.
In many South African shops, the real challenge is not whether the tool can reach, but whether it can reach without compromising the job. A tool that is too long may still cut, but it often needs reduced speed and feed, lighter stepovers, and more passes. That means higher cost per part and more chance of scrap when the machine is already under load from long shifts, load-shedding interruptions, or tight delivery windows.
Start with the minimum effective reach. Measure the actual feature depth, the clamping height, any fixture obstructions, and the cutter diameter needed for the corner radius or hole size. Then choose the shortest flute length and overall length that still clears the part safely.
Check the feature before you choose the tool
Before you load a tool, confirm what the cutter must do and what it must avoid. A deep pocket is not the same as a through-slot, and a blind hole has different chip evacuation needs to a shallow chamfer. If the drawing is unclear, check the job card or speak to the setter before cutting metal.
- Measure the feature depth from the finished face, not from a rough casting surface.
- Allow for holder stickout, collet length and gauge line position.
- Check for nearby walls, ribs, clamps and vice jaws that reduce access.
- Confirm whether coolant, air blast or chip evacuation will be available during the cut.
- Identify the material and hardness so you can match the tool grade and geometry.
For workshops in Germiston, Johannesburg or Boksburg, where mixed material jobs are common, it helps to note the material and setup on the traveller. One short note can save time later when the same part comes back for repeat production.
Use the shortest safe overhang
Overhang is the part of the tool sticking out of the holder. More overhang means less rigidity. As a rule, keep overhang as short as practical while still giving enough clearance for the full cut and any runout correction. If a feature can be reached with a standard length tool, do not move straight to an extended version.
With solid carbide end mills, short tools are usually better for side milling, finishing passes and pocket floors. Long tools are sometimes necessary for deep cavities, but they need a careful setup and often a lighter cut. The same applies to drills, where excess extension can cause wandering, poor hole finish and premature wear.
- Use the shortest flute length that covers the required depth.
- Keep holder projection consistent from job to job where possible.
- Recheck stickout after tool presetting or after a rushed changeover.
- If chatter appears, shorten the setup before changing the cutting data.
If the part allows it, consider changing the sequence instead of the tool. Sometimes machining a face first, then turning the part, then completing the deep feature gives better access and less deflection. It also reduces the chance of a long tool rubbing at the bottom of the cut.
Signs the tool is too long for the job
When a tool is too long, the machine will usually tell you. You may hear a higher pitch, feel vibration through the spindle, or see the finish get patchy at the same feed rate. The chips may turn dusty instead of forming clean curls, and the tool may leave a slight taper on vertical walls.
Other warning signs include unexpected tool wear near the tip, poor hole position on deeper drilling operations, or the need to keep backing off the feed just to stop chatter. If you are running production on multiple CNC machines, one poor setup can throw off the whole day and put pressure on packing, inspection and dispatch.
- Chatter marks on the wall or floor of the feature.
- Deflection marks where the cutter has pushed away from the path.
- Uneven tool wear or blueing at the cutting edge.
- Longer cycle times because the cut has to be slowed down too much.
- More frequent tool breaks during unattended running.
If you see these signs, first check stickout, workholding and cutting strategy before blaming the tool alone. In many cases the answer is a shorter cutter, a stronger holder, or a better approach angle, not just a slower feed.
How to balance reach with rigidity in production
The goal is not simply to go shorter. The goal is to reach the feature safely and still hold accuracy, tool life and repeatability. That balance matters on repeat work, especially when a shop in Pretoria, Cape Town, Durban or Gqeberha needs consistent parts across several batches.
Use these steps when deciding:
- Confirm the required depth and any clearance limits around the part.
- Choose the shortest cutter that reaches the full depth with safe chip evacuation.
- Check if a different cutter diameter, corner radius or hole size can simplify the job.
- Set the minimum practical overhang in the holder.
- Test the first part and inspect finish, size and chip shape.
- Adjust cutting data only after the setup has been checked.
Where possible, standardise the tool lengths across similar jobs. That makes tool setting faster and helps the operator recognise when a setup is off. It also makes stock planning easier, which matters when urgent orders come in and the store room is being stretched between regular production and last minute replacements.
Checklist for stable deep machining
Use this quick checklist before you cut a deep feature with a carbide end mill or drill. It is a simple way to catch problems before they become broken tools or scrap parts.
- Is the cutter the shortest suitable option?
- Is the holder tight, clean and suitable for the stickout?
- Is the workpiece clamped so the cutter will not strike fixtures?
- Will coolant or air reach the cutting zone reliably?
- Are the feeds and speeds matched to the actual overhang?
- Does the chip load suit the material and flute count?
- Has the first part been checked before full production starts?
For high-mix shops, keep a simple record of what worked: tool length, stickout, material, spindle speed, feed rate and finish. That note takes a minute to write, but it can save hours on the next run.
When you are unsure, get application support before forcing the tool to do more than it should. A short, well chosen cutter nearly always gives a better result than a long one used out of necessity and then pushed too hard.