
Start with the roughing goal, not the cutter
Before you pick a solid carbide end mill or drill, define what the roughing stage must do. On a job in Germiston, that may mean removing a lot of mild steel fast before a finishing pass. On a smaller batch in Cape Town or Durban, it may mean keeping cycle times steady while the machine runs through load-shedding recovery or a long unattended shift.
Roughing is not only about cutting volume. It is about control. A good roughing choice should keep chip load sensible, avoid chatter, and leave a consistent surface for the next operation. If the cutter is too aggressive, the machine will pull, vibrate or overload. If it is too light, the spindle wastes time and the tool wears in an uneven way.
Use these basic questions first:
- How much material must be removed in one pass or one operation?
- Is the job mild steel, stainless, aluminium or a tougher alloy?
- Is the machine rigid enough for higher radial engagement?
- Do you need continuous chip breaking, or can chips clear freely?
- Will the job run dry, with air blast, or under coolant?
Compare the main roughing styles for CNC work
There is no single roughing tool that suits every job. In South African machining shops, the best result often comes from matching the cutter geometry to the machine, the material and the batch size. A standard 2 flute or 3 flute end mill can be the right answer for aluminium and free-cutting materials. For steel and tougher work, variable helix and variable pitch designs often give better stability and less harmonic vibration.
For heavy stock removal, look at the following roughing options:
- High feed roughing: good where the machine is rigid and the setup is stable. It removes material fast with low depth of cut and high feed rates.
- Standard slotting: useful for open plunges and full-width cuts, but it can create heat and heavy chip packing if the flute space is limited.
- Dynamic or adaptive roughing: keeps engagement more even, which helps tool life on long runs and reduces sudden load spikes.
- Roughing with corner protection: useful when the part has shoulders or interrupted cuts, especially on mixed steel grades.
The right option depends on the whole setup. A cutter that performs well in Johannesburg on a rigid vertical machining centre may behave differently in Pretoria if the clamping is weaker or the coolant delivery is poor. The tool does not work alone, the full process does.
Set chip breaking before chasing speed
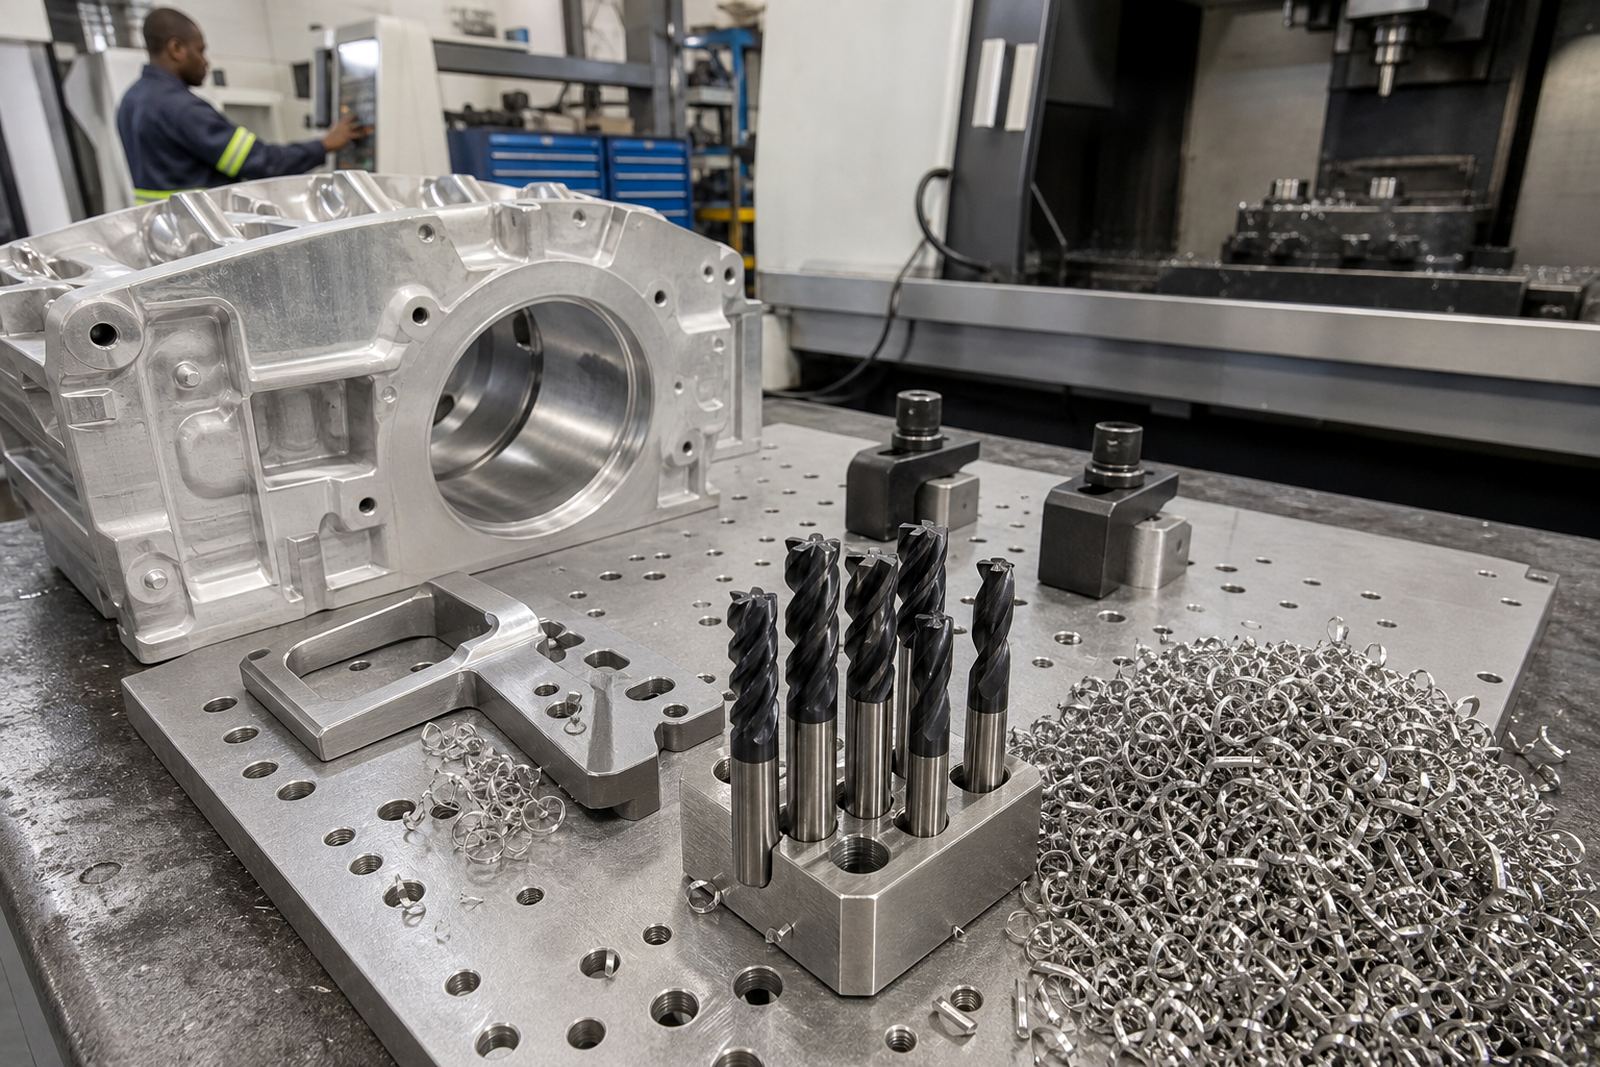
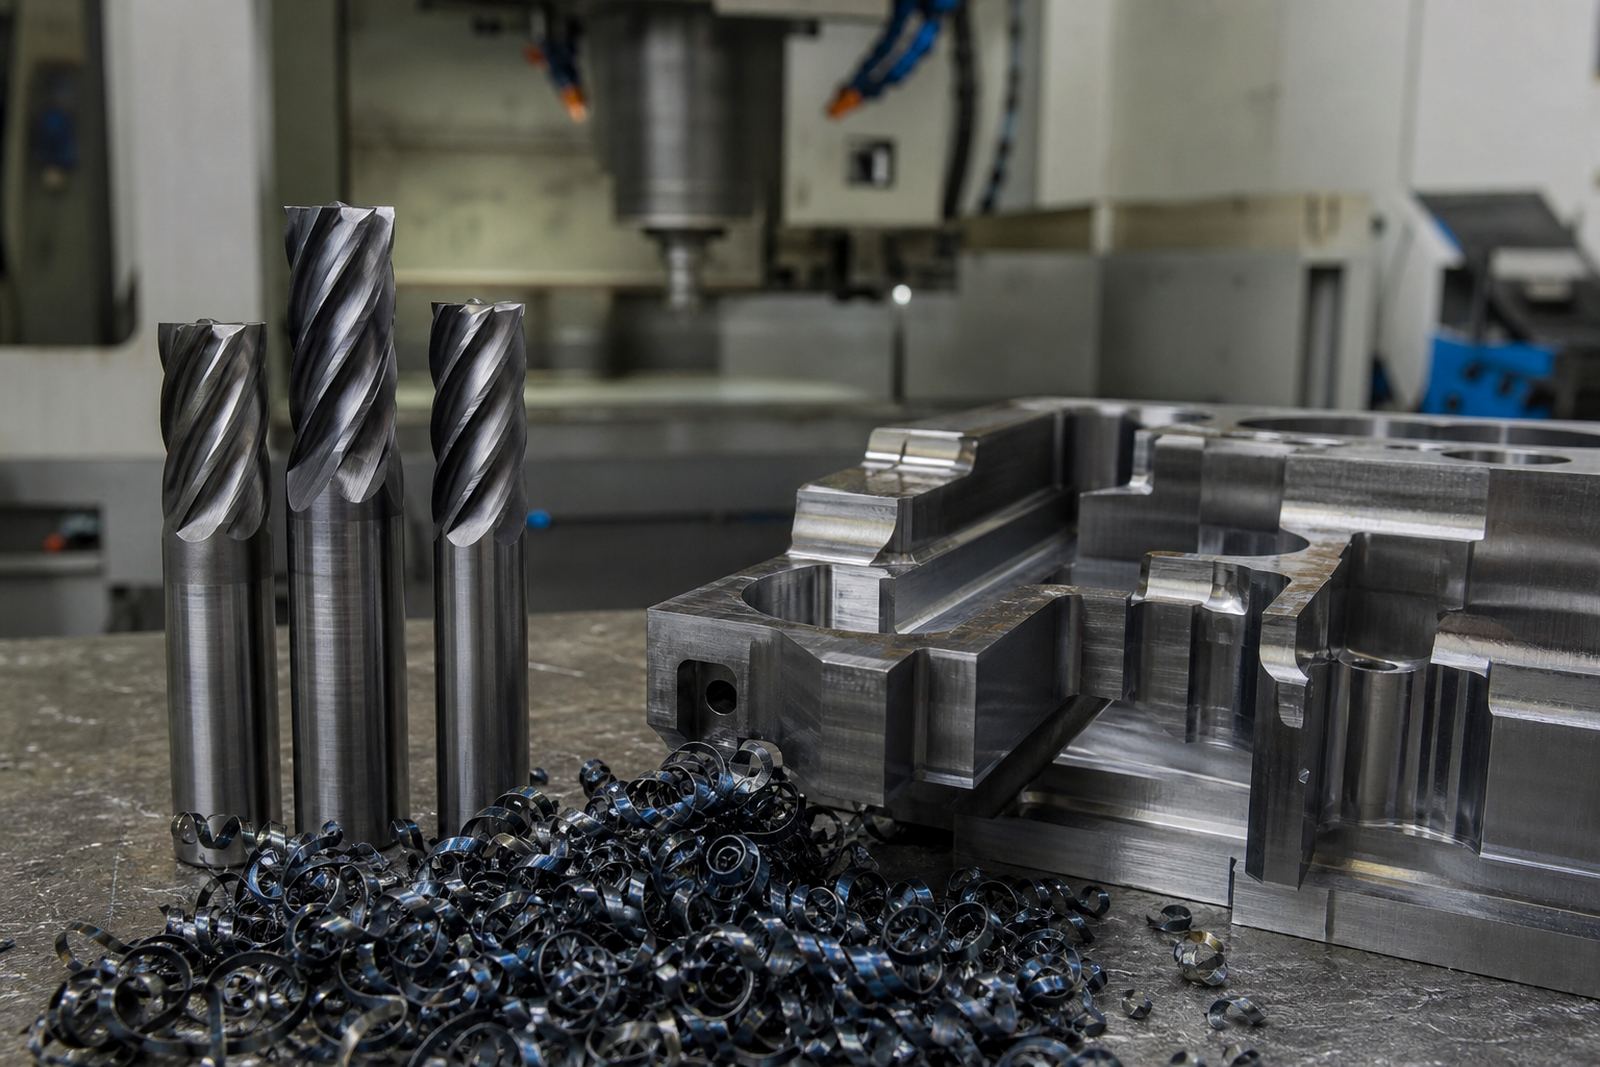
Chip control is one of the main reasons roughing either works well or fails early. Long stringy chips can wrap around the cutter, mark the workpiece and block evacuation. Short broken chips clear better, keep heat under control and help maintain process stability, especially on production jobs where the operator is managing more than one machine.
To improve chip breaking, focus on geometry first, then settings. Flute count, helix angle, edge prep and coating all affect how the chip forms. After that, adjust feed per tooth and axial depth of cut. Many shops try to fix chip issues by only changing spindle speed, which often gives mixed results.
- Use a feed rate that makes the cutter cut, not rub.
- Keep chip evacuation clear with air blast or coolant where suitable.
- Do not let chips recut in slots or deep pockets.
- Check whether the machine is maintaining true feed under load.
- Watch chip colour and shape during the first few parts, not only the last one.
If chips come off blue, dusty or curled badly against the wall, the setup needs checking. In Durban’s humidity or near the coast in Gqeberha, poor chip control can also lead to faster surface staining on unfinished steel, so do not leave roughing chips sitting on the part for long.
Check stability before increasing engagement
Process stability is what keeps roughing repeatable. A roughing tool that cuts well on the first part but starts chattering on the tenth is not a stable choice. Stability comes from machine condition, holder quality, tool projection, balance, clamping and the cut itself.
Use this quick stability check before changing settings:
- Is the holder clean and seated properly?
- Is the cutter sticking out only as far as needed?
- Are the workholding jaws, vice or fixture tight and square?
- Is the spindle pulling smoothly through the cut?
- Are the chips clearing from the pocket or slot?
- Is there visible edge wear after the first trial run?
On long production runs, small setup errors become expensive. A tool that is 5 mm too long can be the difference between a clean cut and chatter marks. In a busy Gauteng shop, that can mean lost time, scrap, and extra machine wear. For shops in Boksburg, Alberton or Centurion supplying local industry, stable roughing often matters more than raw speed.
Step by step roughing setup for the first run
When you start a new roughing job, keep the first run controlled. Do not jump straight to maximum depth unless the tool maker, the machine and the material all support it. Start with a measured test pass and inspect the result.
Follow this sequence:
- Confirm the material grade and hardness, especially on mixed or recycled stock.
- Choose the roughing style that suits the part geometry and chip path.
- Set tool stick-out as short as practical.
- Program conservative starting feeds and speeds.
- Run a short test and inspect chips, finish and sound.
- Increase only one factor at a time so you know what changed.
This approach helps when you are matching tools to stainless, tool steel or aluminium components. It also helps when the same part is being run on more than one machine across Johannesburg and Pretoria supply chains, where each shop may have different spindle power and coolant delivery. Keep notes of what worked, because repeatability saves money.
What to record after the job so the next run is easier
Good roughing practice does not end when the part leaves the machine. Record the tool, the material, the cycle time and the wear pattern. If the edge chips early, note whether the cut was interrupted, whether coolant reached the flute and whether the chip load was too high. Small notes like these are useful for stock planning and for future technical quotations.
Keep a simple roughing record for each part family:
- Material grade and supplier batch if known
- Tool diameter, flute count and overall stick-out
- Feed, speed, depth and width of cut
- Chip shape and any recutting signs
- Tool life in parts or minutes
- Any sound, vibration or finish issues
That record makes the next setup faster and more consistent. It also helps with production standardising across multiple sites, whether the work is going to Cape Town, Durban or local customers around Germiston. If a part needs an urgent tool supply or a sample tool trial, having proper notes saves time and reduces guesswork.