
Start with the aluminium alloy and the part finish you need
Not all aluminium behaves the same. Free cutting grades such as 6061 or 6082 usually machine well, while gummy or silicon-rich alloys can pull on the tool and leave a rough edge. If you are running batches for panels, brackets, heat sinks or housings, decide first whether the priority is surface finish, fast cycle time or close tolerance.
For finishing cuts on visible faces, choose a tool with a sharp cutting edge and a geometry made for non-ferrous material. For heavier roughing, you need enough strength in the core to handle chip load without chatter. In South African shops this matters even more when the machine is working through load-shedding recovery, warm summer afternoons or long weekend production runs, because a tired setup shows its weakness fast.
- Identify the alloy grade before ordering.
- Confirm if the job is roughing, finishing or both.
- Check whether burr control is more important than maximum removal rate.
- Note wall thickness, slot depth and any thin sections that may vibrate.
Choose flute count and helix for clean chip evacuation
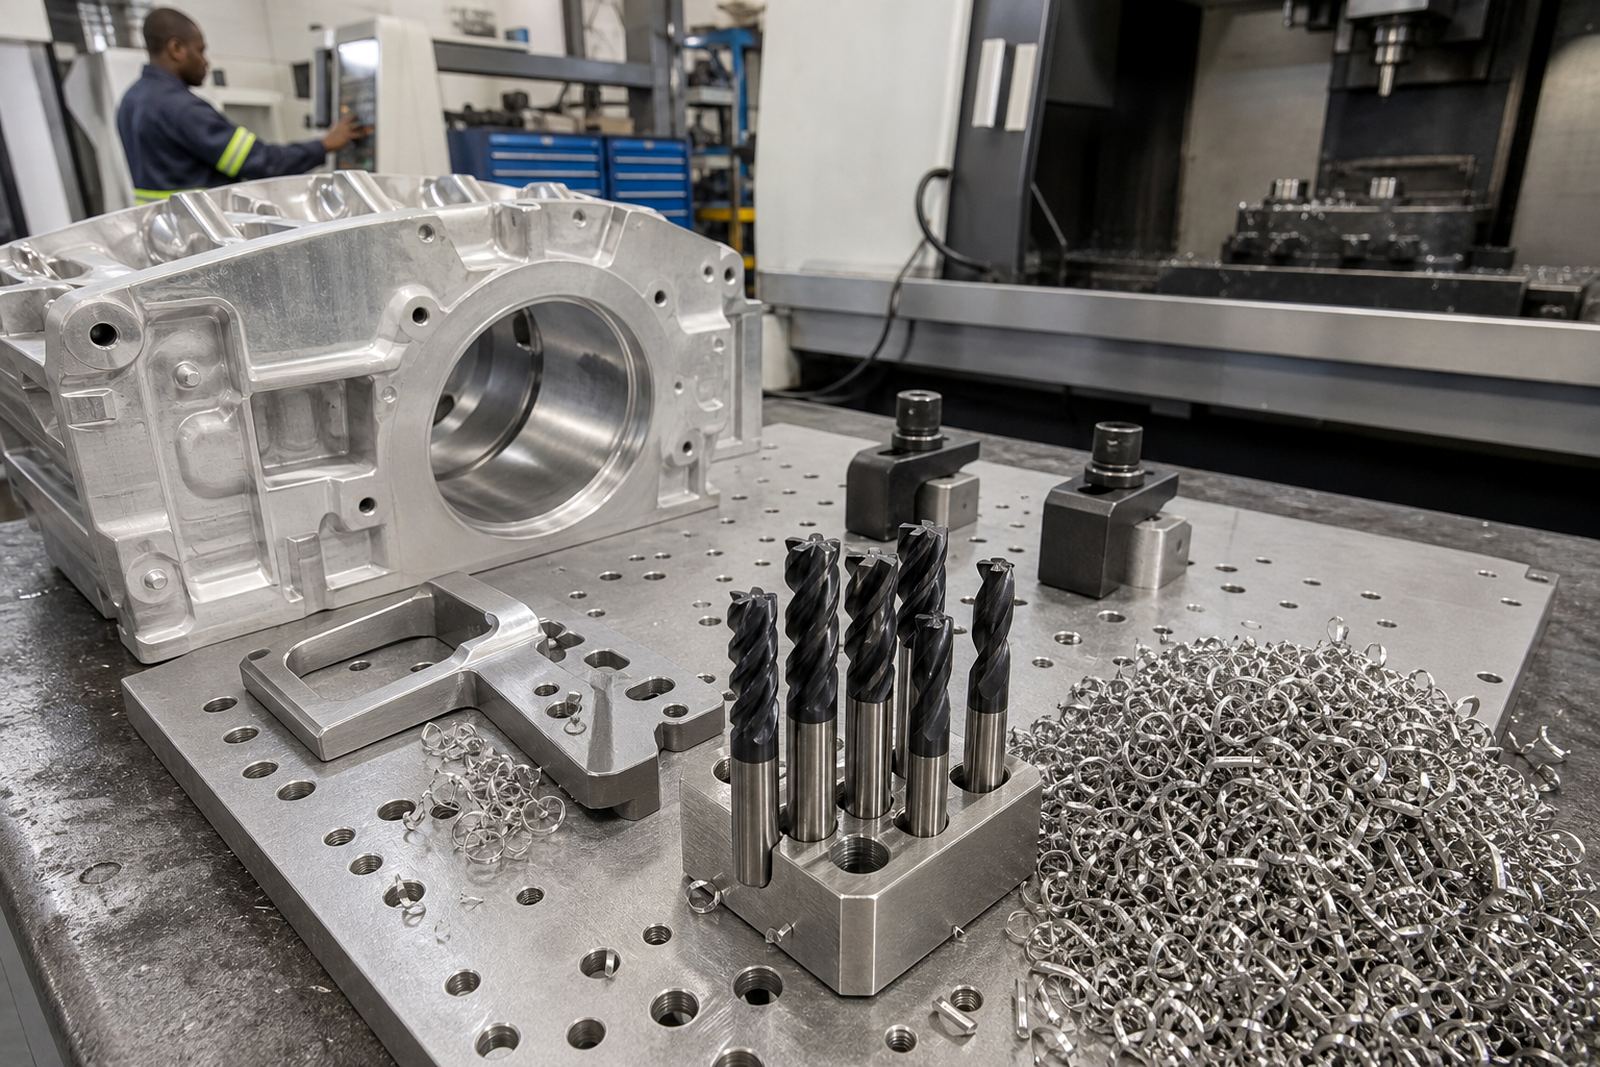
For most aluminium milling, 2 flute or 3 flute end mills are the practical starting point. Fewer flutes leave more space for chips, which is important because aluminium makes long stringy swarf that can weld to the cutter if evacuation is poor. In full slotting, 2 flute tools often give better chip clearance. For profiling and lighter pocketing, 3 flute tools can improve feed rate while still clearing chips well.
A polished flute helps chips slide out instead of packing into the cut. A high helix angle usually gives a cleaner cut and better chip lift, but the machine must be rigid enough to handle the pull. On lighter CNC machining centres, especially where the spindle is already carrying a long tool holder, too much helix can increase deflection. Johan in technical support would normally check the setup, because the right flute count on paper can still fail if the stick-out is too long or the clamping is weak.
- Use 2 flute for slotting and deep chip load.
- Use 3 flute for balanced feed and finish in open cuts.
- Look for polished flutes for better chip flow.
- Keep stick-out as short as possible for stability.
Pick the cutter diameter, corner style and length of cut
The best cutter size depends on the feature, not just the machine. A smaller diameter gives better access into tight pockets and thin ribs, while a larger diameter gives stronger metal removal on open faces. Corner style also matters. A sharp square corner is useful for crisp internal geometry, but a small corner radius can improve tool life when the part sees interruption or hard entry conditions.
Length of cut should match the job without leaving excess flute exposed. A tool with too much flute length can chatter in aluminium and mark the side wall. In shops around Germiston, Boksburg and Alberton, we often see avoidable wear from using a long reach tool where a shorter one would do the job cleaner and faster. If the cutter must reach deep, support it with sensible speeds, slower step over and proper coolant or air blast.
- Use the shortest reach that clears the part.
- Select corner radius if the part has interrupted cuts or thin edges.
- Match cutter diameter to slot width and pocket size.
- Avoid overlong tools unless the drawing truly requires it.
Check carbide grade, coating and edge preparation
Solid carbide is the right base material for productive aluminium machining because it keeps sharpness and stiffness at higher spindle speeds. The carbide grade should balance wear resistance with enough toughness for CNC work. For aluminium, the cutting edge must stay sharp and free cutting. A heavily honed edge can rub instead of slice, which raises heat and leaves poor finish.
Coating choice depends on the job and the shop conditions. Some aluminium tools are uncoated for maximum sharpness, while others use a coating that helps reduce built-up edge and extends life on longer runs. If your workshop sits near the coast in Durban or Cape Town, humidity can affect storage and cause corrosion on the tool shank and holder if you do not manage it. Keep new cutters dry, sealed and sorted by diameter so stock does not mix up. Priya in customer support often helps shops plan this, especially where orders need to cover several machine types at once.
- Choose solid carbide for rigidity and sharpness.
- Prefer a sharp cutting edge for non-ferrous material.
- Match coating to your run length and storage conditions.
- Store tools dry, clean and grouped by size.
Set speeds, feeds and coolant before you run production
Even a good end mill will struggle if the cutting data is wrong. Aluminium usually wants higher spindle speed, proper chip load and a feed rate that lets the tool cut instead of rubbing. Too slow and the cutter can generate heat and built-up edge. Too fast with poor rigidity and you get chatter, poor finish and broken corners. The best starting point is the manufacturer data for the exact tool, then adjust for machine condition, holder type and material hardness.
Coolant or air blast should clear chips before they recut. On some jobs, flood coolant is best. On others, a strong air blast works better to keep chips out of a pocket and stop them sticking to the walls. If the shop runs through power interruptions, check that restart routines are written down. A stopped spindle with chips packed around the cutter is a common cause of damage when production starts up again.
- Set a proper chip load, not a cautious rub.
- Use coolant or air blast to keep chips moving.
- Listen for chatter and adjust feed before damage starts.
- Keep restart checks in place after load-shedding or stoppages.
Use a simple selection checklist before you place an order
Before buying, write the job details down in one place. That saves time and helps the supplier recommend the right tool fast. It also helps with repeat orders, which matters when a production line in Johannesburg or Pretoria needs the same cutter every month for the same part. Good stock planning reduces emergency buying and helps keep cycle times steady.
Use this checklist when requesting technical quotations or sample tool trials. It keeps the discussion practical and avoids guesswork. Marius and the team can work from these details to match the cutter to the material, machine and target finish. If a part changes, update the information before the next batch so you do not carry an old setting into a new job.
- Material grade and hardness.
- Part shape, slot width and depth.
- Machine type and spindle speed range.
- Whether you need roughing, finishing or both.
- Current tool brand, size and failure mode.
- Target tool life and monthly usage.
When to ask for application support or on site help
If a cutter keeps chipping, leaves burrs, or gives inconsistent finish across batches, do not keep changing tools at random. The issue may be in feed, clamping, runout, coolant delivery or even the way the part is held. Tool life optimisation usually starts with one or two changes, not ten. Johan can help with speed and feed advice, while the warehouse team can support urgent supply when a line must keep moving.
For shops in Cape Town, Durban, Gqeberha, Centurion and across Gauteng, on site consultation can help standardise the process and cut down on scrap. That is especially useful when the same job runs on more than one machine and each operator has a slightly different setting. A small change in holder condition or tool projection can make a big differnce to aluminium finish.
- Ask for help if edge quality changes from batch to batch.
- Use process troubleshooting when tools wear out too early.
- Standardise proven settings for repeat work.
- Keep one approved setup sheet for the job.