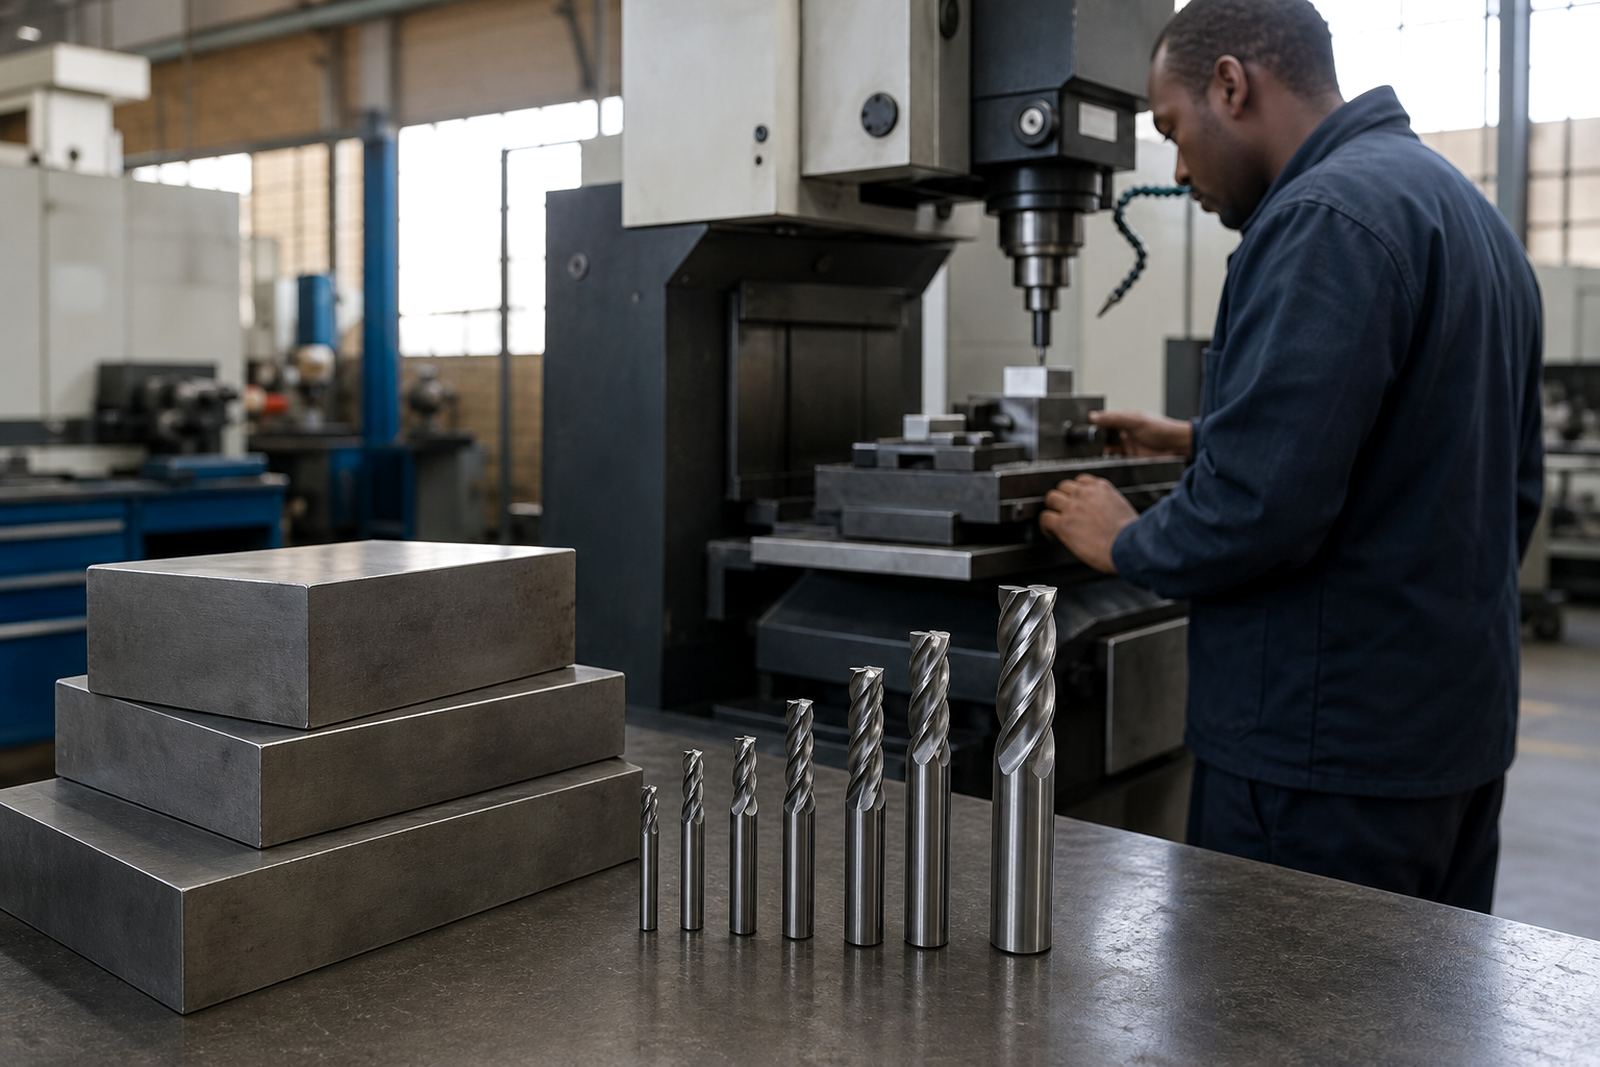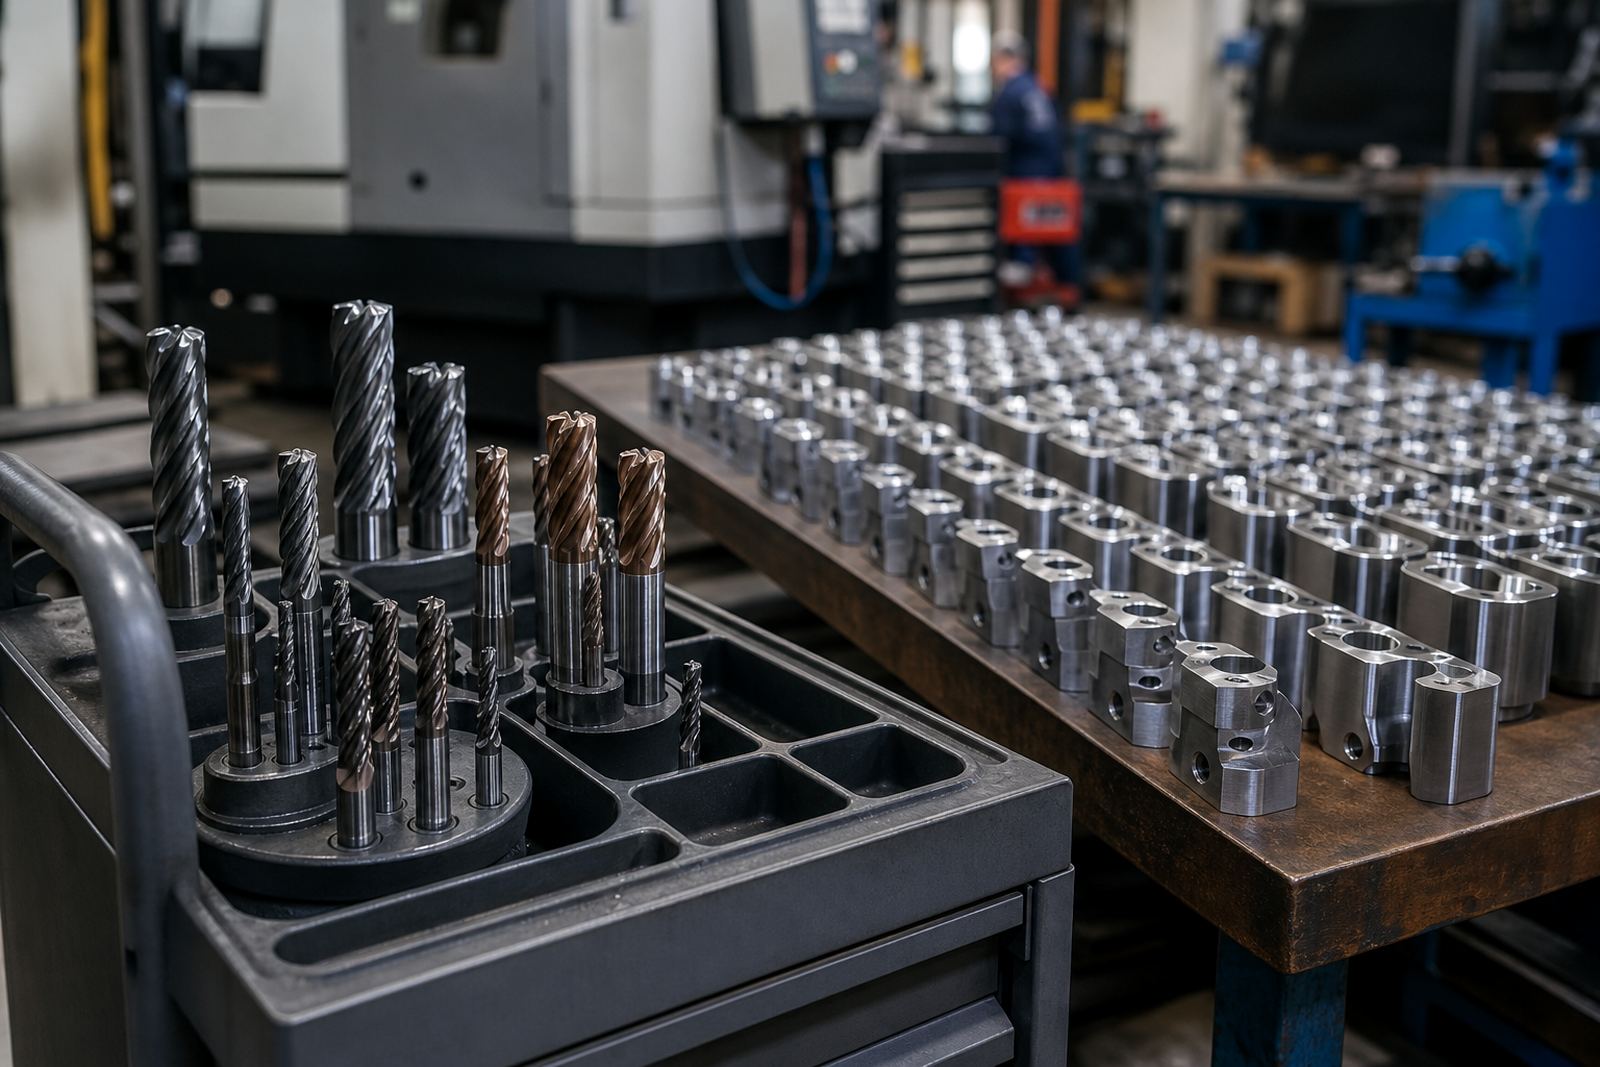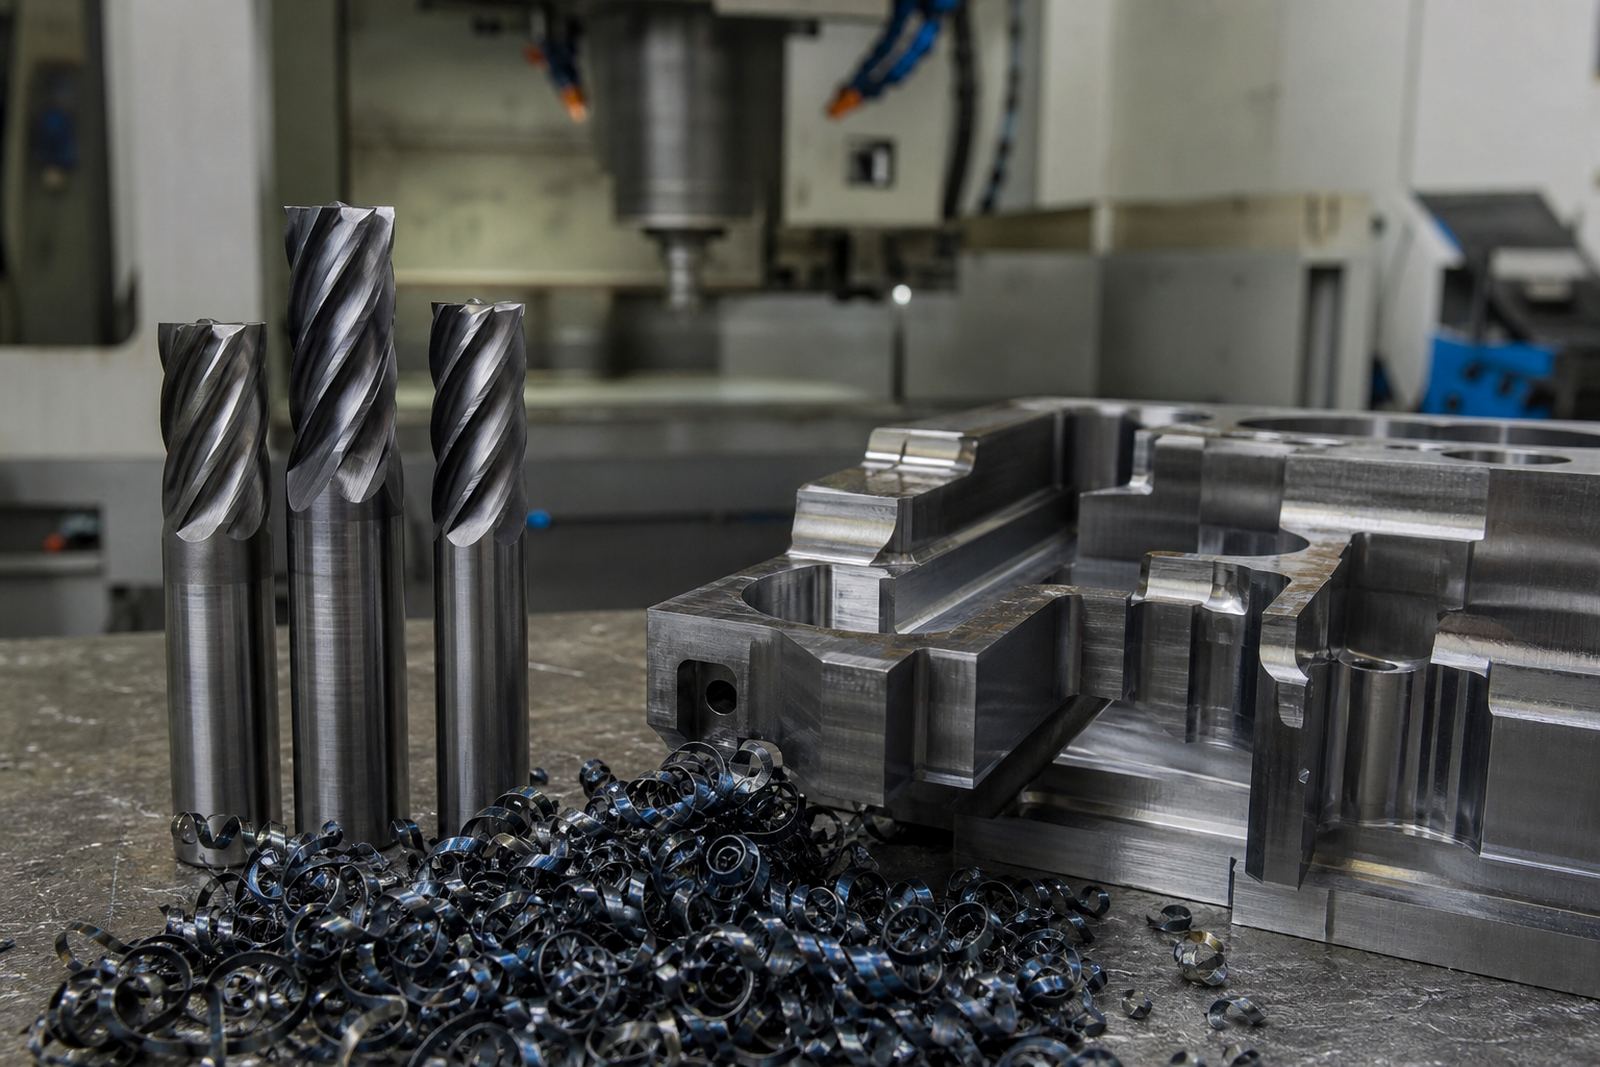

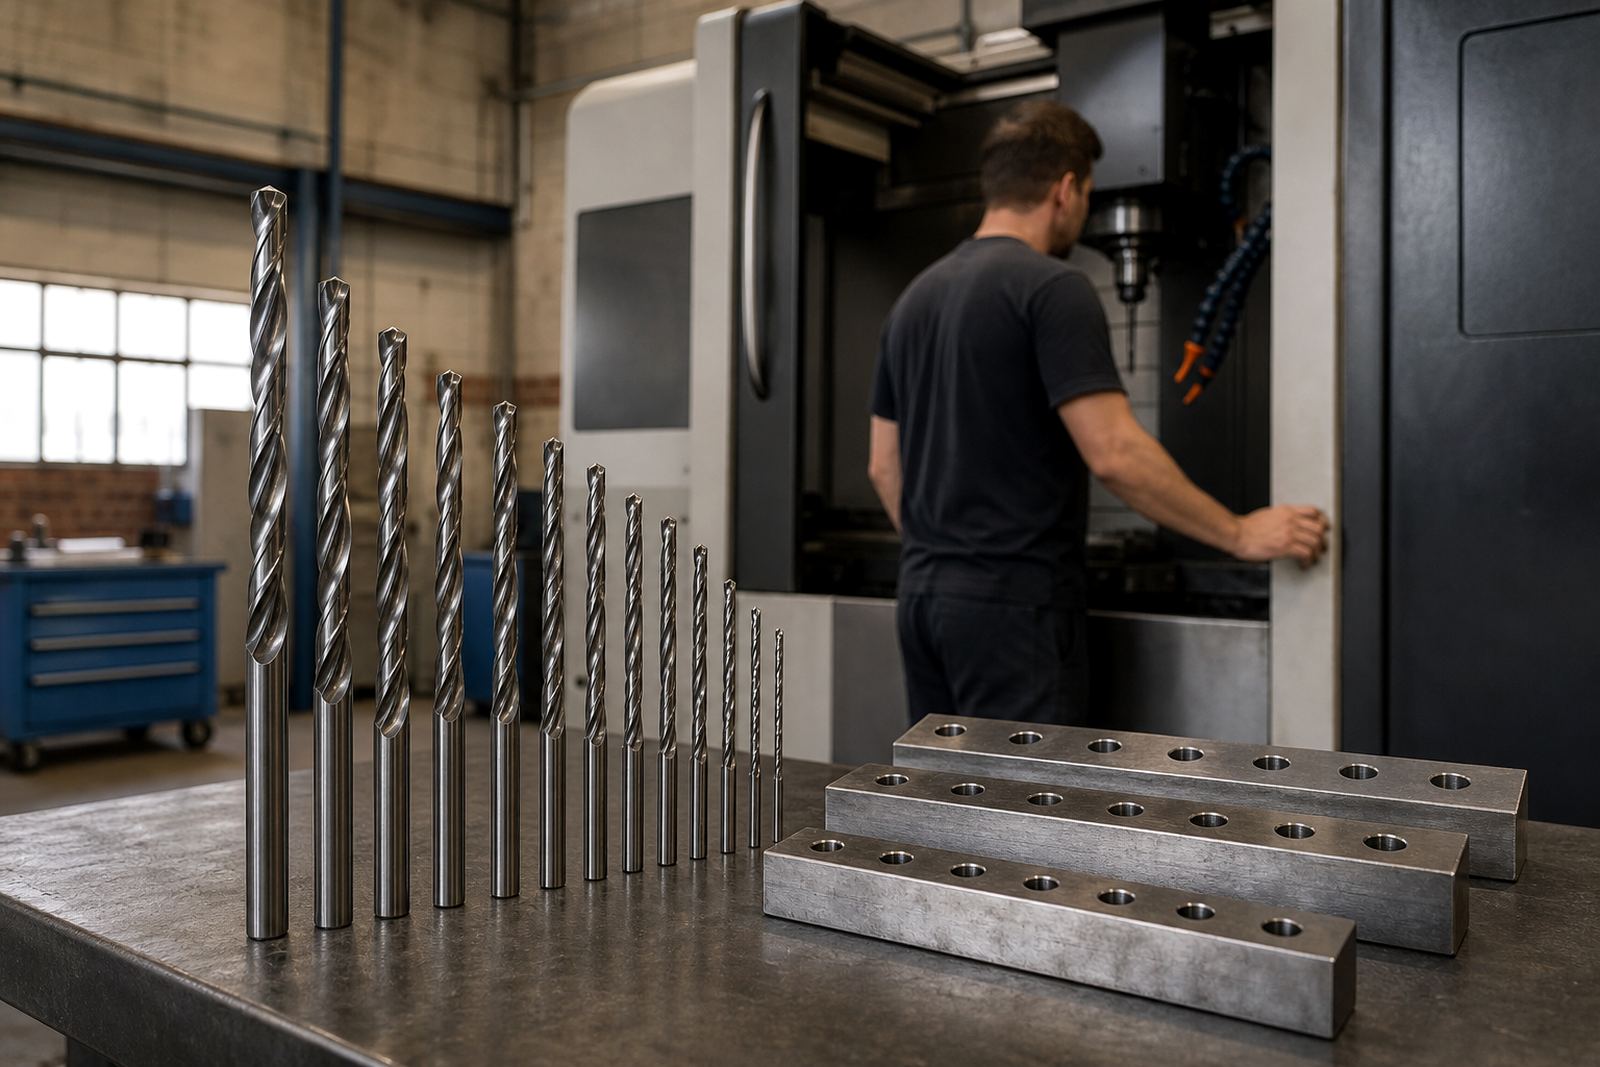
Start with the hole, not the drill catalogue
Before you look at flute length or point angle, define the hole you need. Write down the finished diameter, depth, material, tolerance and whether the hole is blind or through. In Gauteng workshops, we often see drills chosen for stock convenience and then pushed into steel, stainless or aluminium where the geometry is wrong, which shortens tool life fast.
A good starting question is simple: what must this drill do in one pass? If the part needs repeatable holes on a CNC machining centre in Germiston, Johannesburg or Pretoria, match the drill to the material and the cycle time target. For thicker sections, deep holes or interrupted cuts, do not guess. The wrong drill can wander, rub or pack chips in the flutes.
- Confirm material type and hardness
- Check hole depth and whether it is blind or through
- Note tolerance and surface finish needs
- List the coolant type available on the machine
Choose the diameter for cutting load and fit
Drill diameter affects feed, spindle load and the final hole size. A smaller diameter may suit pilot holes and lighter machines, while a larger diameter can remove material faster but needs more power and stability. On CNC shops in Durban or Cape Town, where humidity and corrosion can be part of day-to-day stock handling, clean tool storage matters too, because rust on the shank or holder can affect concentricity.
Use the drill diameter to suit the tap drill size, press fit or clearance fit you need. If the hole will be threaded later, check the allowance carefully so the tapping operation does not fight the hole size. Do not mismeasure stock thickness or assume every part in a batch is the same, because small changes in thickness can change chip evacuation and breakage risk.
- Match diameter to final hole function, not only nominal size
- Check machine spindle power and rigidity
- Allow for any later tapping, reaming or pressing
- Keep a note of proven sizes for repeat work
Match drill length to depth and machine reach
Length matters just as much as diameter. A short drill is usually stiffer and better for accuracy, while a longer drill is needed when the hole is deep or the part has awkward access. The extra reach can increase vibration, so only use the length you need. In busy shops across Boksburg, Alberton and Centurion, a long drill used for a shallow hole often causes more trouble than it solves.
As a basic rule, use the shortest flute length that covers the hole depth with enough clearance for chips and coolant. For deep holes, make sure the machine can maintain stable feed and evacuation through the full depth. If the part setup requires a long overhang, check holder grip and runout. A slight wobble at the holder becomes a bigger problem at depth.
- Use the shortest practical length
- Check flute length against actual hole depth
- Allow space for chips to clear from blind holes
- Keep overhang as short as possible
Pick the right coolant option for the job
Coolant choice changes cutting temperature, chip control and tool life. Through-coolant drills are useful when chips must be forced out of deep holes or when the material cuts hot. External coolant may be enough for shorter holes and lighter duty work, provided the flow reaches the cutting edge properly. For many South African shops dealing with load-shedding, keeping coolant systems clean and ready after downtime helps avoid warm starts and blocked lines.
If the machine runs dry cutting on certain non-ferrous jobs, make sure the drill is suited to that method and that chip evacuation is still controlled. On stainless and harder steels, poor coolant delivery can cause built-up edge and early wear. Coolant concentration, filtration and pressure all matter, so do not ignore the basics when the drill starts to lose its edge.
- Use through-coolant for deeper holes and difficult chip control
- Check pump pressure and nozzle position before production
- Keep coolant clean and at the correct concentration
- Review chip shape if the drill is overheating
Use the material as your final filter
Material choice often decides the drill grade, coating and geometry. Aluminium needs a different edge and flute shape from mild steel, while stainless steel usually asks for a tougher edge and tighter process control. If your shop in Gqeberha handles mixed work, keep a clear system for material matching so the wrong drill does not end up in the wrong job. That saves time and reduces scrap.
For harder materials, a solid carbide drill can help maintain accuracy and edge life when the machine and setup are stable. For softer materials, the key is often chip control and finish. A useful checklist is to compare the drill against the exact material, not a broad category. Mild steel, free-cutting steel, cast iron and stainless all behave differently under load.
- Identify the exact material grade where possible
- Check whether the material is abrasive, gummy or work-hardening
- Choose geometry for chip control and entry stability
- Keep separate drill sets for different material families
Practical checklist before you order or trial a drill
Before placing a technical quotation or running a sample trial, check the full setup. A good drill can still fail in a weak fixture, a worn collet or a machine with poor runout. When jobs are urgent, especially for production lines that cannot wait through a power cut or a weekend shutdown, good stock planning matters. That is where a clear checklist saves hours later.
Use this quick check before you commit:
- Hole diameter, depth and tolerance confirmed
- Work material and hardness confirmed
- Machine type, spindle speed and feed range checked
- Coolant delivery method confirmed
- Holder condition and runout checked
- Chip evacuation planned for blind or deep holes
- Replacement stock and lead time noted
If you are standardising a process across multiple machines or branches, keep the same drill size, holder type and feed notes for each setup. That makes troubleshooting easier and helps with tool life optimisation over time.