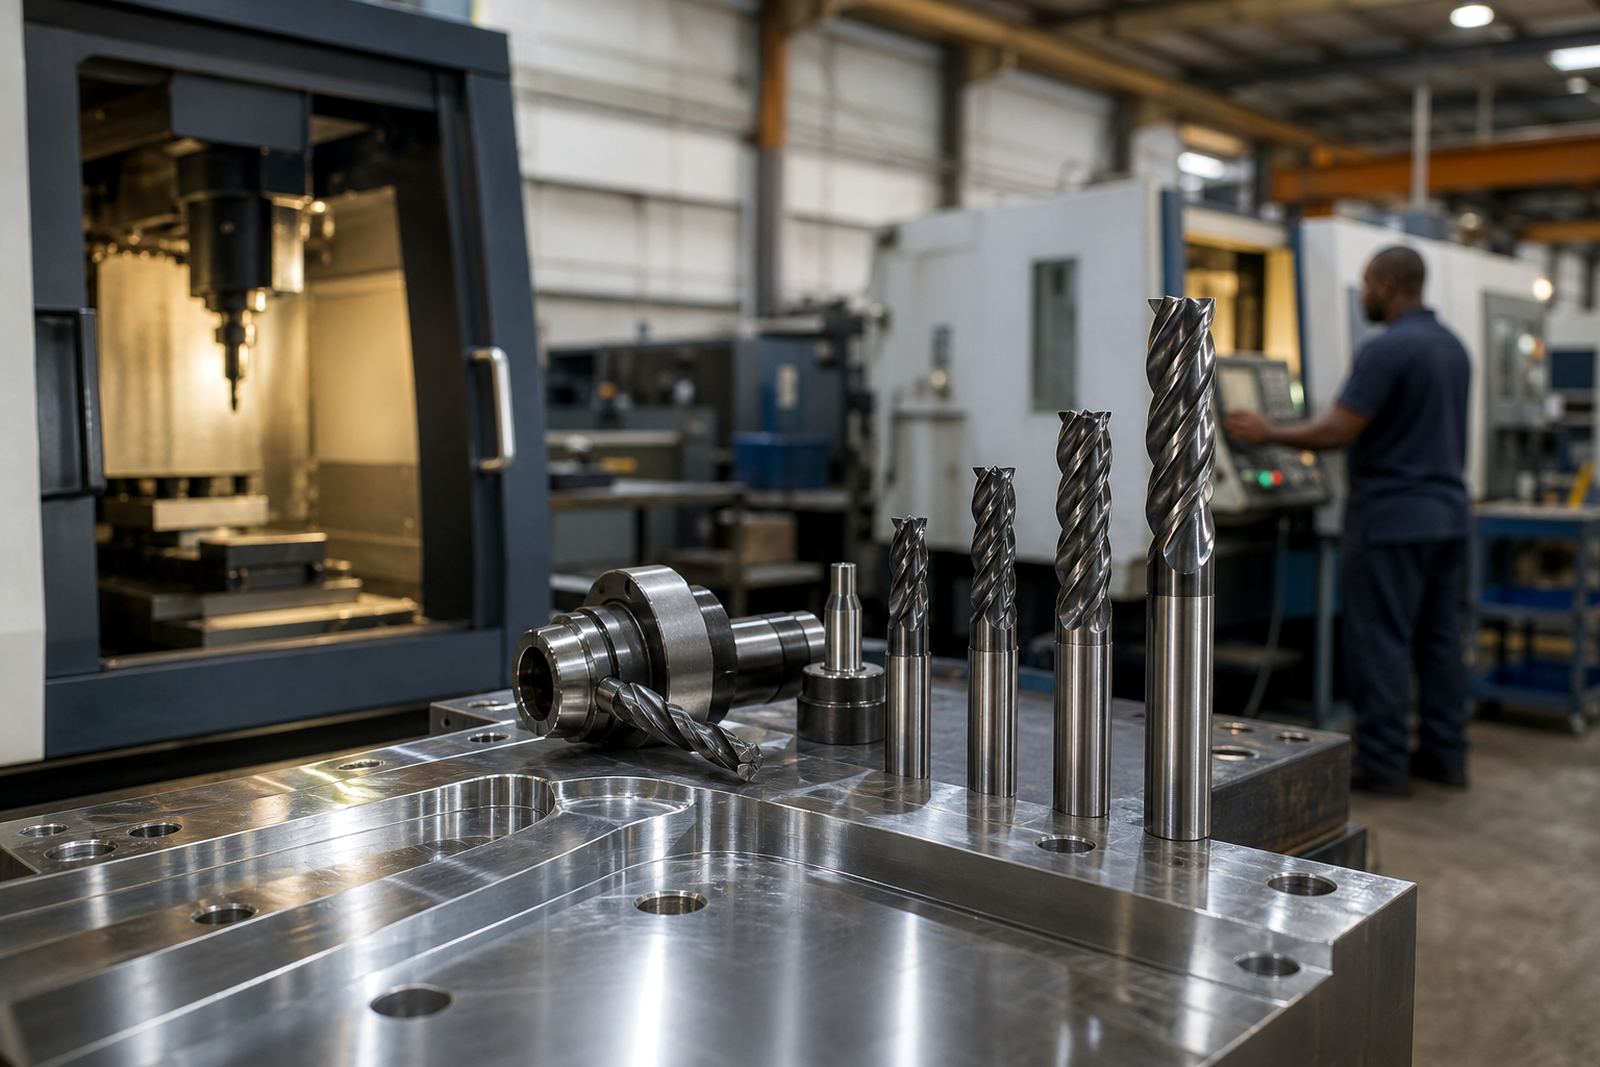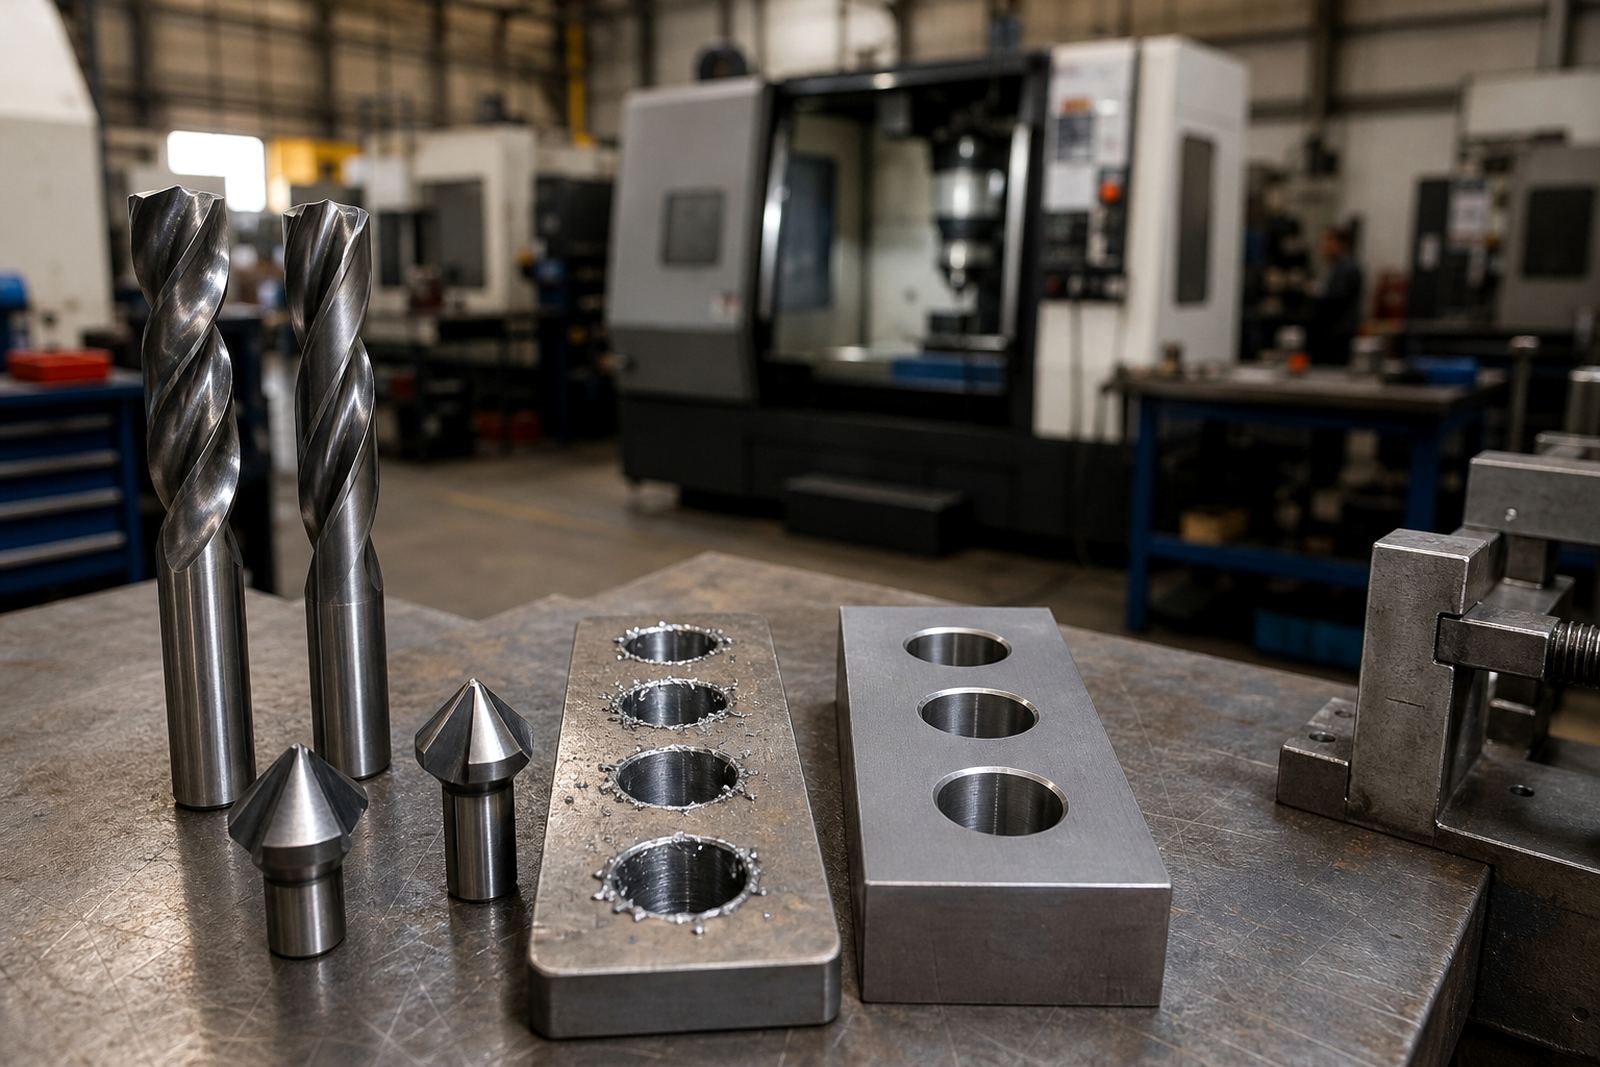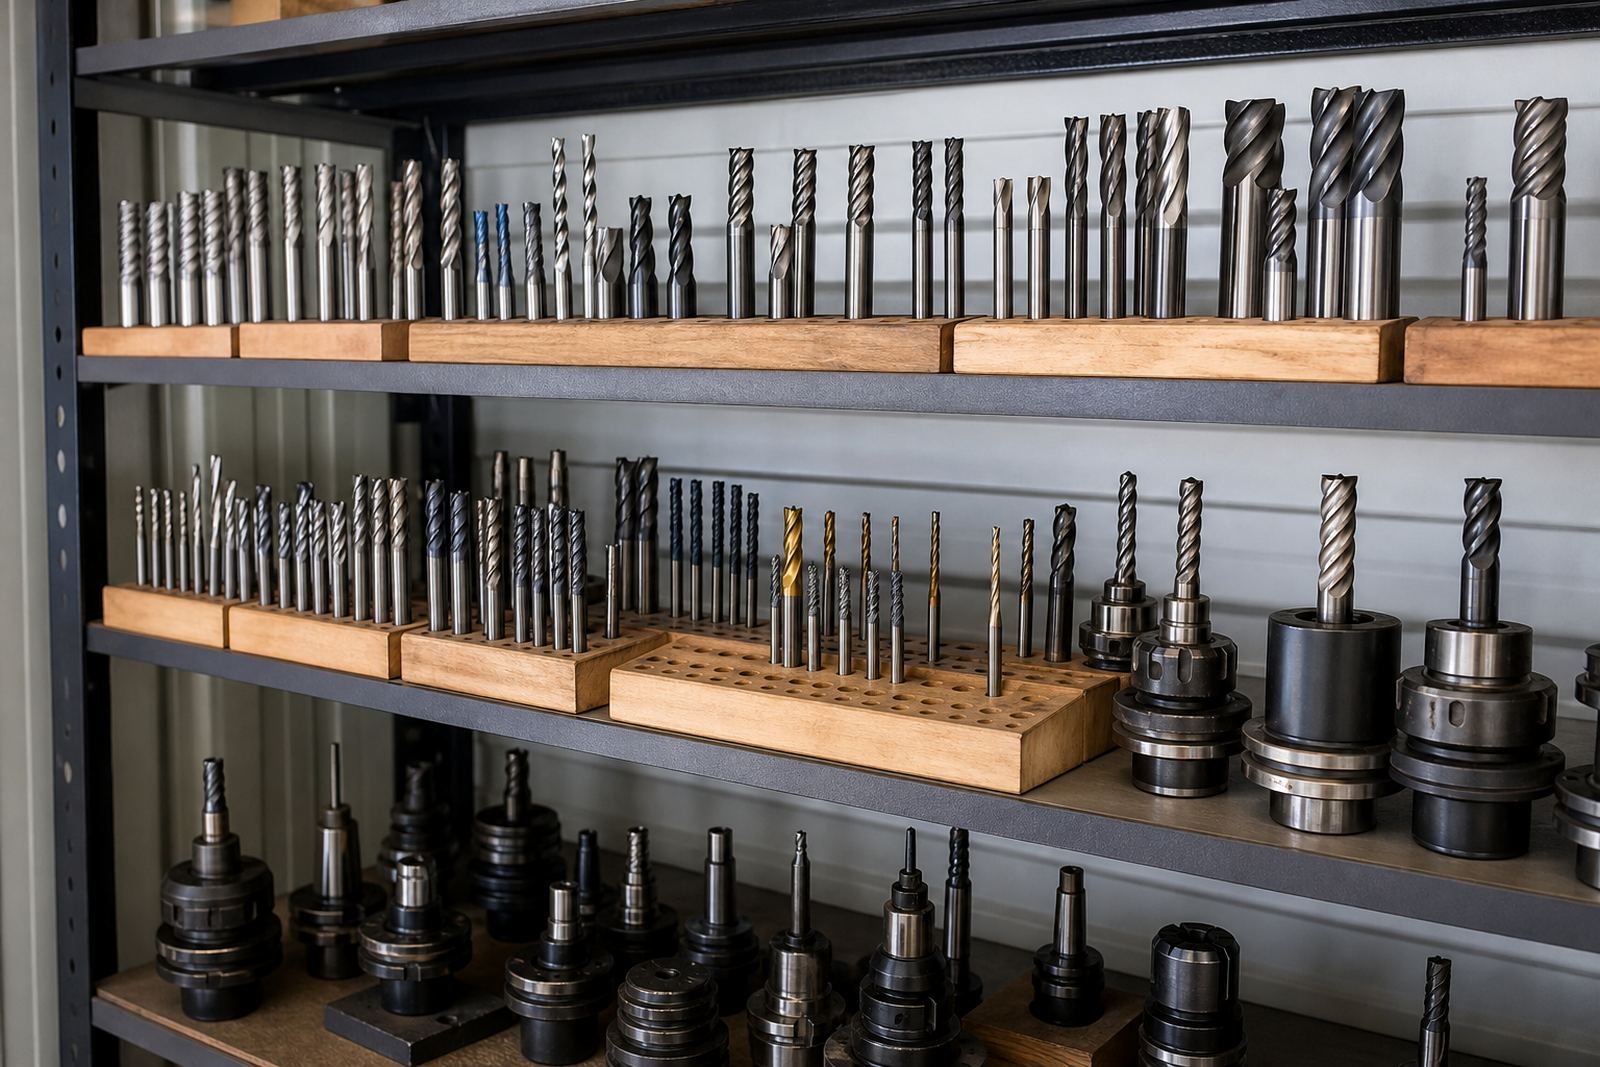

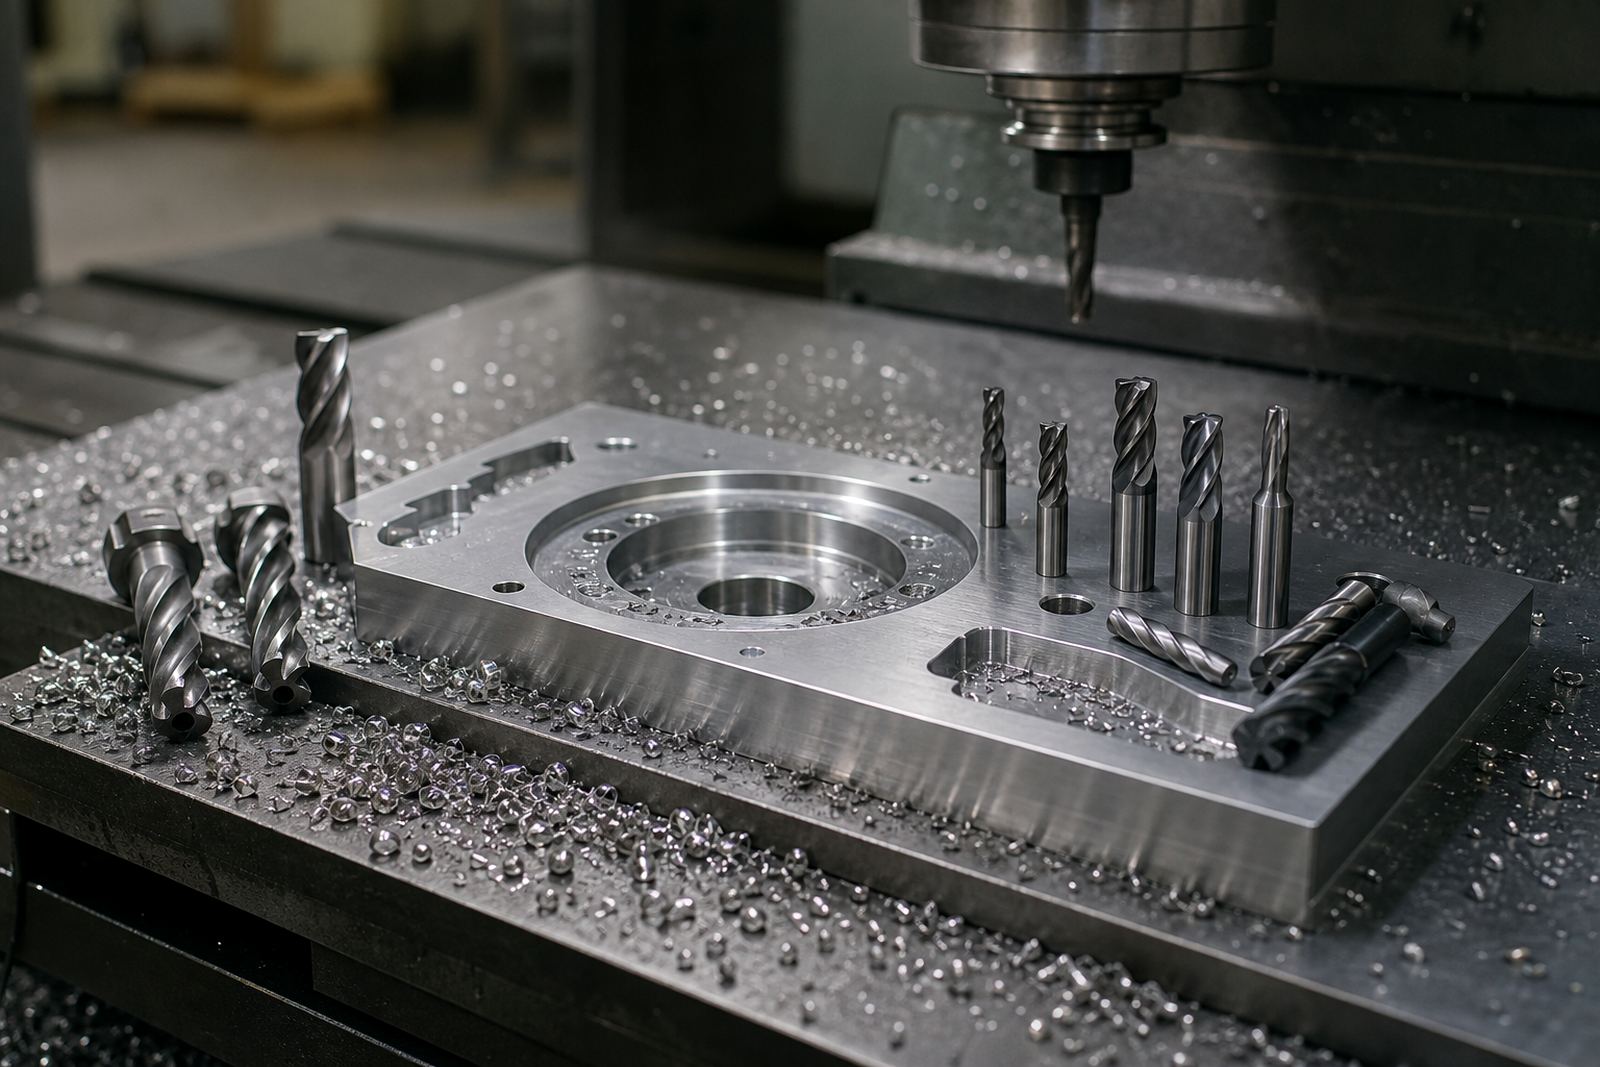
Start with the alloy, not just the drawing
Not all aluminium behaves the same. A shop cutting 6061 on a horizontal machining centre in Germiston will usually have a very different setup from one running a sticky cast alloy for auto parts in Pretoria. The free-cutting grades machine cleanly, while softer or silicon-rich alloys can smear, stick to the cutting edge and leave a rough finish if the tool is too fine or the chip load is too light.
Before setting the program, check the alloy group, wall thickness and whether the part has interrupted cuts. Thin covers, fins and pocketed parts need a different approach from solid blocks. When the material flexes, the cutter starts rubbing instead of slicing, and that is when built-up edge starts to show. A good rule is to treat aluminium as a high chip-removal material, not a slow cautious one.
- Confirm the exact alloy or at least the alloy family before choosing the cutter.
- Check if the part has thin walls, deep pockets or interrupted entry points.
- Use a tool path that keeps the cutter engaged evenly, rather than stopping and starting.
Use sharp edges and enough flute space
For aluminium, sharp cutting edges and generous flute space matter more than many shops first think. A polished carbide end mill with the right helix helps move chips fast and keeps heat out of the cut. If the flute fills up, chips weld onto the edge and the finish goes dull fast. That is a common problem on small machines in Boksburg and Alberton where operators try to push feed but the chip evacuation is not sorted first.
Two flute tools are often a solid choice because they leave more room for chip flow. Three flute tools can also work well on certain machines when the spindle is stable and the chip load is controlled. Four flute cutters are usually less forgiving in aluminium unless the setup is specific to that tool geometry. The wrong flute count can make the job look slow even when the machine is running fast, because the cutter spends too much time packing chips instead of cutting.
- Choose a cutter with polished flutes for better chip release.
- Use 2 flute or 3 flute tools where chip evacuation is the main challenge.
- Keep the tool path open so chips can clear, especially in deep pockets.
Feed faster than you think, but keep the chip real
Aluminium often rewards a faster feed than operators expect. If the cutter is rubbing, it creates heat, sticky swarf and a built-up edge that spoils the next pass as well. The aim is to make a proper chip, not dust. On many CNC machining centres across Gauteng and the coast, a light feed is the reason a sharp tool still leaves burrs on the top edge.
The exact numbers depend on tool diameter, flute count and spindle condition, but the principle stays the same: keep the chip thickness enough to break the material cleanly. A well set feed also helps the edge stay crisp on profiles and pocket walls. Load-shedding can complicate production planning, so when the machine is back online after a stop, it is worth checking that feeds and offsets are still correct before running a long batch.
- Do not baby the cut so much that the tool rubs.
- Use enough feed to form a clean chip and keep the edge cool.
- After a power interruption, verify the setup before restarting a long cycle.
Coolant, air and chip evacuation decide the finish
In aluminium, chip control is often half the job. Coolant helps, but it is not always the only answer. A directed air blast can clear pockets and help stop chips from recutting, especially on open parts and in dry areas where misting is enough. In coastal places like Cape Town or Durban, humidity can bring other issues too, such as sticky residue on stored tools if the workshop leaves packs open too long. Around Gqeberha, salt air means tool storage and wipe-down routines matter a lot more than some shops expect.
Flood coolant is useful when the machine and the enclosure are set up for it, but the nozzle must reach the cutting zone. If coolant only splashes the side of the job, the cutter still runs hot. Chip evacuation needs to be planned from the program stage, not left to chance. A pocket that traps chips will mark the surface and can cause the cutter to chatter on the next pass, no matter how good the material is.
- Use air blast where it helps clear chips quickly from open features.
- Place coolant nozzles so they reach the actual cut, not just the workholding.
- Watch for recutting in deep pockets and narrow grooves.
Use tool life as a process control check
When aluminium finishes start changing, do not only blame the cutter. Tool life tells you about the whole process. If edge quality drops after a few parts, check the holder, spindle runout, chip packing, coolant delivery and whether the machine operator has changed the feed override. In South African workshops that run mixed jobs, it is common to see one setup working fine on Monday and then struggling on Thursday because the same cutter is now in a different holder or the stock varies slightly.
Good tool life comes from consistency. Keep the same stickout where possible, use a holder suited to high-speed work and measure wear before the edge chips. If the cutter begins to leave a dull edge or a faint burr, the job is telling you something early. That is the best time to adjust. Waiting until the tool fails usually means scrap, rework and more machine time than the part can afford.
A local example from Wadeville to the coast
A shop in Wadeville machining aluminium brackets for a customer in Durban had a recurring issue with burrs on the entry edge and a rough side wall after the final pass. The first instinct was to slow the feed down. That made the finish worse. The real problem was chip recutting in a deep pocket, plus a tool that was too fine for the alloy and the depth of cut. Once the setup was changed to a more open flute design, with a stronger chip load and better air clearing, the finish improved and tool life became more predictable.
That kind of job is common across Johannesburg, Pretoria and the coastal cities too. The drawing may look simple, but aluminium punishes small mistakes in the cutting strategy. If the machine is cutting cleanly, the chips come off bright and the edge stays crisp. If not, the swarf starts clinging, the surface dulls and the operator ends up chasing problems that started in the first pass.
- Do not reduce feed before checking chip clearance first.
- Change flute count or geometry when the pocket depth changes.
- Review the full setup when a job behaves differently from one batch to the next.
Practical checks before a production run
Before releasing an aluminium job into production, do a short checklist on the machine and the program. It only takes a few minutes and can save a full batch. Confirm the cutter is sharp, the holder is clean, the workpiece is clamped firmly and the chip path is clear. Then inspect the first part under good light for burrs, chatter marks and any sign of built-up edge on the cutting face.
For shops planning stock across multiple branches, from Germiston and Johannesburg through to Cape Town and Durban, standardising the cutter choice for common aluminium jobs can make ordering and setup easier. The same part should not need a new guess every time. Good notes on feed, depth of cut and tool wear help the next operator repeat the result instead of starting over. That is where the real saving comes from, not from squeezing one more part out of a worn cutter.
- Check tool sharpness and holder cleanliness before the run.
- Inspect the first piece for burrs, chatter and edge smear.
- Keep a simple record of what worked for each aluminium grade.