
Why burrs form at the drill exit and milled edge
Burrs usually show up where the cutting edge loses support, most often at a hole exit, slot edge or corner break. When the tool pushes material instead of slicing it cleanly, the last fibres of metal fold over and stay attached. That is common on mild steel, stainless steel and aluminium, especially when the part is thin, clamped poorly or the tool is already wearing. On a busy line in Germiston or Boksburg, that small edge can mean extra deburring time on every part, and the cost adds up quickly.
The issue is not only the tool. Workholding, spindle condition, coolant delivery, feed rates and the state of the raw material all affect how much burr is left behind. A dull edge, even if the insert still looks usable, often leaves a rougher exit and more heat. That heat can soften the edge zone and make the burr tougher to remove. In some jobs the answer is a better carbide tool, in others it is simply a cleaner setup and a small change in the last pass.
Choose carbide geometry that cuts cleanly, not just quickly
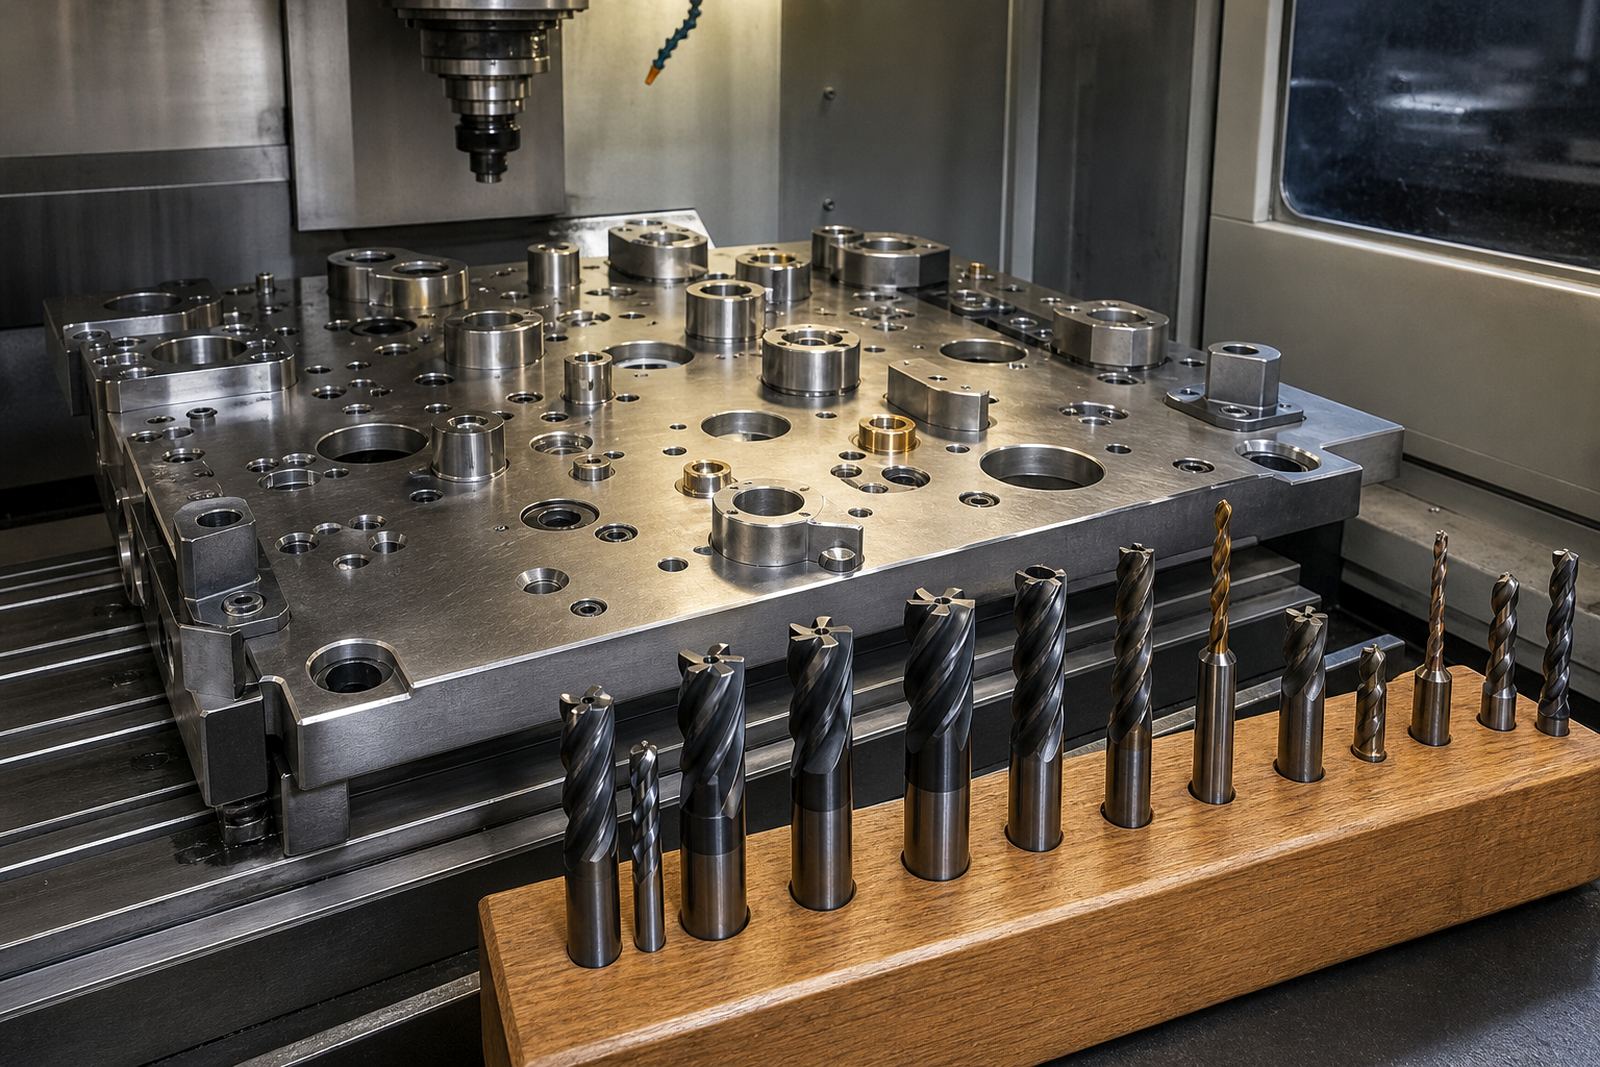
For burr control, tool geometry matters as much as speed. Solid carbide end mills and drills with the right flute count, point angle and edge prep can reduce tearing at the exit. A sharp cutting edge generally leaves less material hanging over the edge, while the wrong chip breaker or too much edge hone can press the material rather than shear it. That is especially important in production where the same tool runs all shift and must hold a clean finish through changing temperatures.
On milling jobs, use the smallest cutter that still gives enough rigidity for the feature. Overly large tools can leave a heavier exit lip on thin sections. On drilling, a proper point angle and clean split point can help the tool centre without forcing the material apart. In many cases the better choice is not the most aggressive tool, but the one matched to the material and the wall thickness.
- Use sharp solid carbide tools for clean entry and exit.
- Match flute count to the material and chip load.
- Choose point geometry that suits the hole depth and finish needed.
- Avoid using a worn tool for final edge-critical operations.
Set feed, speed and peck strategy with the burr in mind
A lot of burr problems come from the last few millimetres of the cut. If feed is too low, the tool rubs and tears. If feed is too high, it can chatter or push material over the edge. The best result is usually a stable cutting load with enough chip thickness for the tool to slice properly. On stainless steel, for example, a too-slow finish pass often makes the exit burr worse than a slightly faster, cleaner cut.
Drilling benefits from a sensible peck cycle on deeper holes, but too many short pecks can leave a rough hole wall and more edge damage. If the machine has good coolant pressure and chip evacuation, a longer peck may be better than repeated nibbling. During load-shedding affected shifts, some shops also find that restarting after a power event leaves a small thermal shift that changes burr behaviour, so checking the first parts after restart is worth the time. A minor setup check can save a lot of rework later on.
- Keep feeds consistent through the cut instead of slowing excessively at exit.
- Use peck drilling only as needed for chip control and heat control.
- Check coolant flow at the tip, not only at the tank.
- Review the first part after any interruption or machine restart.
Support the part properly so the edge stays supported
Thin plates, small brackets and drilled flanges are the usual trouble spots. If the part flexes, the tool pushes the edge down and the burr grows on the unsupported side. Good clamping is one of the cheapest ways to improve finish quality. Vacuum fixtures, backing plates, soft jaws and close support under the cut all help keep the material from lifting at breakthrough. In coastal areas such as Durban or Gqeberha, where humidity can affect clamping surfaces and stored material, keeping fixtures clean and dry also helps maintain repeatable results.
When you can, break the job into stages so the edge is still supported during the critical cut. For example, machine a pilot feature first, then finish the outer edge after the part is secure. In some cases it is better to leave a small amount of stock for a final clean-up pass than to cut to size in one heavy move. That final pass should be light, steady and controlled. If the job is for a municipal or structural application, a cleaner edge also helps the part pass inspection without extra grinding.
Reduce burrs on holes with entry and exit control
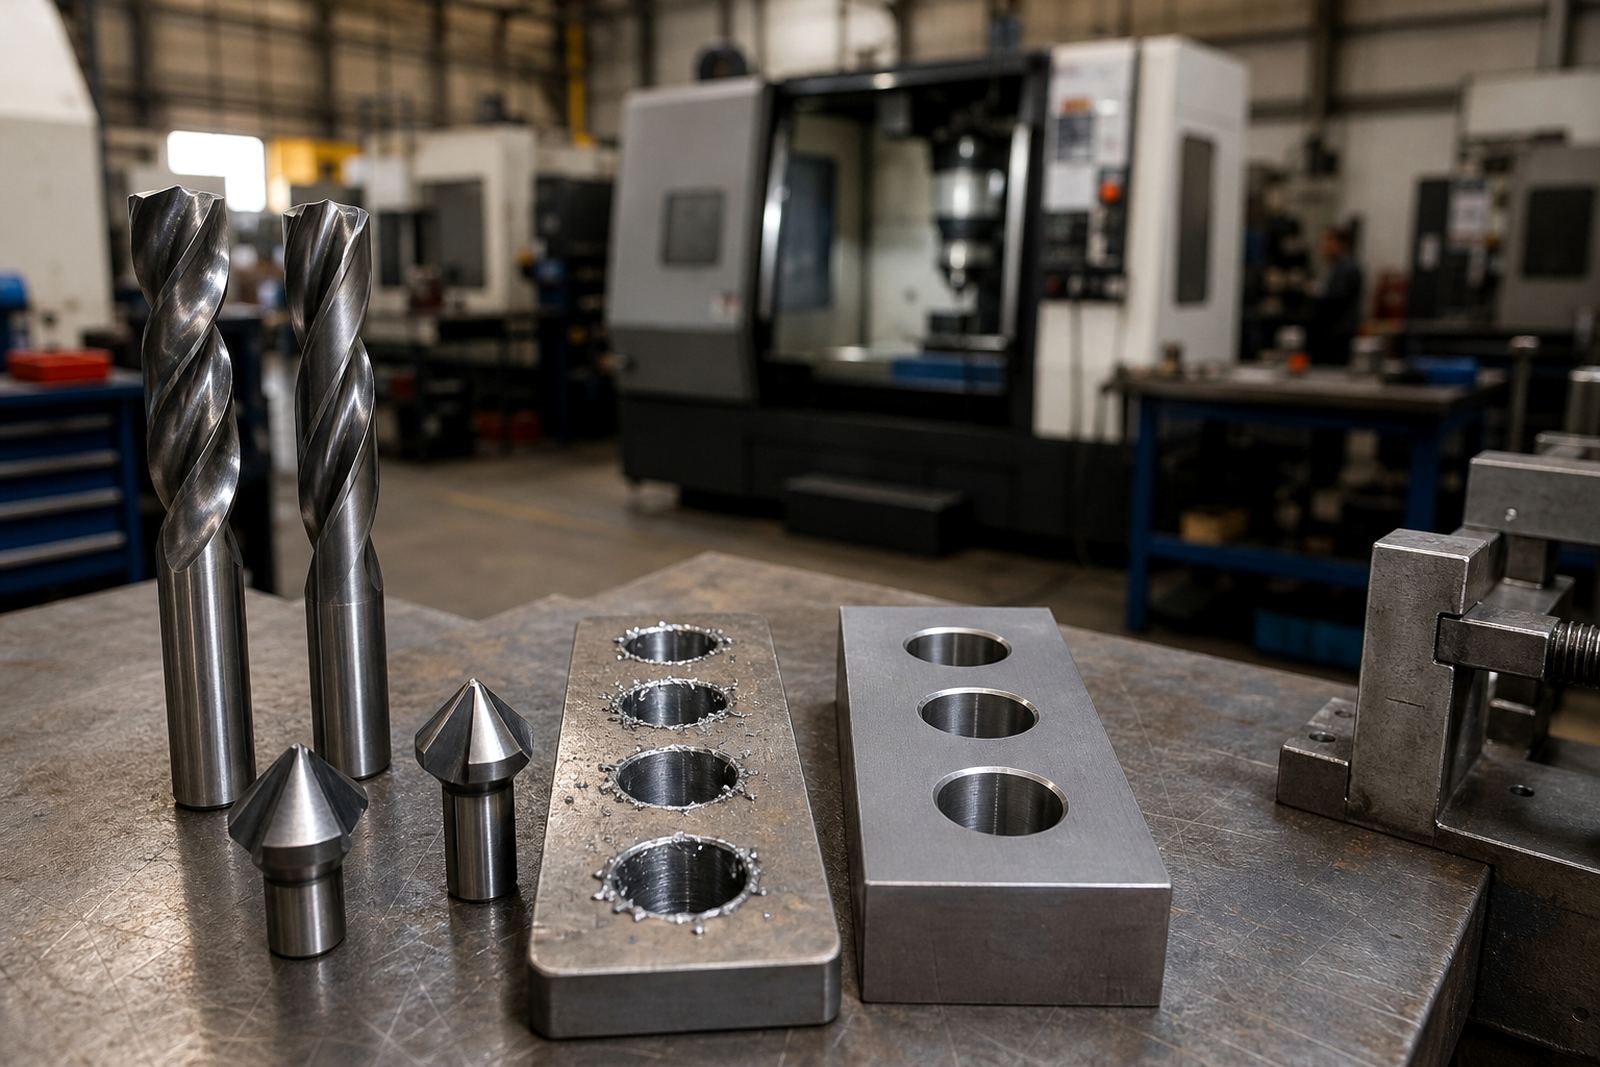
Drilled holes often need the most attention because the exit side carries the worst burr. Entry control starts with a stable spot and the correct drill point, but exit control is where the payoff comes. Backing material below the workpiece gives the drill something to cut against and helps prevent breakout. Where backing is not possible, reduce thrust as the drill approaches breakthrough and keep coolant reaching the point so swarf does not weld onto the edge.
For recurring work, the simplest improvements are often the best. Standardise the drill selection, record the feed and speed that gives the cleanest hole, and keep an eye on tool wear before the burr becomes a pattern. One Gauteng machine shop machining mild steel brackets for local assemblies cut deburring time by changing to a sharper carbide drill, adding a backing plate and adjusting breakthrough feed on the final 1 mm. The parts came off cleaner and the operators spent less time hand finishing each batch.
- Use backing plates or sacrificial material under break-through holes.
- Reduce thrust as the drill nears exit.
- Keep coolant reaching the cutting edge to limit smearing.
- Log the settings that give the cleanest hole finish for repeat work.
Build a repeatable process for shops running long shifts
Reducing burrs is easier when the process is documented and repeated the same way every time. In a production shop, one operator may run the roughing cycle and another the finishing cycle, so the method has to be clear. Keep a short internal standard for the material, tool type, spindle speed, feed, coolant and clamping method. That way the result is not left to memory, which is useful when orders change and shift handovers get busy.
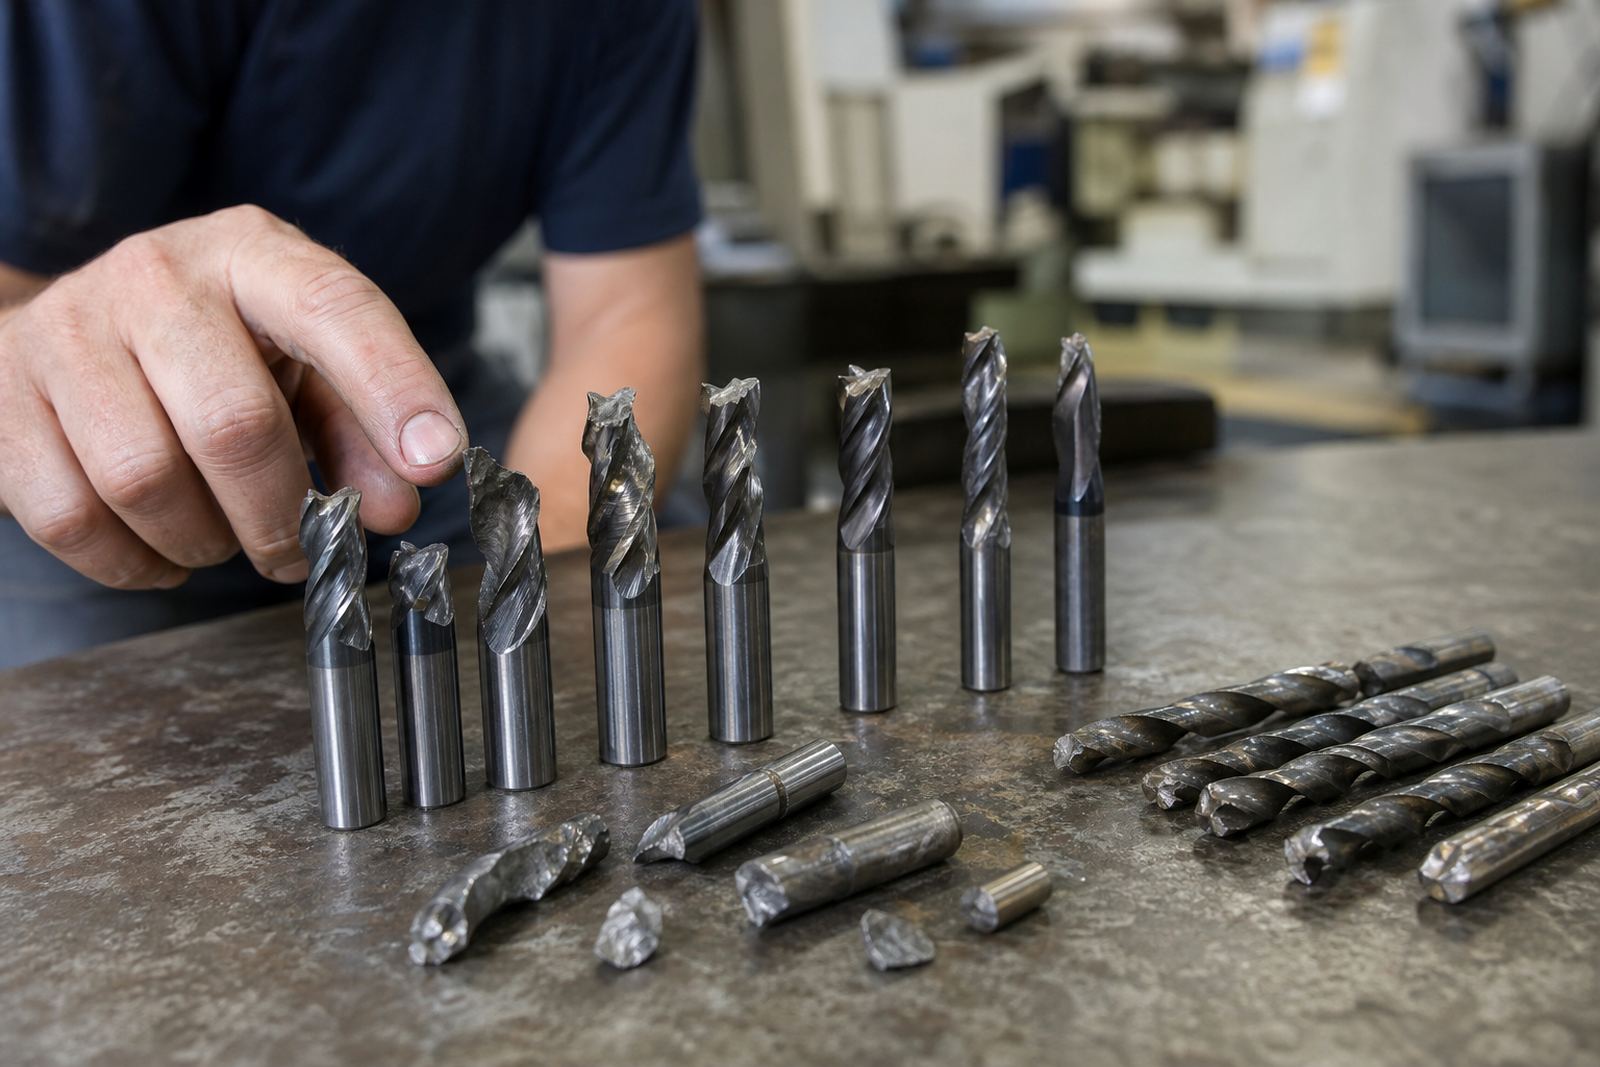
Tool life planning matters too. A carbide end mill or drill that is past its best cutting edge can still make a part, but it will usually leave more burrs. Stock planning helps here. If the correct tools are on hand in Wadeville or dispatched to Johannesburg, Pretoria, Cape Town, Durban or Gqeberha without delay, the shop can replace a worn tool before quality slips. For high-volume work, sample trials and tool life checks are worth doing because a small change in geometry or feed can cut secondary finishing time quite a bit.
CuTools Carbide supports shops with tool selection, application support, speed and feed advice, tool life optimisation, material matching, sample tool trials and urgent tool supply. That practical support helps keep the process steady, especially when a job needs a cleaner edge and less hand work at the end.