
Why deep cavities punish poor tool choice
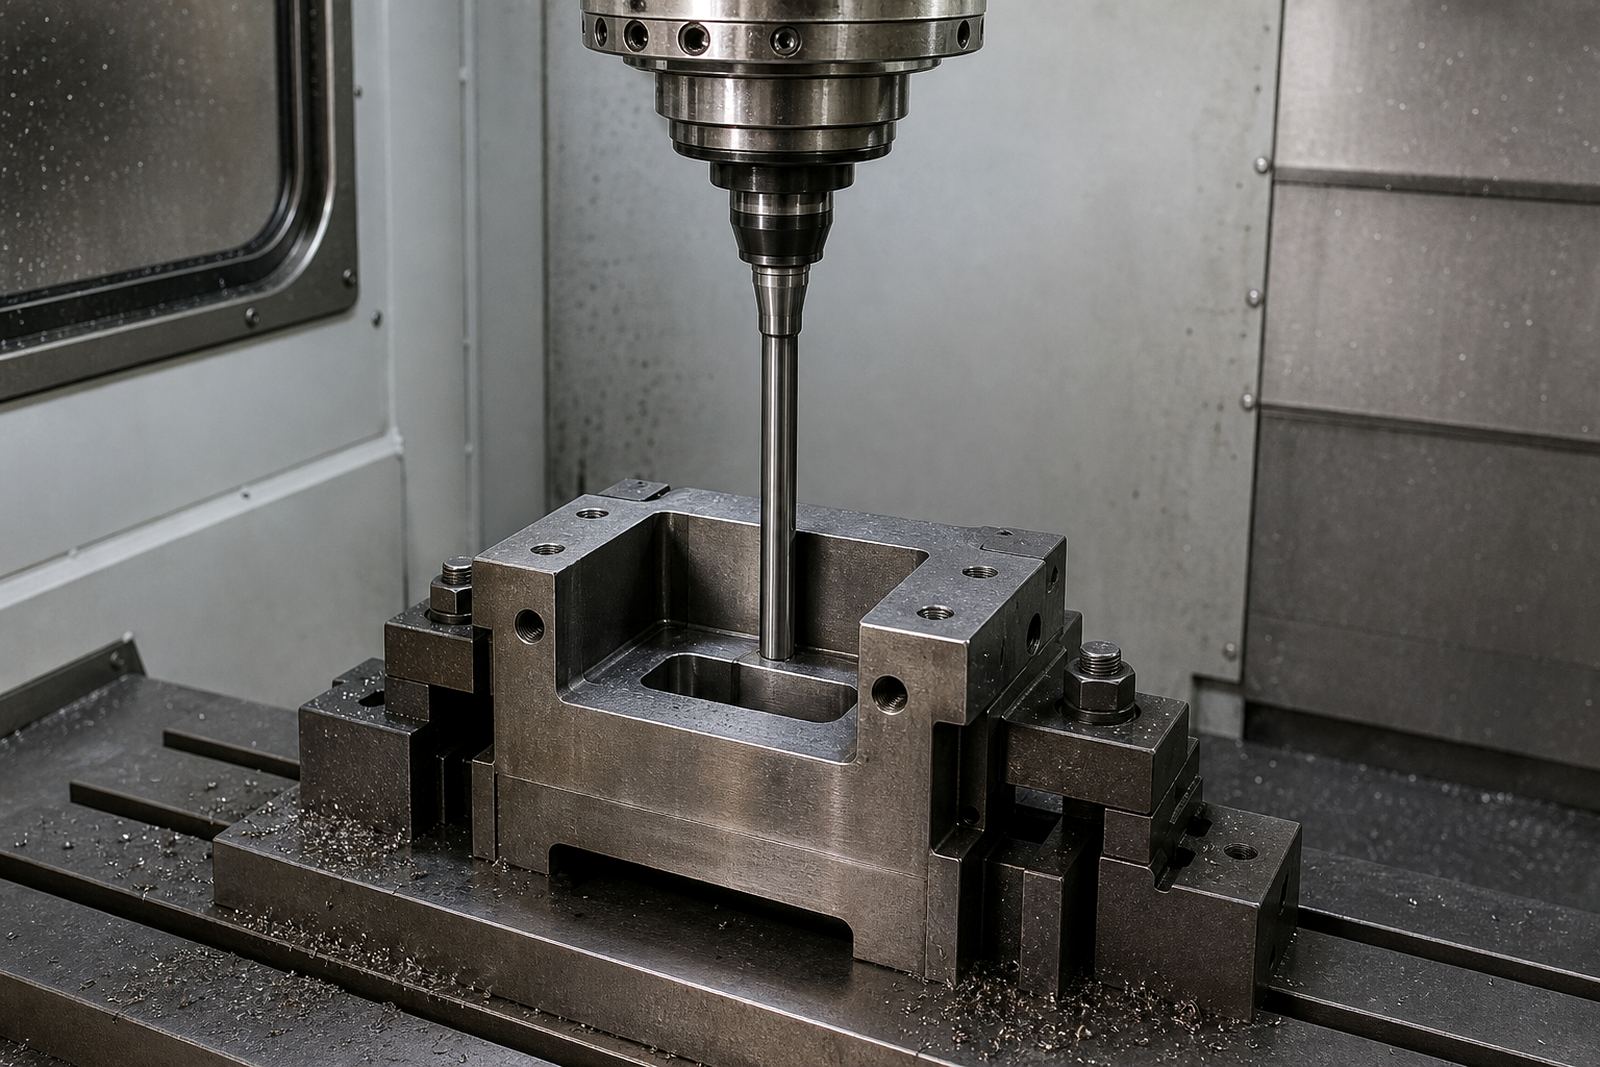
When the cutting edge sits far below the spindle nose, the tool behaves like a lever. The longer the gauge length, the easier it is for the cutter to flex, chatter and wander off size. In solid carbide work, that matters even more because the cutter may be small in diameter but still carrying full load in hard steel, stainless or aluminium.
On a cavity with a 3xD or 5xD reach, the first mistake is often to use the same feed and step-over as a shorter tool. That usually looks fine for the first few passes, then the sidewall starts polishing, the finish goes patchy and the tool life drops off fast. In Germiston and the wider East Rand, many shops run mixed batches and tight delivery windows, so a deep pocket needs a method that keeps the cut consistent from start to finish.
Deep cavities are not only about depth. They often include narrow entrances, internal corners and interrupted engagement around ribs or bosses. That creates varying load on the cutter, which is where a careful toolpath and the right flute design matter more than raw spindle speed.
Choosing long-reach carbide without sacrificing stability
Long-reach tools should be selected for the actual geometry of the cavity, not just the nominal depth. A 6 mm cutter with a long neck may suit one mould insert, while a 10 mm cutter with a shorter stick-out may be far more stable in the next job. The goal is to keep as much shank support as possible while still clearing the wall and floor.
Before loading the tool, check these points:
- Keep stick-out only as long as needed for the deepest point plus a small safety allowance
- Match flute count to material, with fewer flutes often helping chip evacuation in softer alloys
- Use an edge prep that suits the material rather than forcing a one-size-fits-all cutter
- Confirm holder grip, runout and balance before the first cut
- Allow for coolant delivery, especially in narrow cavities where chips can recut
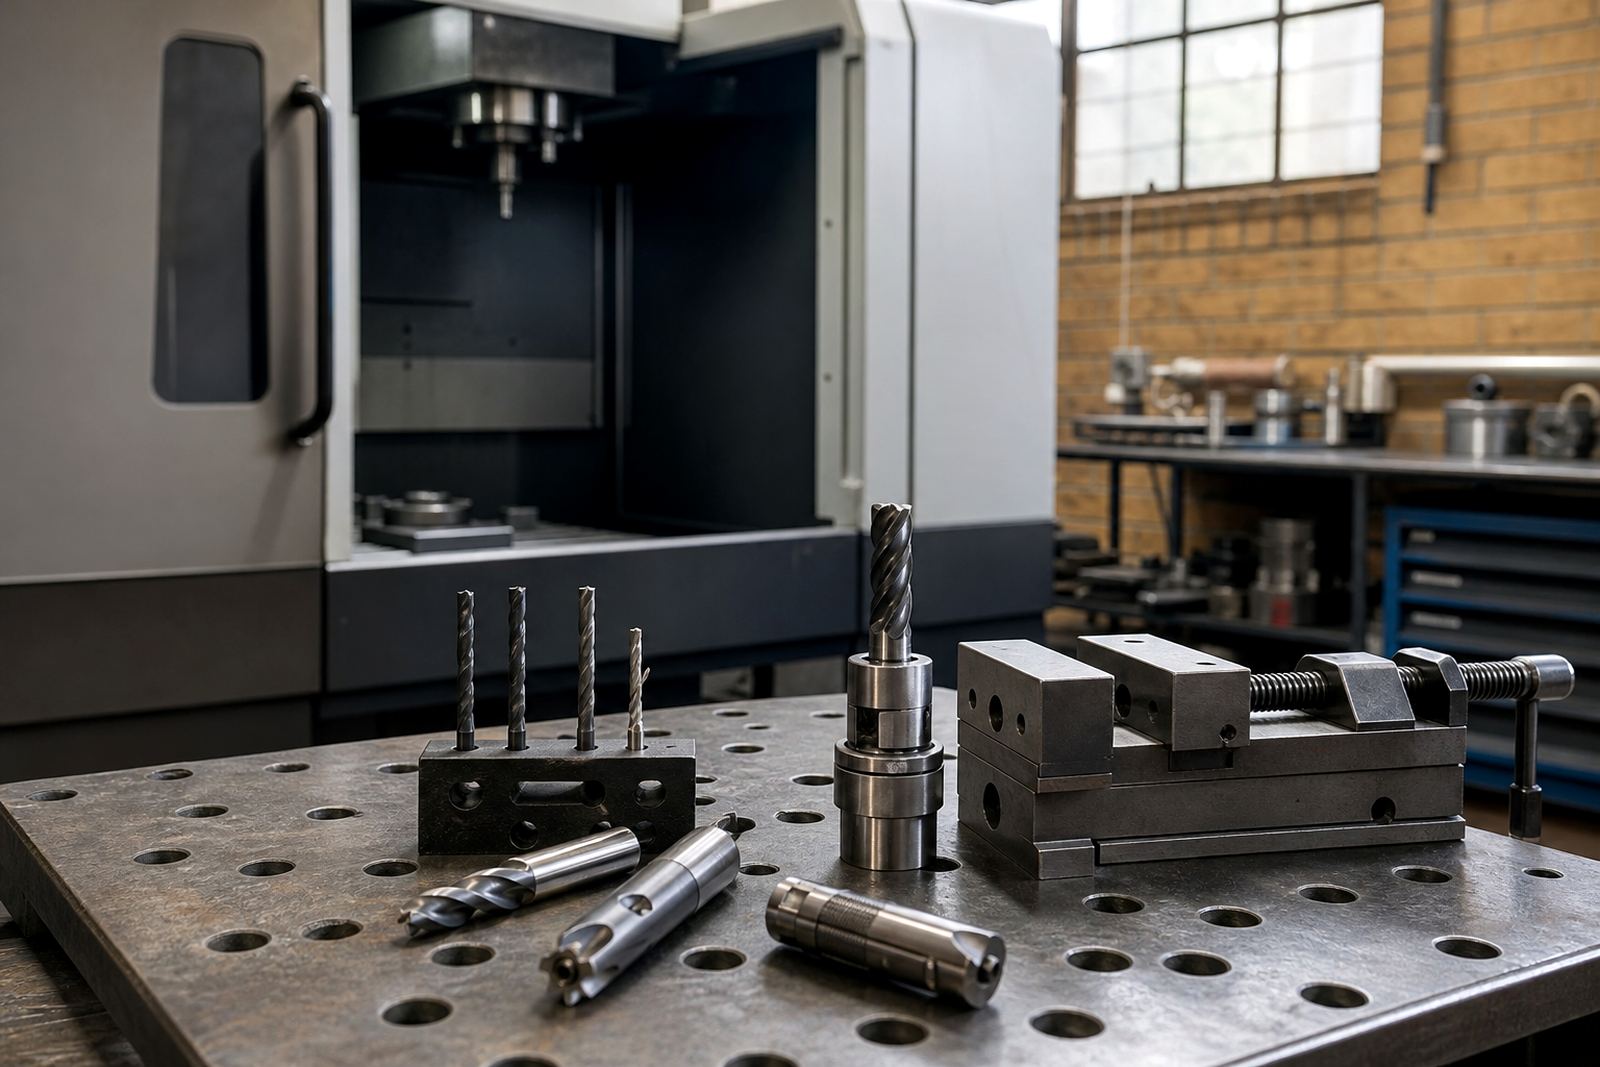
A well made solid carbide end mill can handle a lot, but only if the holder, spindle and toolpath support it. If the runout is uneven at the holder, one flute will carry too much load and the cavity will show it. That becomes worse on longer tools where a small error at the holder turns into a big error at the tip.
Deflection control starts with the first pass
Deflection is not just a finish issue. It also changes the actual diameter being cut, so a pocket can end up oversize on one wall and tight on another. The safest approach is to remove material in controlled stages, starting with a roughing strategy that leaves even stock all round.
In practice, that means light radial engagement and a sensible axial depth. A high axial cut with low radial load can work well in many deep cavities because it keeps the chip thickness manageable and spreads wear more evenly. But if the tool starts to sing or leave a stepped wall, the machine is telling you the cut is too aggressive for the reach.
Useful checks during setup:
- Use a test cut on the same material and thickness where possible
- Measure tool projection and record it for repeat jobs
- Keep the first roughing pass conservative, then open the cut if the load stays steady
- Watch for spindle load spikes when the tool enters corners or narrow sections
A common mistake is to chase cycle time by pushing feed before the cutter is cutting cleanly. On deep cavity work, a stable but slightly slower cycle is usually cheaper than replacing a broken cutter and reworking a damaged part.
Chip evacuation and coolant in narrow pockets
In a deep cavity, chips do not always leave the cut on their own. They can collect at the bottom, recut against the walls and add heat right where the tool is weakest. That problem is worse on long unattended runs and during load-shedding recovery, when a machine restart may come back to a cavity full of loose chips and half-cut material.
Coolant strategy should suit the cavity shape. Through-tool coolant is ideal where available, but even a well aimed external stream can help if the nozzle is set to push chips out of the flute path. Air alone may be enough for some aluminium work, yet in steel or stainless it is often not enough once the cavity gets deep.
For better chip control, keep an eye on:
- Flute packing around the neck of the tool
- Re-cut chips on the floor of the cavity
- Discolouration from heat build-up near the tip
- Unexpected changes in surface finish as the tool goes deeper
Where a shop handles production in Durban or coastal areas, humidity can also affect storage and machine cleanliness. Tools stored open to damp air or coolant mist can corrode at the cutting edge. That may sound minor, but on a fine-diameter carbide tool it can shorten life before the job even starts.
Toolpath choices that keep engagement steady
Deep cavity milling rewards steady engagement more than aggressive entry. Trochoidal or adaptive toolpaths can help by keeping the cutter loaded evenly instead of burying it in a full-width slot. This matters in cavities with tight corners, because a sudden full engagement can multiply cutting force in an instant.
Where possible, break the cavity into zones and machine them in a controlled order. Open the material first, then clean the walls, then finish the floor and corners. That sequence reduces heat and gives the tool a more predictable load path. It also helps the programmer avoid trapped chips in the deepest area of the part.
Best practice on the programming side includes:
- Entry moves that avoid plunging hard into solid material
- Corner speed reduction where the toolpath loads up
- Step-downs that suit tool length and flute reach
- Finish passes with light stock allowance only
For shops in Johannesburg, Pretoria and Boksburg running multiple CNC centres, standardising these settings can save a lot of setup time. Once the cut pattern is proven, the same approach can be repeated across similar jobs instead of starting again from scratch every time.
A local example from a Wadeville production job
A machining shop in Wadeville was working on a deep cavity component with narrow side walls and a pocket that dropped well below the top face. The first trials used a long-reach cutter with too much radial engagement, and the result was chatter marks on the wall plus worn edges after only a small batch. The part was not failing completely, but the finish was not good enough for repeat production.
After reviewing the setup, the tool projection was reduced, the engagement was changed to a lighter cut and the chip clearing was improved. The same job then ran with cleaner walls, better size control and fewer tool changes. Nothing dramatic changed, just the setup was made more realistic for the depth of cut.
That is usually what deep cavity work comes down to. The winning setup is often the one that respects the reach of the tool and the limits of the machine, not the one that looks fastest on paper.
If you are planning a new cavity job, a short trial on the actual material can save a full day of rework. It also gives the operator a chance to see how the tool behaves before the production run starts.
When to ask for tool selection and process support
Deep cavity milling is worth reviewing when the job involves long-reach cutters, hard-to-evacuate chips or expensive material. A quick check on tool geometry, feed rates and holder setup can prevent cracked corners, broken tips and uneven walls.
It helps to ask for support when:
- The cavity is deeper than the standard cutter reach
- Surface finish is poor even though the program looks correct
- Tool life changes from batch to batch
- The part has tight internal corners or thin walls
- You need a faster but still stable production method
For CNC shops across South Africa, from Germiston through to Cape Town, Durban and Gqeberha, the main aim is the same: keep the cut stable, keep the chips moving and keep the tool in the job long enough to finish it properly. Once those three things line up, deep cavity work becomes much more predictable.