
Start with the job material, not the tool box
Before a new end mill or drill goes onto a live job, match it to the actual material on the floor. A tool that works well in mild steel may behave very differently in stainless, cast iron or heat-treated stock, and that is where many first runs go wrong. Check the material grade, the hardness if it is available, and whether the job will cut dry, with flood coolant or with through-tool coolant.
In Gauteng, many shops run mixed work through the week, so it helps to confirm the exact material off the drawing and the cut list. A part that was approved on 1018 mild steel at 400 mm/min may not be safe to run the same way on a tougher batch from a different supplier. Small changes in bar quality can alter tool life and chip control more than people expect.
- Confirm material grade and condition before the first cut
- Check whether the job is roughing, finishing or both
- Match flute count, coating and geometry to the material
- Note if coolant is available and if pressure is consistent
Inspect the tool and holder before it touches the machine
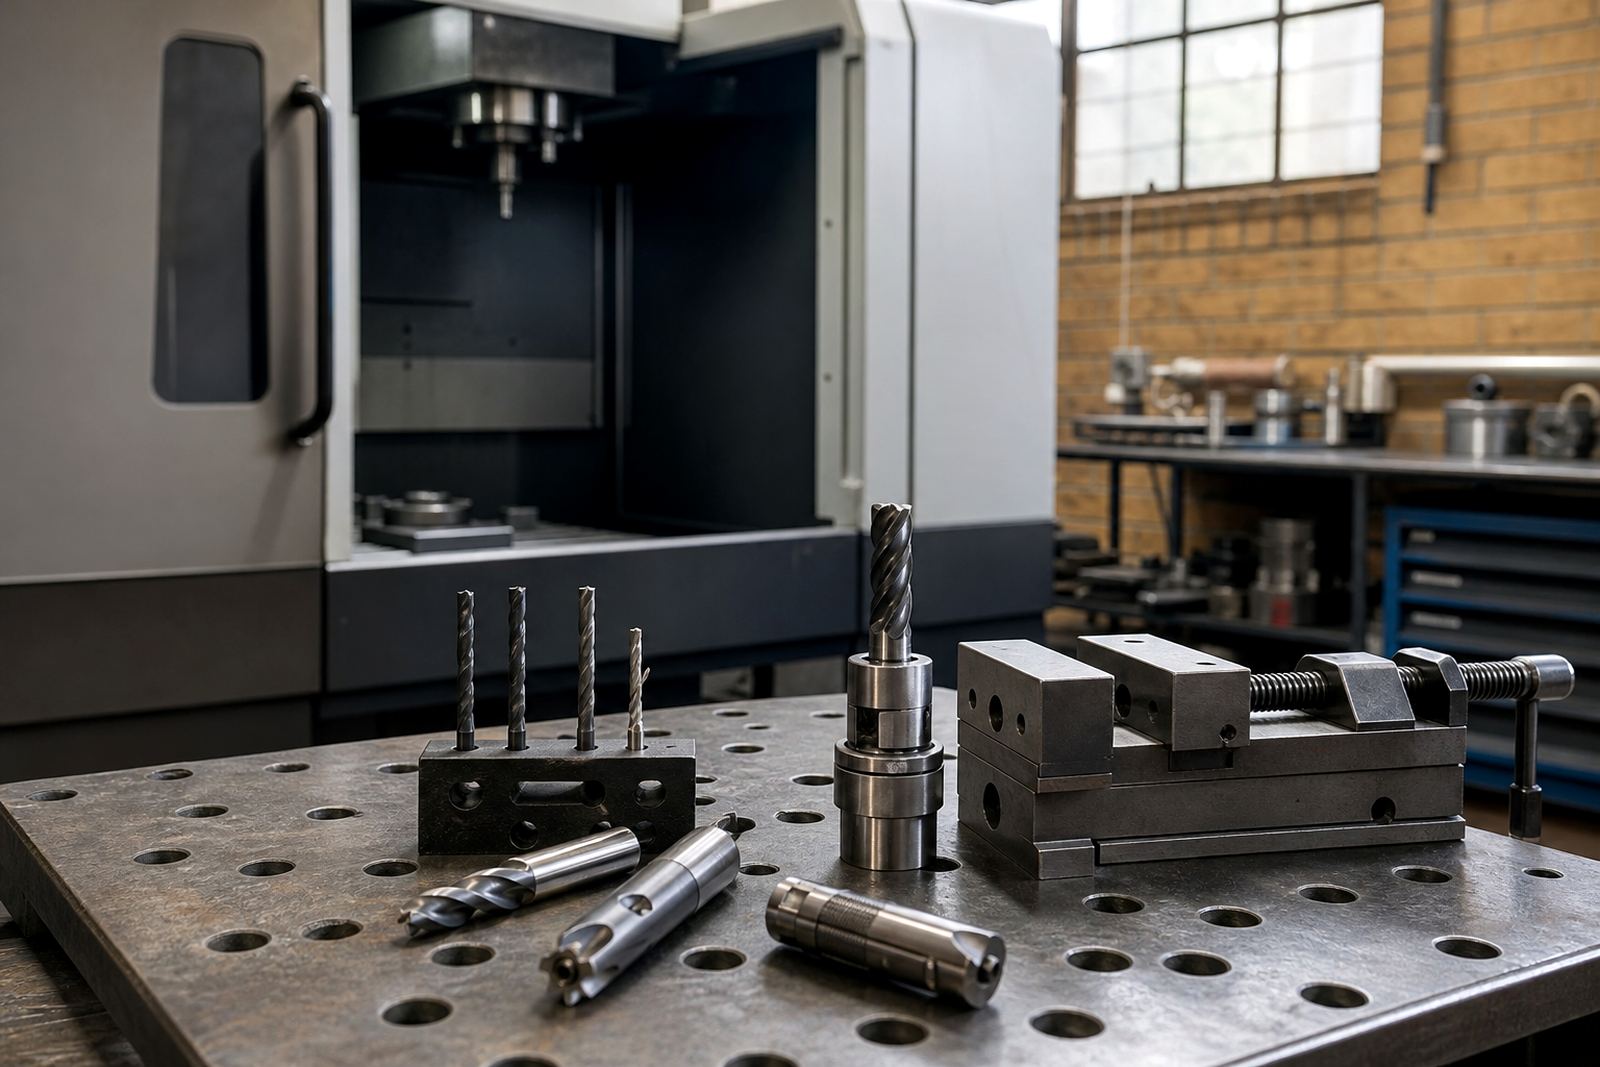
A solid carbide tool is only as good as the setup around it. Before loading, inspect the cutting edges under light for chips, edge damage or contamination from storage. Check that the holder is clean, the taper is seated properly and the shank is clamped to the correct depth. If the holder has runout, the tool will show wear early and the hole or wall finish will suffer.
Runout is often the hidden problem on a first run. Even a small amount can shorten tool life and put extra load on one cutting edge. For small diameter carbide tools, that makes a big difference. On a busy shop floor in Wadeville or Alrode, where machines are cycling all day and tool changes happen under pressure, this basic check saves time later. It also helps to use the same torque method every time so the setup is repeatable.
- Clean holder, collet and taper before assembly
- Check shank engagement and clamping length
- Verify tool stick-out is no longer than needed
- Measure runout if the part is critical or the tool is very small
Set conservative feeds and feeds, then move up in steps
The first production run is not the place to chase maximum output. Start with conservative speeds and feeds based on the tool diameter, flute count and work material, then increase in small steps if the cut is stable. Listen to the machine, watch the chips and check the finish after the first few parts. If the chip is coming off as dust, the cut may be rubbing. If the chips are blue and the edges are burning, the load may be too high.
For drills, pecking depth and coolant delivery matter just as much as spindle speed. A long hole in stainless, for example, can trap chips and cause the drill to seize if the peck cycle is too shallow or too aggressive. For end mills, avoid burying the full flute length unless the strategy calls for it and the machine can handle the load. Start sensible and test methodically.
- Use a proven starting point from the tool maker or applications team
- Reduce load on the first part if the machine is older or the setup is long
- Increase one variable at a time, not all at once
- Record the exact settings that produced the best result
Check chip shape, sound and finish on the first pieces
The first few parts tell you a lot. Good chips are usually consistent, clean and suited to the material. A squeal, chatter mark or sudden change in spindle tone means something needs attention. On a first run, the goal is not just to make a part, it is to understand how the tool is behaving under real load. That means checking the finish after the roughing pass and again after the finishing pass if the job has both.
In many Johannesburg and Pretoria shops, the line between acceptable and ideal can be tight because customers want repeatable sizes and short lead times. If a new tool leaves a slightly rough wall or a drilled hole that wanders, do not push ahead and hope for the best. Pause, inspect and adjust. A quick correction now is cheaper than scrapping five parts later. One missing adjustment can cost a whole batch if nobody is watching the first run closely.
- Listen for chatter, squeal or sudden load changes
- Check chip colour and consistency during the run
- Measure critical sizes after the first part, then again after a short run
- Look for burrs, edge tear-out and surface marks
Watch tool wear early and do not wait for failure
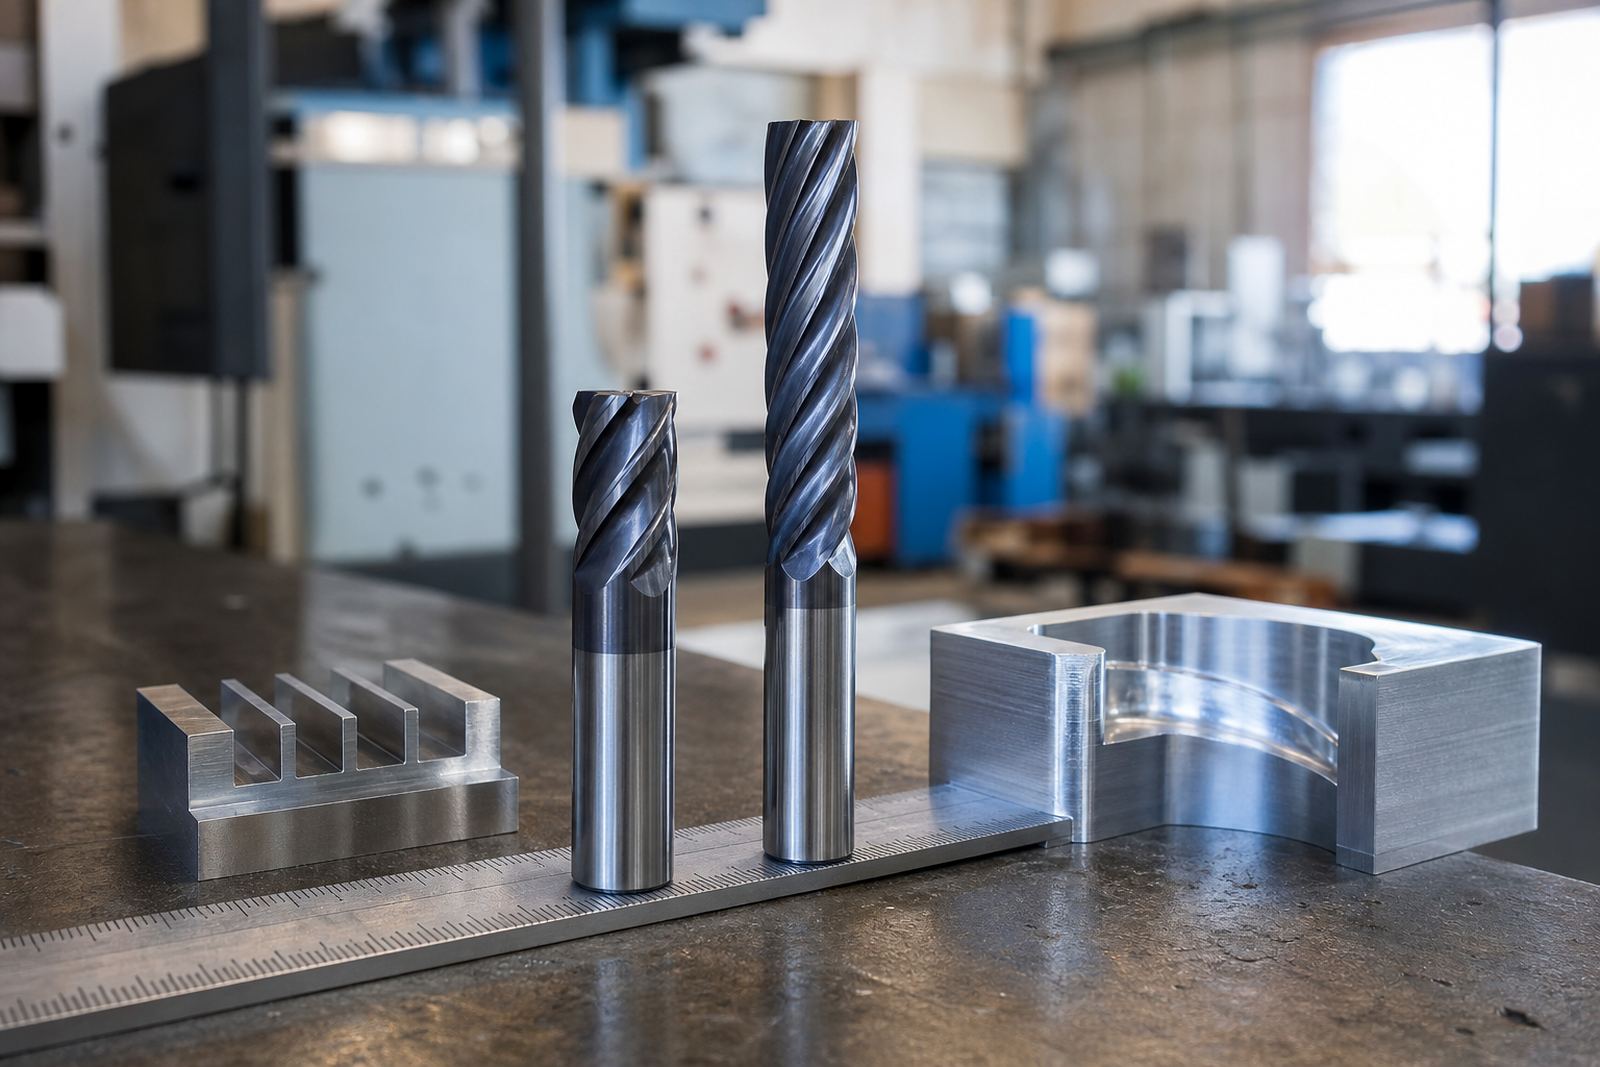
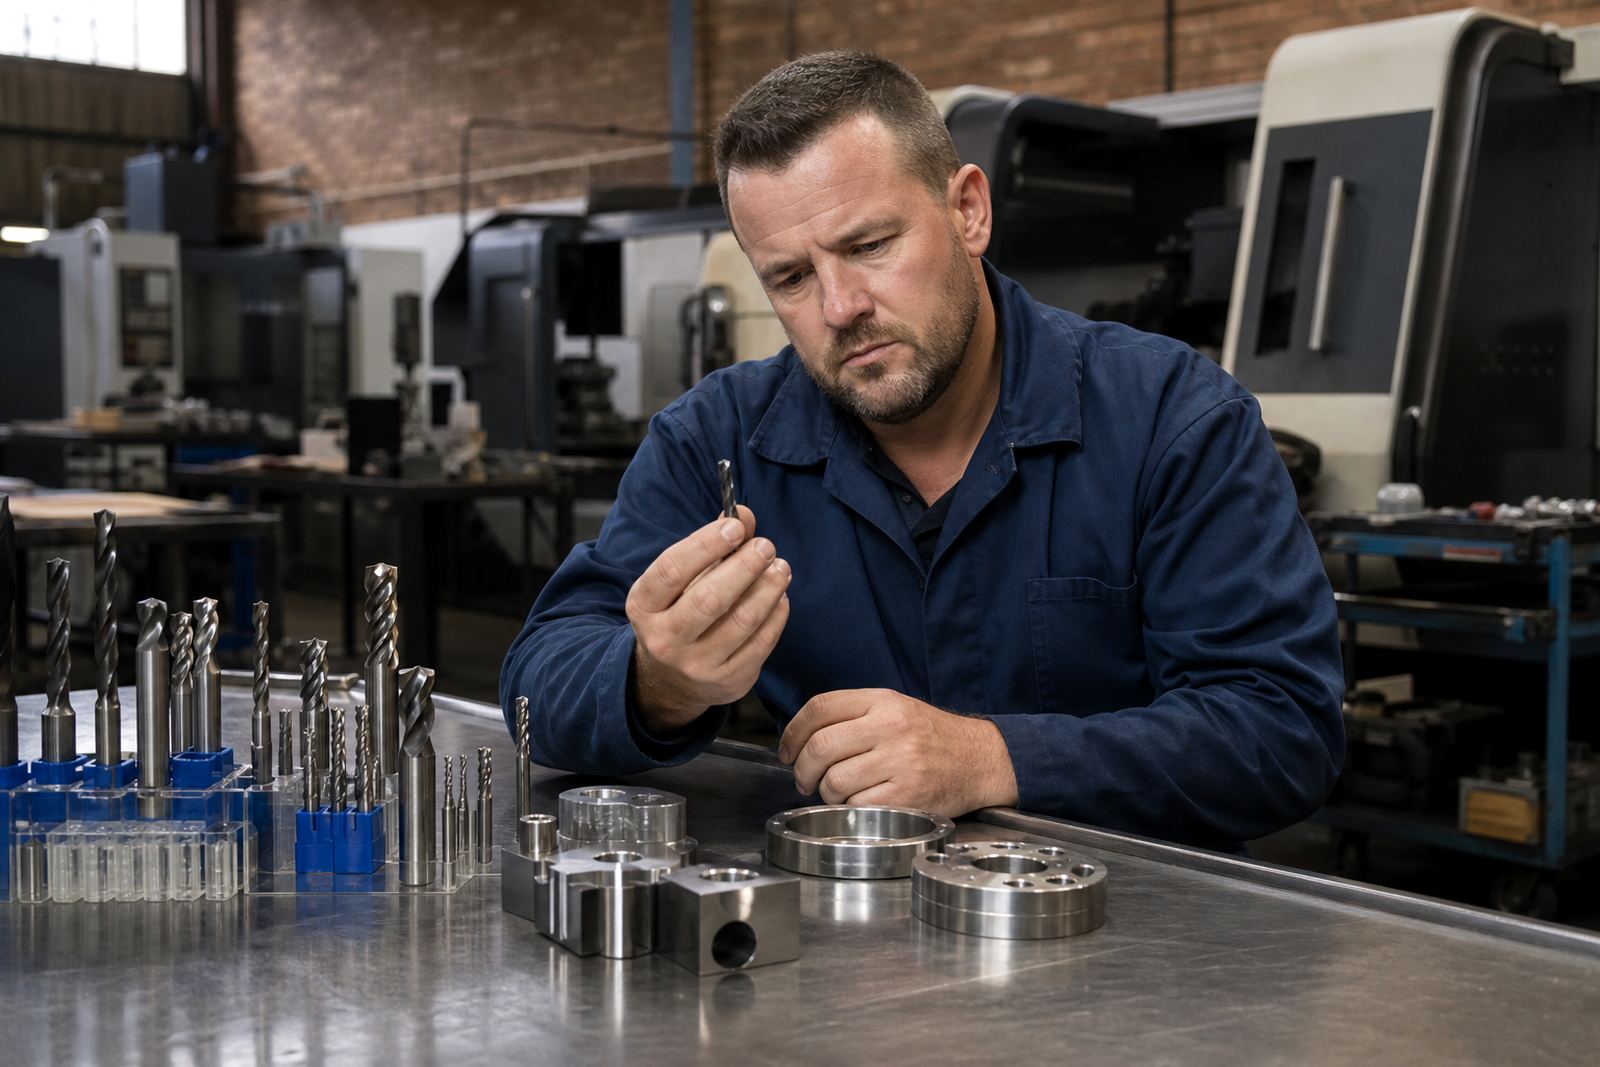
A carbide tool should be removed before it fails if the job is critical. First-run testing is the time to learn what normal wear looks like on that machine and that material. Inspect the cutting edges after the initial run for rounding, micro-chipping or edge build-up. If wear appears too quickly, the issue may be coolant, runout, chip evacuation or too much stick-out.
For coastal work in Cape Town or Gqeberha, humidity can affect storage and handling, especially if tools are left unpacked near open doors or in a warm store room. Keep carbide dry and protected from knocks. On the floor, assign one person to sign off the first run results so the findings are not lost in the rush of the day.
- Inspect edges after the first few parts, not only at changeover
- Compare wear on all cutting edges, not just one side
- Track part count, cut time and any changes in coolant or material batch
- Set a planned replacement point before the tool becomes a risk
Use a simple sign-off sheet so the result can be repeated
The best first run is one that can be repeated by the next shift without guesswork. Write down the tool code, diameter, holder type, stick-out, spindle speed, feed, depth of cut and coolant setting. Add the material batch, machine name and the name of the operator who ran the trial. That way, if the job moves to another machine or the next shift, the settings are there and nobody has to rely on memory.
This is where many shops lose time, especially when urgent work comes in from a customer in Boksburg or Centurion and the job needs to move straight from trial to production. A tidy record also helps when you are comparing two similar tools or testing a new size. If the first run went well, standardise it. If it did not, the notes will show where the process started to drift.
- Record machine, tool, holder and material details
- Note the exact first-run settings and any adjustments
- Keep photos of the part finish and chips if the job is repeat work
- Use the approved settings for future batches without changing them casually
A Germiston example: one drill trial that saved a full batch
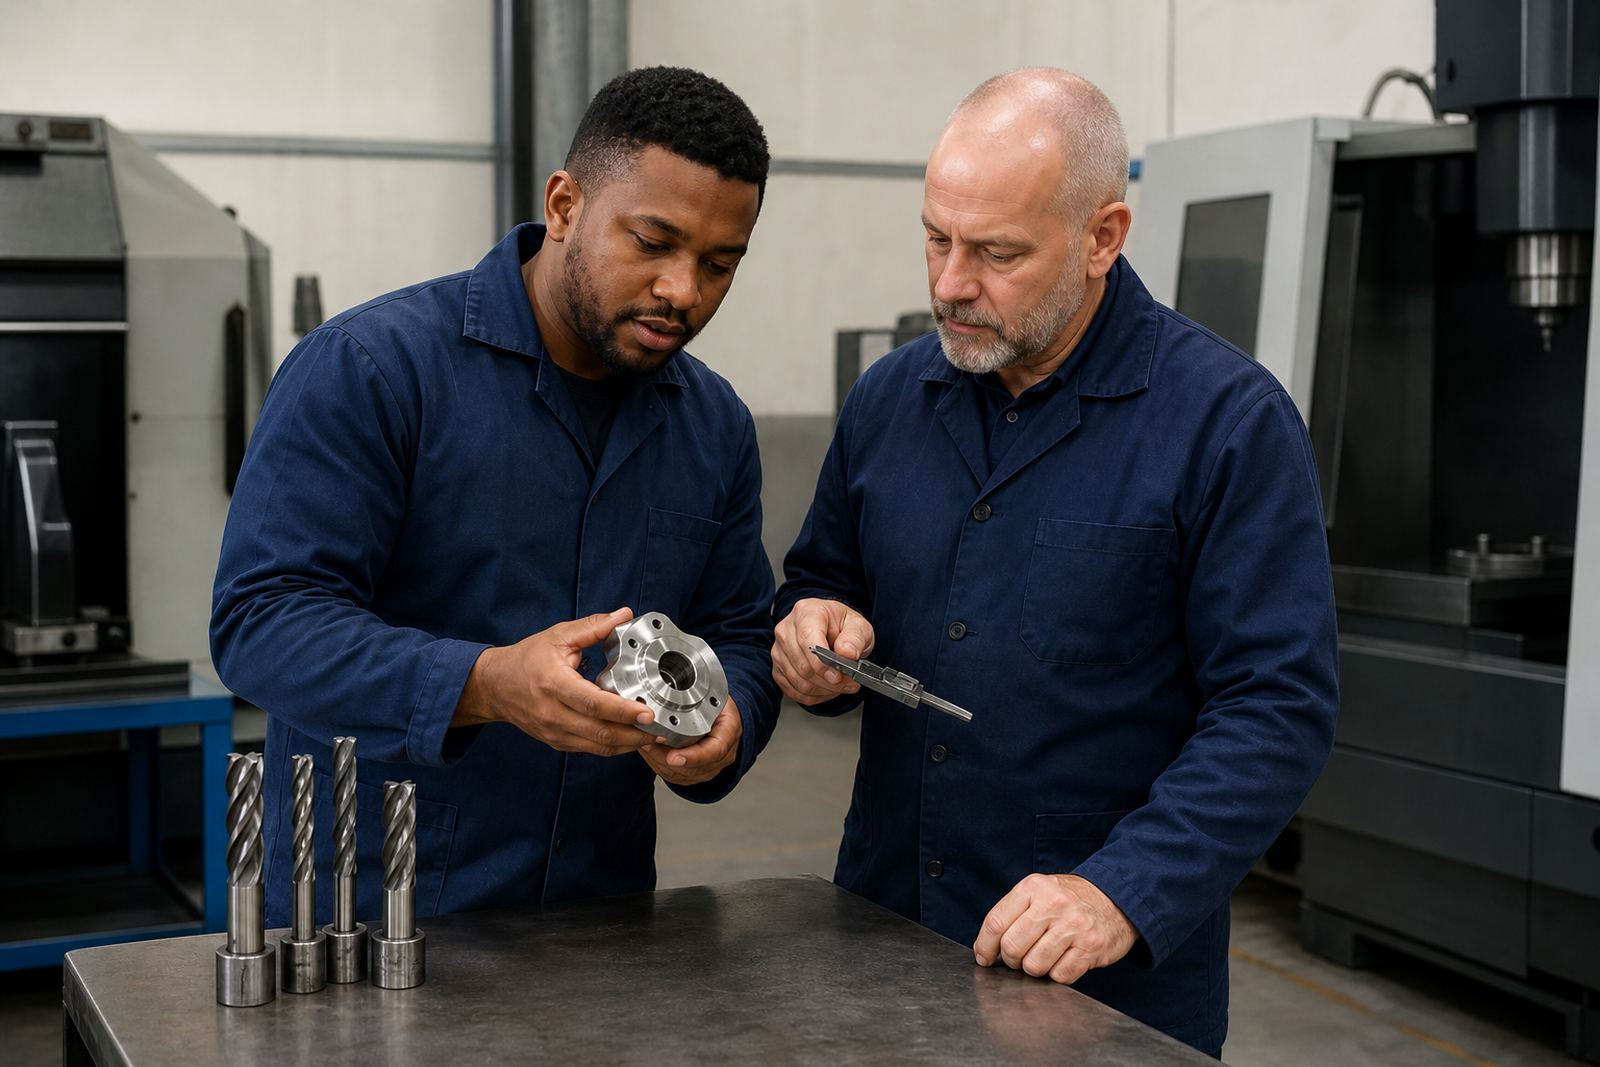
A small machining shop in Germiston took on an urgent order for steel components with tight hole tolerances. The first instinct was to run the new carbide drill at the same setting as the old tool, but the setup team stopped and checked the material, holder condition and coolant flow first. They reduced the initial feed slightly, confirmed chip evacuation and measured the first holes carefully. The holes came in clean, and the team moved to full production with no rejects. That first 20 minute check saved a lot more than it cost.
The lesson is simple. A first run is not paperwork for its own sake, it is the point where process control starts. A new carbide tool can perform very well, but only if the machine, material and settings are matched properly from the start. If you are testing a new cutter on a live job, treat the first pieces as your proof of process, not just the first parts off the machine.