
Start With the Plate, Not the Toolpath
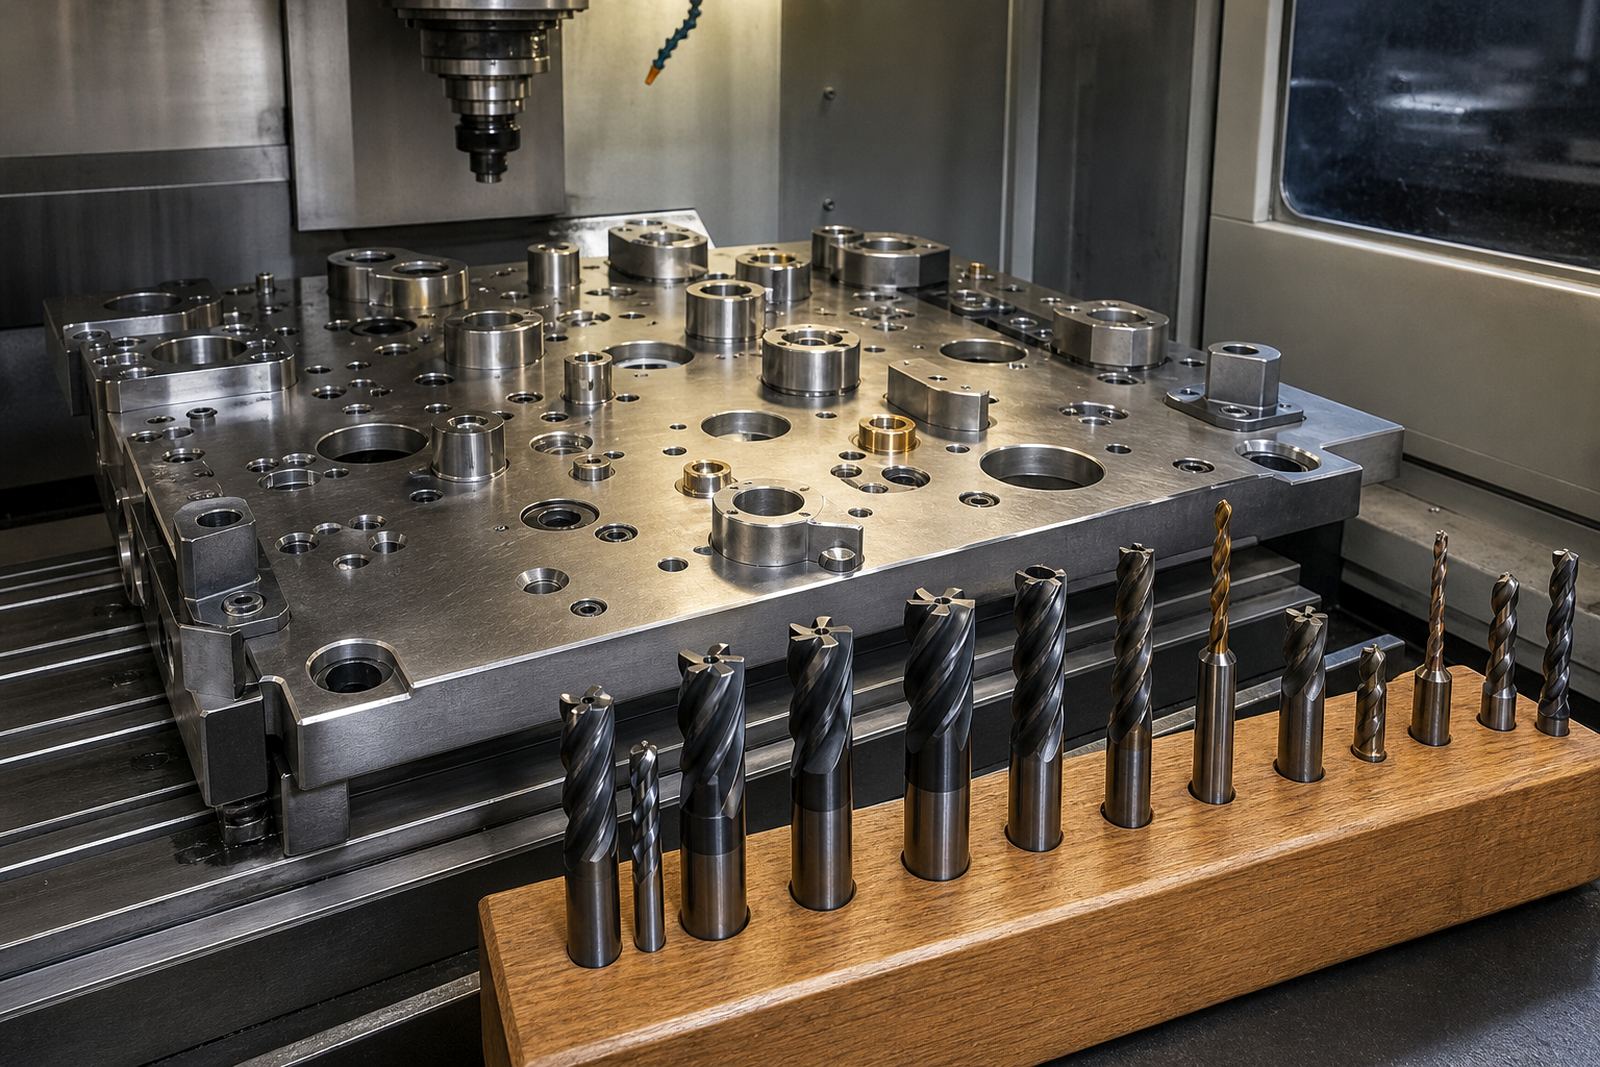
Repeatable work begins before the first cutter touches the job. On fixture plates, the aim is not just to hold the part down, but to hold it in the same position every cycle so the hole pattern, pocket depth and edge finish stay consistent. In many South African shops, the biggest gains come from simple setup discipline, not from adding more complexity.
Check plate flatness, datum locations and the condition of the locating pins or stops. If the plate is going onto a CNC machining centre that runs long shifts, the workholding surface must stay clean and stable through heat, coolant and chip build-up. A light skim can help, but only if the plate is properly mounted first, otherwise you are fixing one problem and creating another.
- Use a clear primary datum and stick to it across all repeat jobs.
- Mark clamp zones so operators do not crowd the cutting path.
- Keep chip escape in mind when placing pockets close to edges.
Choose Solid Carbide Tools for Small Tolerances
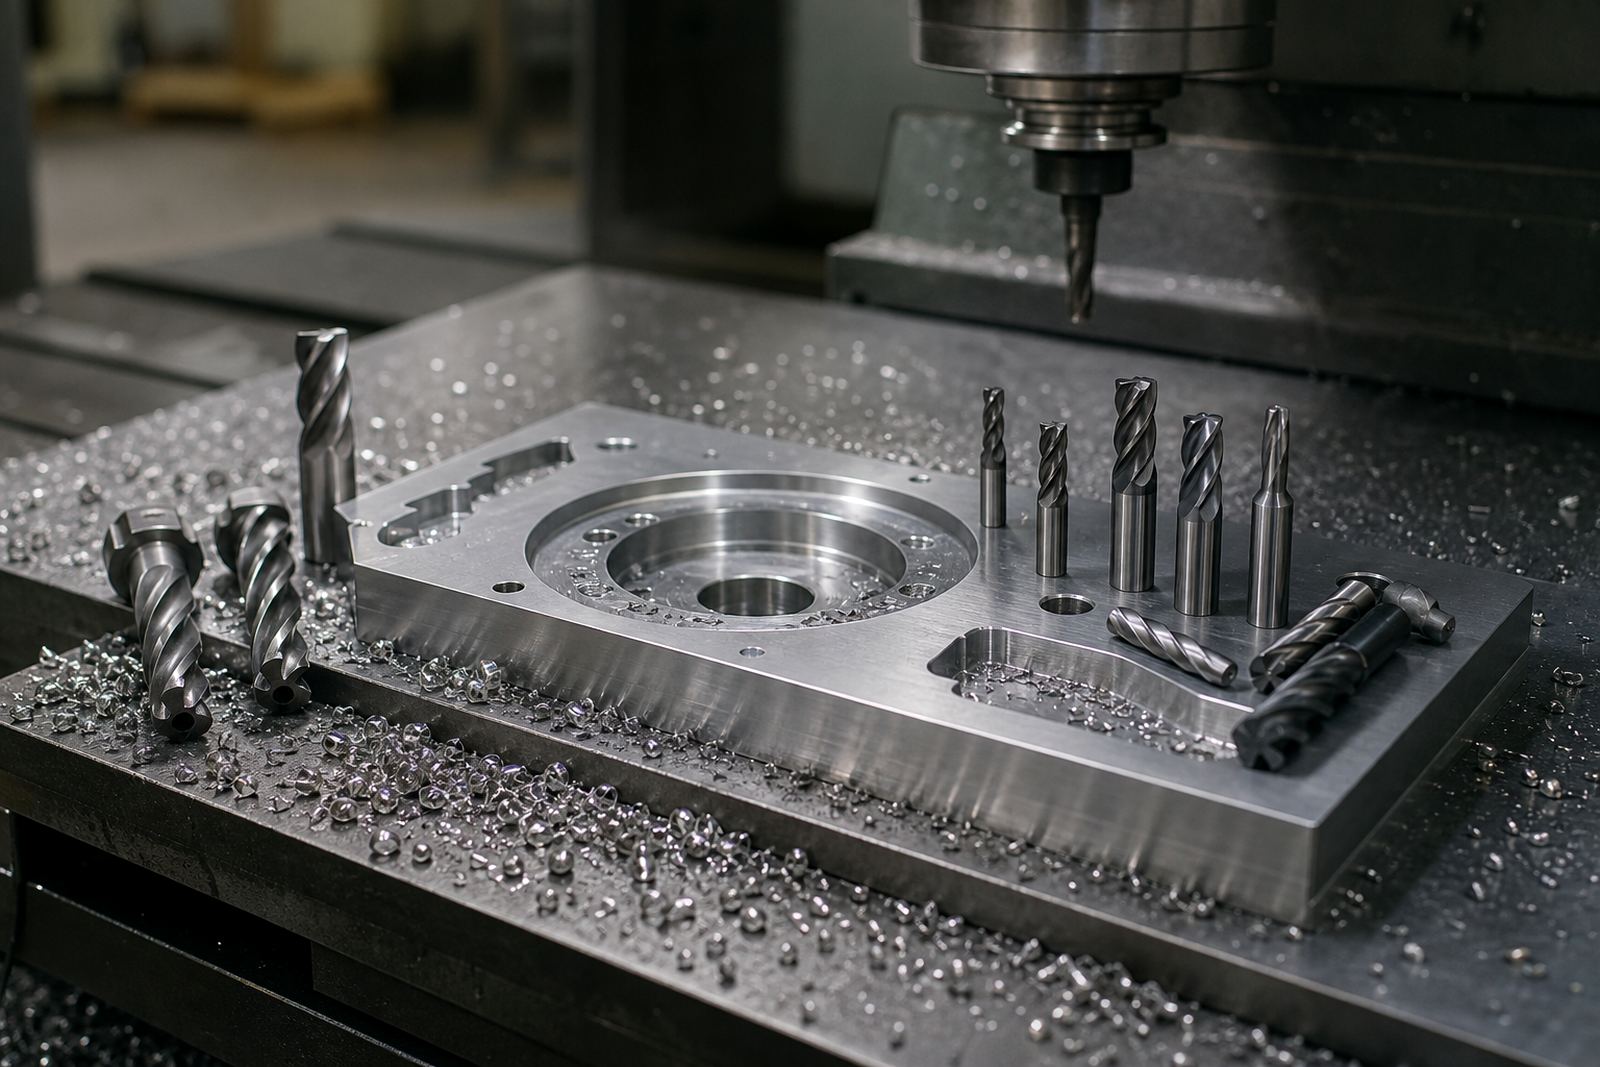
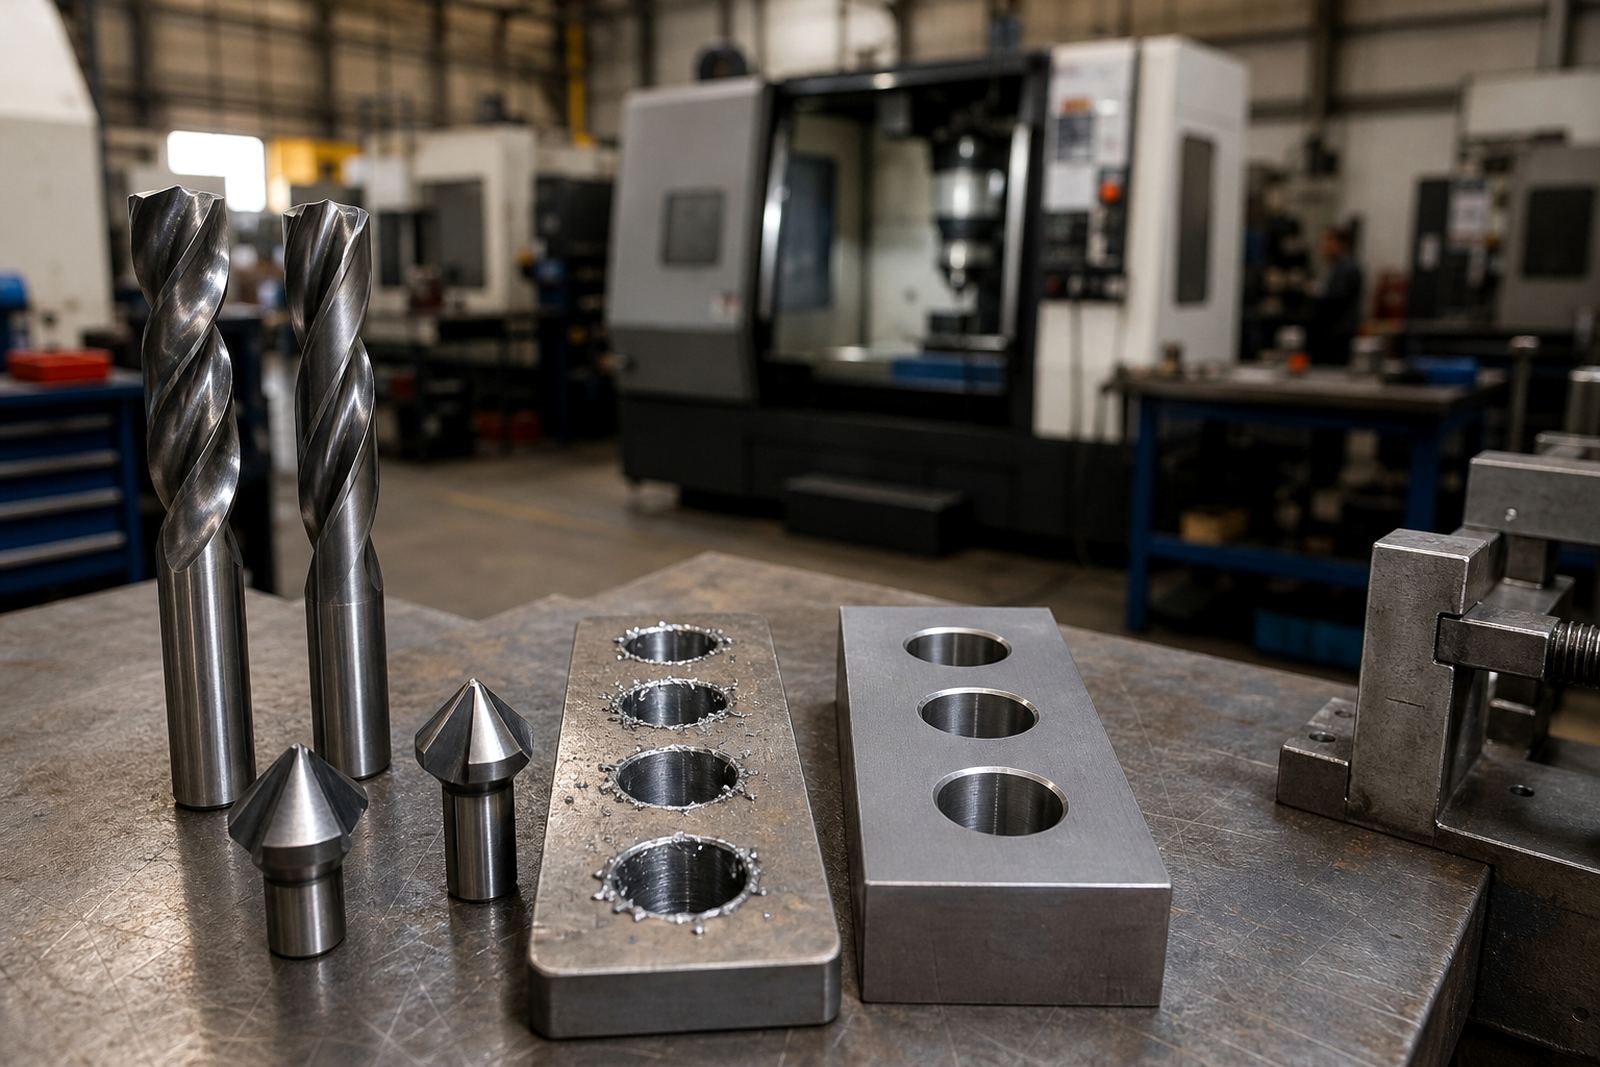
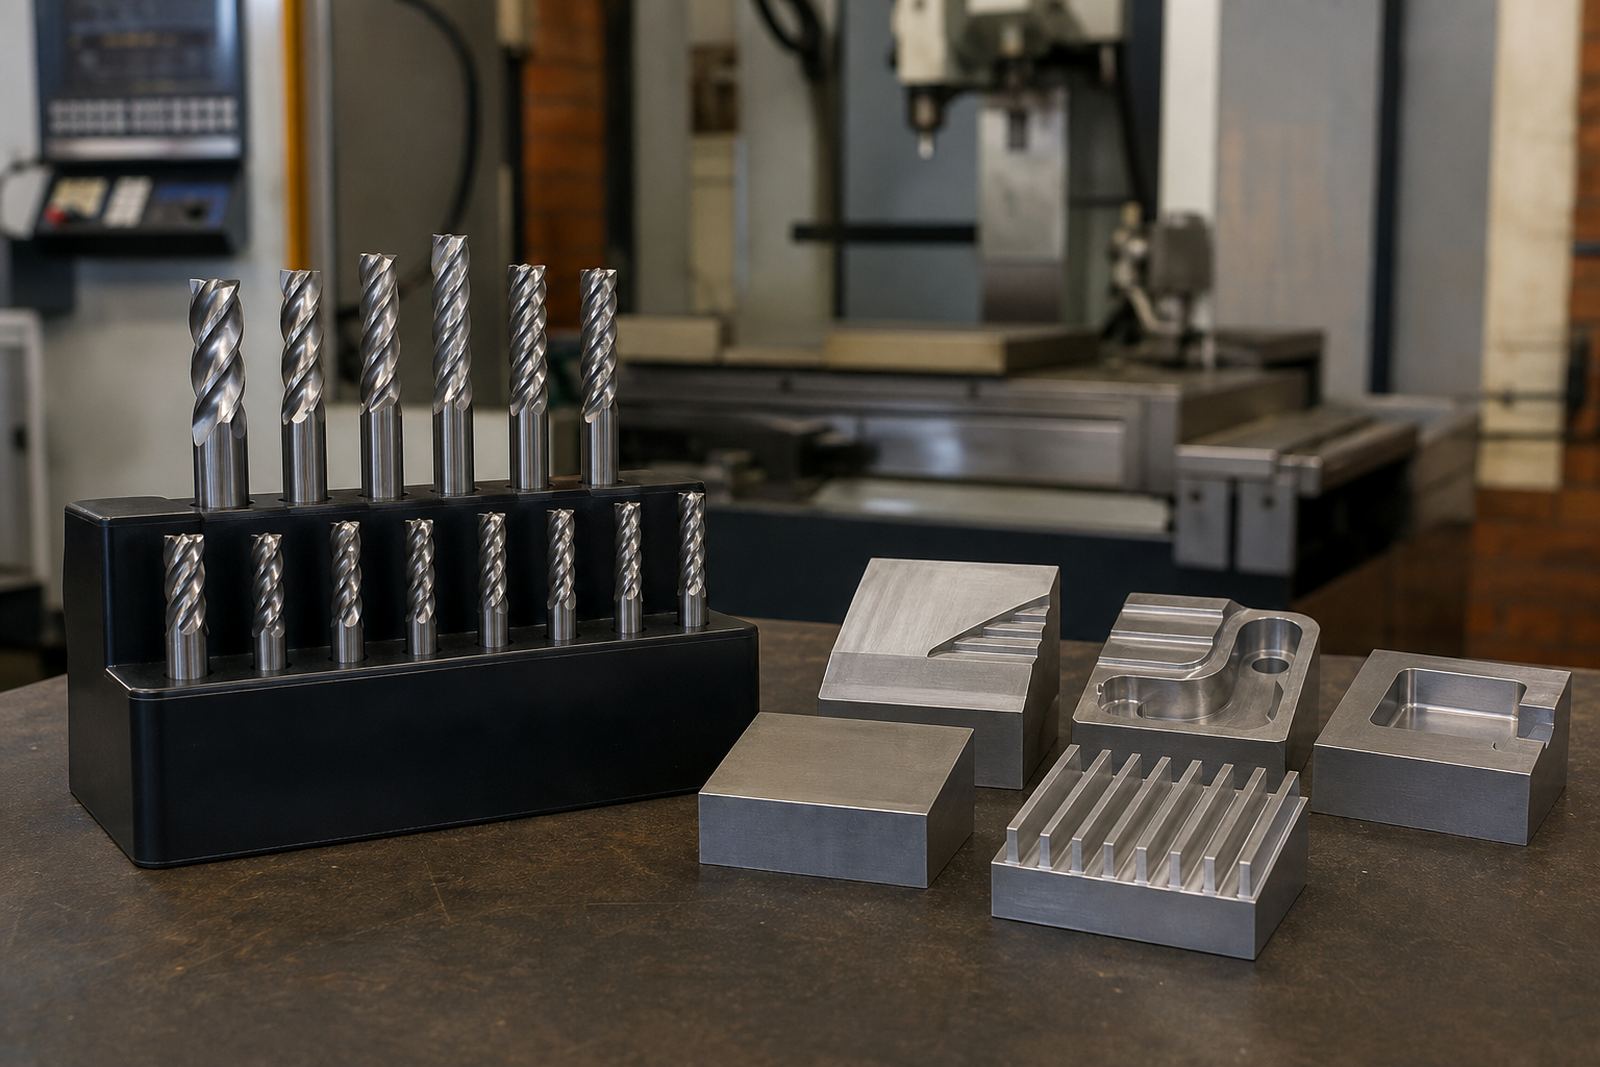
When fixture plates call for tight hole locations or clean pocket floors, solid carbide end mills and drills are often the practical choice. The material stays stable at higher speeds and gives better edge control on steel, aluminium and many plate alloys. For shops in Germiston, Johannesburg or Pretoria running mixed jobs, that consistency matters because tool changes and rework eat into production time quickly.
For blind holes and shallow pockets, use a tool size that matches the feature instead of trying to force one cutter to do everything. A 6 mm carbide end mill behaves very differently from a 12 mm tool, especially in thin plates where chatter can start early. If the plate has interrupted cuts near slots or clamping cut-outs, pick a cutter with enough rigidity for the worst section, not just the easiest one.
- Use drills with enough flute length for chip clearance, but not excess stick-out.
- Keep the cutter as short as possible for better rigidity.
- Check coating and geometry for the material, especially on stainless and tool steel.
Hole Patterns Need More Than Accurate Coordinates
Repeatable hole patterns depend on more than the CAM file. If the fixture plate is used for multiple components, hole centres must suit the real job flow, not only the drawing. A neat pattern on screen can become a headache if the spacing leaves no room for clamps, inspection probes or swarf clearing. This is where practical planning saves time.
For production plates, drill and ream only where the fit really needs it. In many cases a precision drill followed by a light finishing pass is enough, provided the tool life is monitored. On high-volume work, tool wear can shift hole size by a small amount, and that small amount is enough to throw off repeatability when the plate is used in a second operation.
- Separate locating holes from clearance holes so each does one job.
- Leave enough edge distance to avoid breakout and distortion.
- Measure the first-off part and then recheck after tool changes.
Pocket Milling Without Pulling the Plate Out of Truth
Plates with recesses, relief pockets or weight-reduction pockets need stable cutting strategy. If the cutter is taking too much at once, the plate can move, ring or lose flatness, especially on thinner sections. This becomes more noticeable in coastal areas like Durban and Gqeberha where humidity and coolant management can affect surface condition and chip evacuation.
Use step-downs that suit the tool diameter and the holding method. A shallow finishing pass on the pocket floor helps improve fit for locators, spacer blocks and part nests. On thicker plates, consider roughing first and then finishing in one clean pass. That approach keeps the load predictable and makes tool life easier to track. It also reduces the chance of a scalloped floor that causes trouble later.
- Leave a small finish allowance for the last pass.
- Use climb milling where the setup is rigid enough for it.
- Clear chips often, since re-cutting chips can mark the pocket walls.
Edge Work Matters More Than Operators Expect
Edge finishing on fixture plates is often treated as a final touch, but it affects safety, fit and repeatability. Burrs near dowel holes or part stops can change how the plate seats on the machine table. Sharp corners may also crack sooner under repeated clamping. A controlled edge break is usually better than leaving raw edges from the mill.
For plate edges that will be handled often, a light chamfer or radius helps reduce wear. If the plate sits in a humid workshop or near coolant splash, clean edges also make maintenance easier because rust tends to start where chips and residue collect. It is a small detail, but it saves time and one less problem to chase during a busy shift.
- Deburr locating faces before the plate leaves the machine.
- Keep edge break sizes consistent across the full plate.
- Check for raised metal around bolt holes after tightening.
A Local Example from Wadeville to the Workshop Floor
A Germiston-based machine shop making repeat brackets for a Gauteng customer may run the same fixture plate for weeks at a time. The first issue is often not cutting speed, but how quickly the operator can load the next blank and trust the setup. With a well-planned plate, clear datums and the right carbide drill set, the shop can hold hole positions, reduce inspection time and keep output steady during load-shedding recoveries or night shifts.
That is where application support matters. Tool Selection, Speed Feed Advice and Tool Life Optimisation help match the cutter to the plate material and the machine condition. For urgent jobs, stock planning and sample tool trials can prevent delays when a repeat order lands with short notice. A practical setup in Wadeville can support work going to Johannesburg, Pretoria, Cape Town, Durban or Gqeberha without needing a fresh process every time.
When the plate strategy is right, the machine spends more time cutting and less time being corrected. That is the real gain, and it shows up in the job card at the end of the day.