
Why hole checks matter before the batch runs away
On CNC work, a hole that looks acceptable at first glance can still fail when it is measured properly. A drill may be pulling slightly, wandering at entry, or leaving a tapered wall that only shows up when the part is assembled. In a Johannesburg job shop, that can mean a batch of plates, brackets or housings being held back for rework when the customer expected same-day dispatch.
Hole quality checks are not about slowing production down. They are about confirming that the process is still within control after the first few parts, after a tool change, and after any change in material or coolant condition. When operators build these checks into the job card, they spot trouble early and keep the machine making good parts instead of repeat scrapped ones.
What to look for in a drilled hole
Hole quality is more than diameter. The best checks look at the whole result, because a hole can be on size and still cause trouble in assembly. A fast visual and measured check should cover the basic features below.
- Diameter: confirm the hole is within tolerance across the full depth, not only at the entry.
- Roundness: look for lobing or slight oval shape, especially in harder materials.
- Straightness: check for wander, bell-mouthing or a hole that leans off axis.
- Surface finish: watch for tearing, chatter marks, built-up edge and rough walls.
- Breakthrough: inspect the exit for burrs, breakout, or a ragged edge on through-holes.
If the hole is for a dowel, bolt clearance, or a tapped follow-up operation, the finish matters just as much as the size. A poor wall finish can make tapping harder and reduce tool life in the next station. On stainless jobs near the coast, that matters even more because heat and moisture can leave a rough hole prone to staining or galling.
The fastest checks to do at the machine
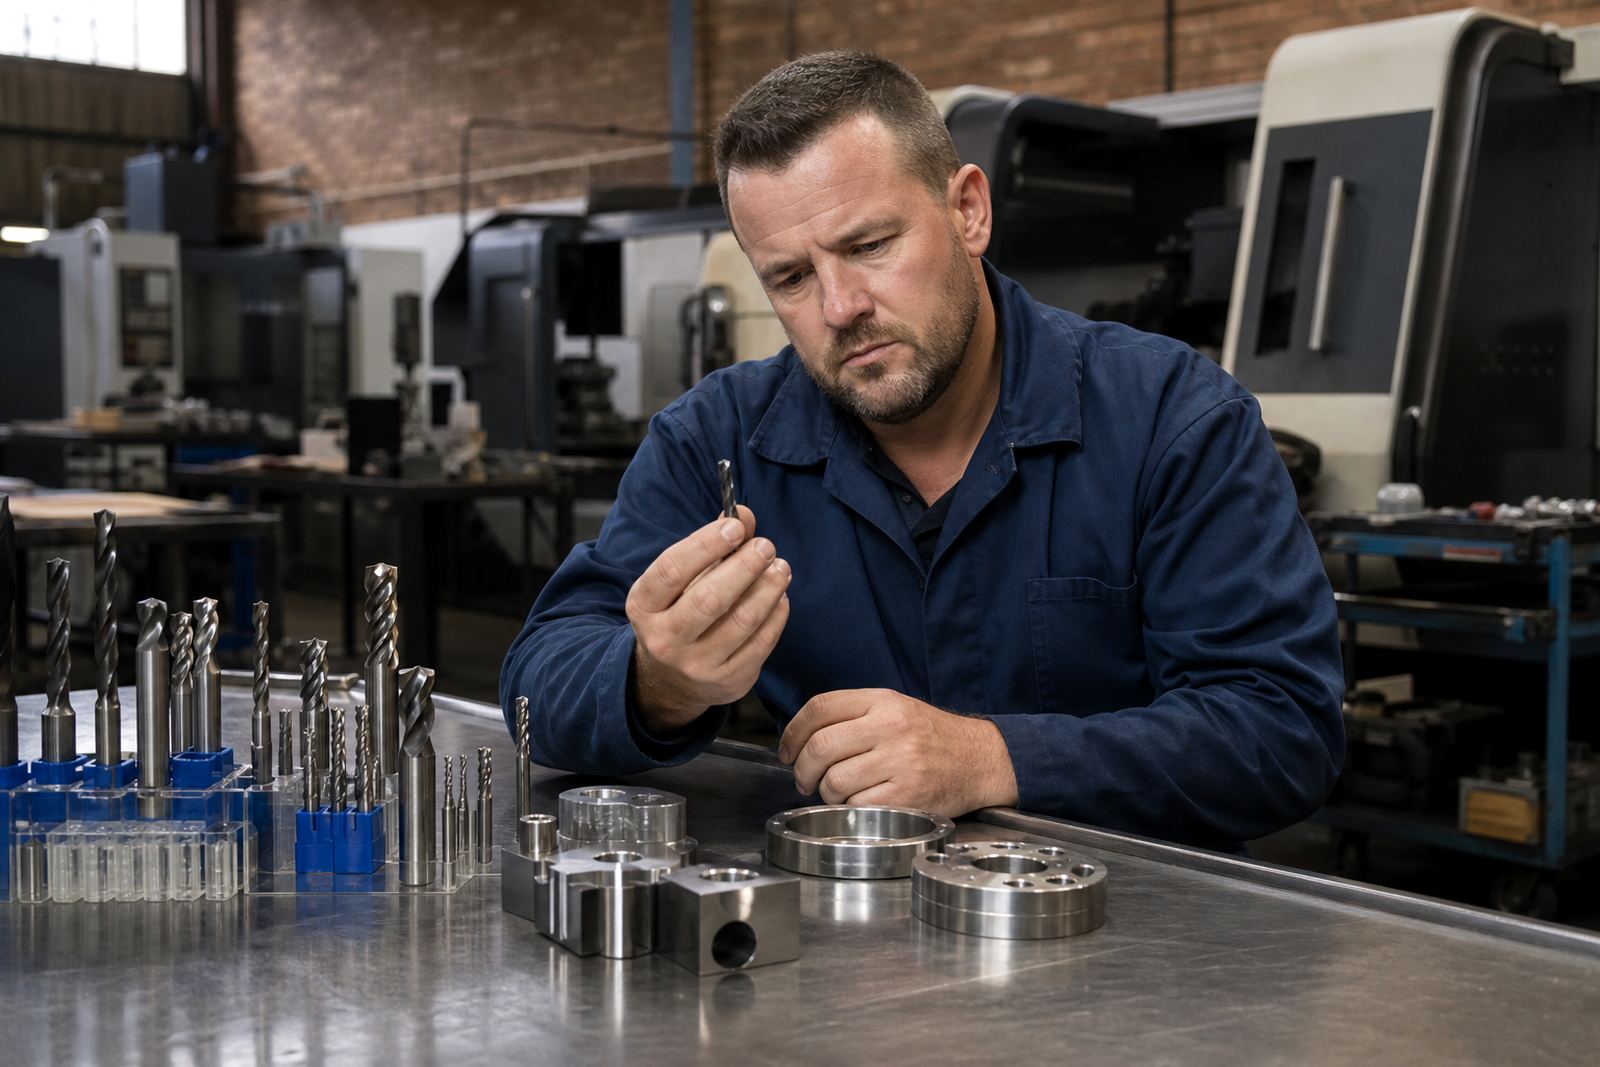
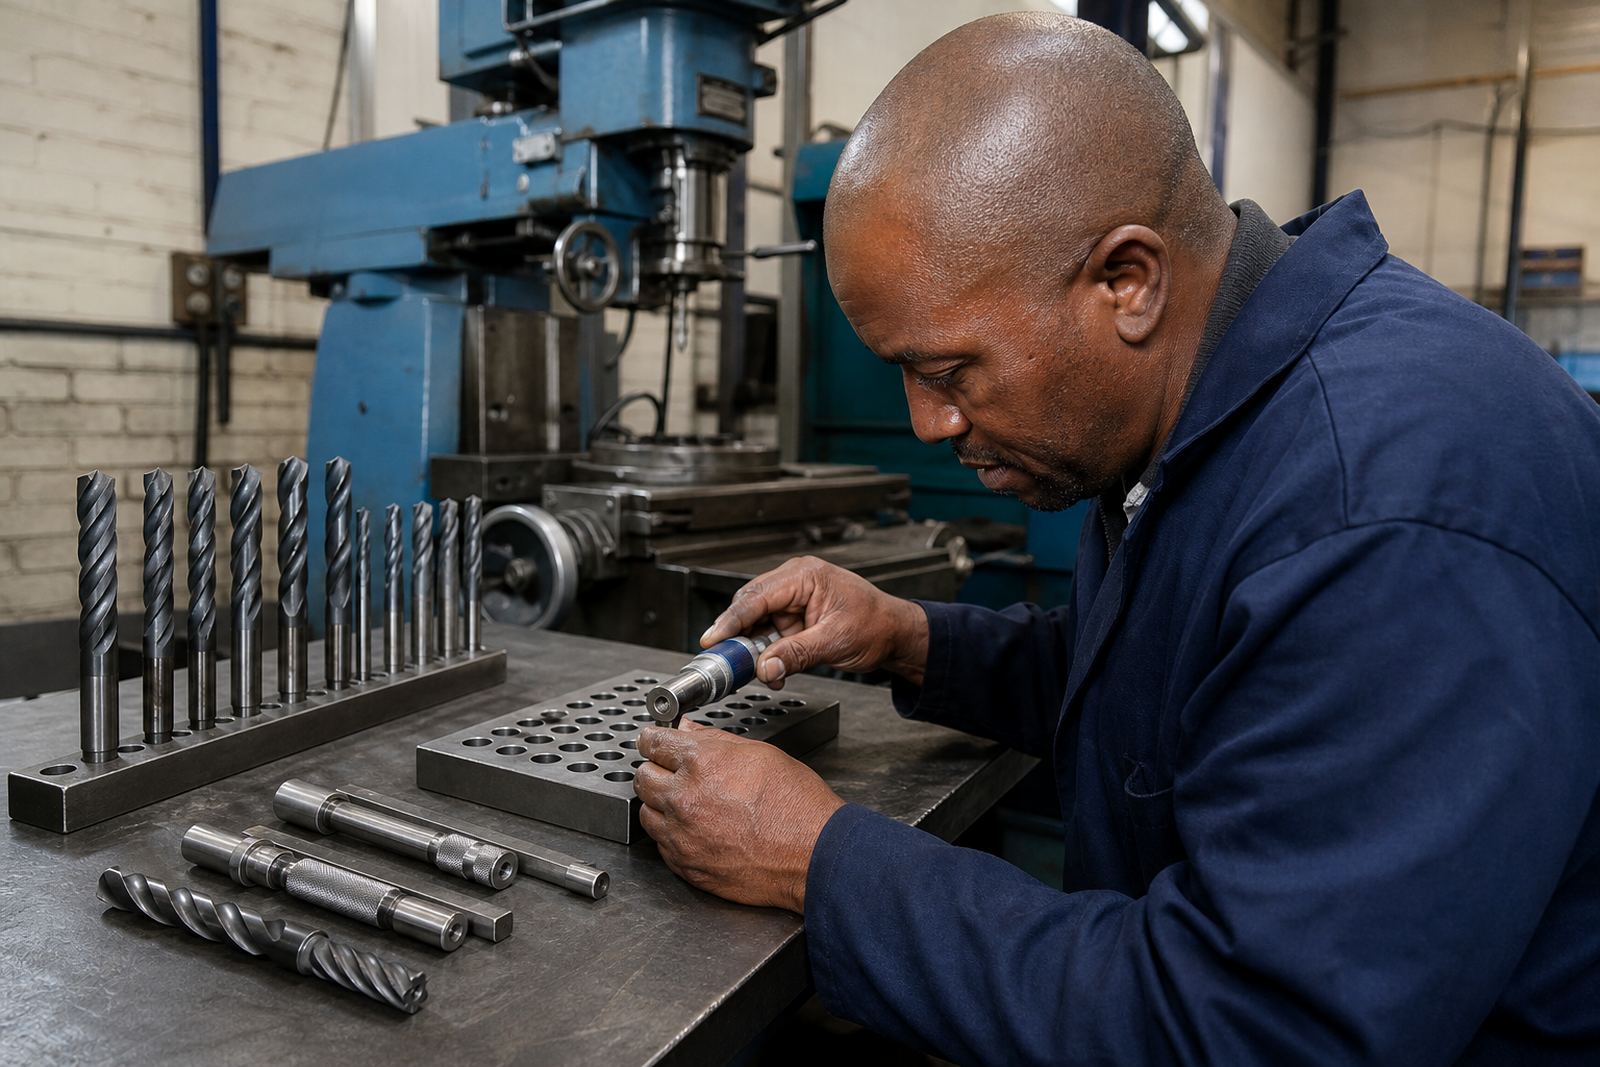
Most hole problems can be picked up with simple checks before parts move to the next stage. A gauge pin set, micrometer, calliper and visual magnifier are usually enough for a first pass. For deeper or tighter-tolerance work, a bore gauge or test indicator gives better confirmation. You do not need to inspect every hole in the same way, but you do need a repeatable routine.
Start with the first piece, then recheck after the first few parts and again after any tool change. In busy Gauteng shops, that habit is worth more than a rushed final inspection because it catches drift while the job is still in the machine.
- Check the first hole in the first part before releasing the run.
- Measure after tool change and after any machine stop.
- Inspect the hole edge for burrs before the part leaves the machine.
- Feel for chips stuck in the hole, especially on deep drilling jobs.
- Record any shift in size so the next setup is easier to repeat.
What the hole tells you about the cutting process
Hole quality is often the first sign that something in the cutting process is off. A hole drifting oversize can point to tool wear, poor chip evacuation or an unstable workholding setup. A rough internal finish can suggest the drill is rubbing instead of cutting, or that the feed is too light for the material. If the hole breaks out badly on exit, the drill may be dull, the backing support may be poor, or the feed may be too aggressive for the section thickness.
In aluminium, a shiny but slightly smeared wall can mean the cutting edge is picking up material. In mild steel, heat marks and heavy burrs often show that the speed and feed are not matched well. In tougher materials, a drill can sound fine while the hole quality slowly drops, so the inspection routine becomes the warning system. That is why process notes should include the tool, the material and the measured hole result, not just the machine number.
How to set a practical inspection routine for local production
A practical routine does not need to be complicated. It needs to be done the same way every time, whether the job is running in Wadeville, Boksburg or Cape Town. For shops dealing with load-shedding, shift changes or urgent reorders, the routine should survive interruptions and still give reliable results when production restarts.
We usually suggest a simple three-stage check: start-up, mid-run and final sample. This keeps the process lean without losing control. On a job with multiple holes, check the hardest-to-reach hole first because that is often where tool deflection shows up. If the part has a critical fit, do not trust a visual check alone. Measure it properly and keep the record with the job pack.
- Start-up: confirm hole size and entry condition on the first part.
- Mid-run: recheck after a set number of parts or after an interruption.
- Final sample: confirm the last parts match the first ones.
- Record material, tool type, speed, feed and any coolant notes.
A Germiston example from a busy CNC shop
A machining shop in Germiston was drilling a batch of mounting plates with four critical holes per part. The first parts were within size, but the operator noticed slight burrs and a cleaner finish on only one side of the hole. The team checked the drill under magnification and found early edge wear, then confirmed the coolant flow had dropped after a filter blockage. Once the tool was changed and the coolant line cleared, the next sample holes were clean and on size again.
That job could have gone the other way if the burrs were ignored. The parts were going to a local assembly line, so any rework would have delayed fitting and packaging. Simple hole checks saved the run, and the note on tool wear went into the next setup sheet. Small checks like that are often the difference between a smooth shift and a messy clean-up at the end of the day.
Keeping hole quality steady over the long run
Good hole quality is built through repeatable habits: correct tool selection, steady feeds, proper chip clearing and regular measurement. When the inspection routine is part of everyday production, it becomes easier to spot when a drill is no longer holding spec or when a material batch behaves differently. That helps with stock planning too, because tools can be replaced before they cause a batch failure.
For shops running multiple CNC centres across Johannesburg, Pretoria, Durban or Gqeberha, the goal is the same. Keep the first good hole as the standard, then check enough along the run to make sure the rest match it. If a hole starts to change, act early. It is cheaper to correct one tool or setup than to sort out a full tray of parts later.