
When the cut starts sounding different
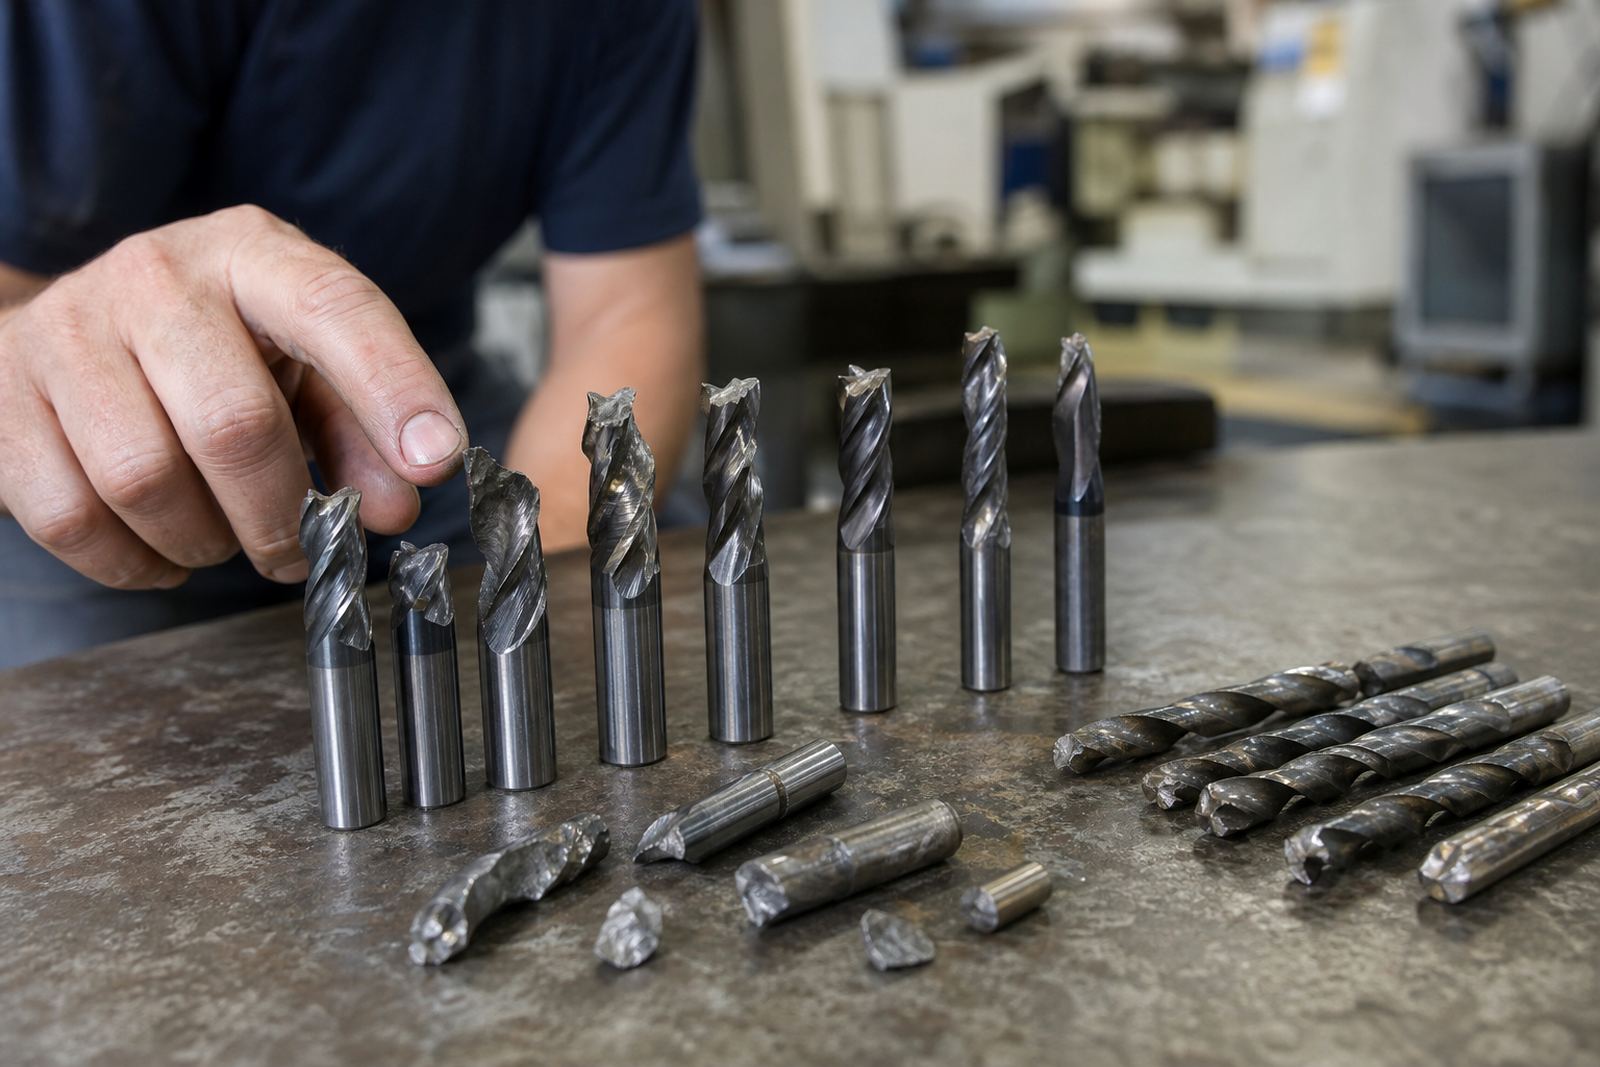
Experienced operators in Germiston, Wadeville and the wider East Rand know that a healthy tool has a fairly steady voice. When a solid carbide end mill or drill starts to squeal, chatter or leave a harsher cut than usual, tool wear is often already underway. It may still be holding size for now, but the edge is no longer doing the same work it was doing at the start of the run.
That change in sound is often the first clue on a busy floor. It can be easy to miss if the machine room is loud or if the job is running in a second op while someone is checking another machine. A shift in pitch, more vibration through the holder, or a slight increase in spindle load all point to the same thing: the tool is asking for attention.
- Listen for chatter that was not there at the start of the job
- Check for a rise in spindle load on long runs
- Watch for vibration in thin wall parts or long reach cuts
- Compare the current cut sound with a fresh tool on the same material
Finish marks that tell a clearer story
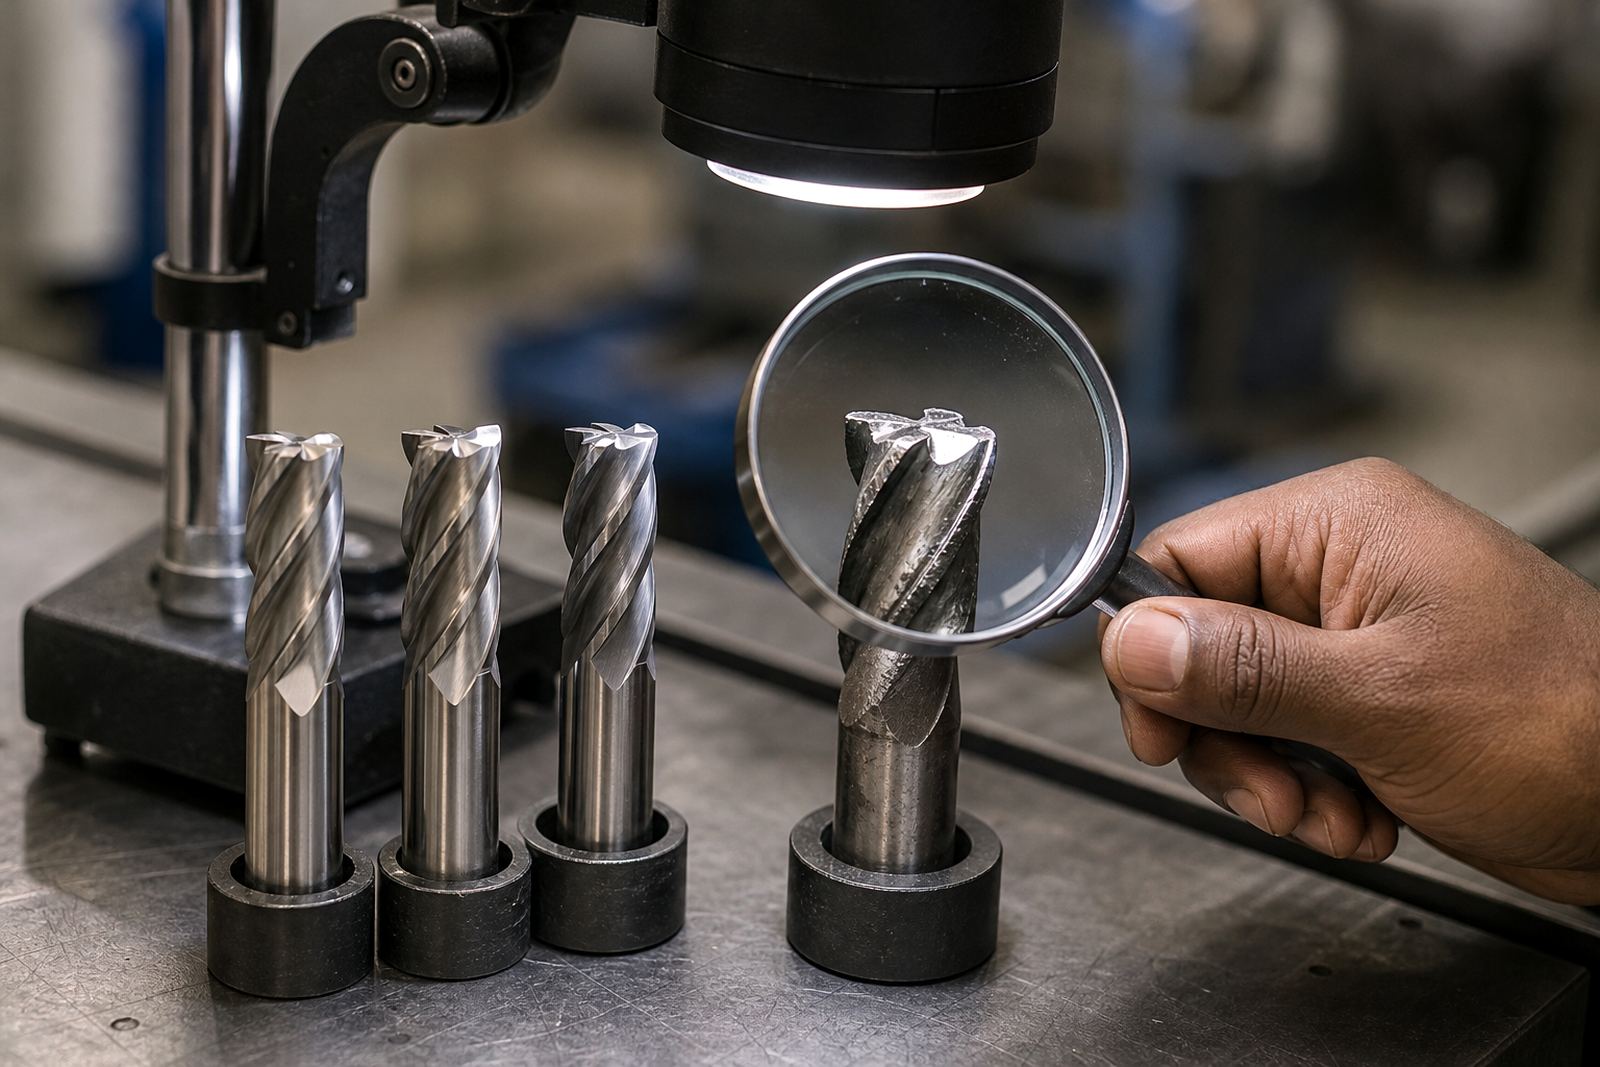
Surface finish is usually where wear shows up first. A part can still measure close to size and yet look duller, rougher or less uniform than it did earlier in the shift. In aluminium, you may see edge build up or a smeared finish. In mild steel or stainless, the tool may leave fine lines, tiny tears, or a finish that changes from one component to the next. That is a sign the edge is no longer cutting cleanly.
Shops supplying mining, general engineering and automotive work across Johannesburg, Pretoria and Boksburg often run the same program many times a day. When a good job starts needing extra deburring or a second pass to clean up the wall, the tool life is already slipping. The job may still pass inspection, but the process is drifting and small faults start compounding.
- Look for a duller finish on the same programmed feed
- Check if burrs are getting heavier at the entry or exit edge
- Watch for random scratches that were not present on earlier parts
- Compare the first part, mid-run part and last part from the same batch
Dimension drift before the part goes out of tolerance
Tool wear does not wait for a full failure before it affects accuracy. Diameter can creep, holes can open up, and walls can taper before anyone flags a bad part. A worn drill may start producing holes that are slightly oversize or out of round. A worn end mill may leave pockets with corners that do not clean up properly. If your process depends on close tolerances, even a small change in edge condition can throw the whole batch off.
This is especially important where a customer wants repeatability, not just one good part. If your team is running 100 pieces in Centurion or Cape Town and the 20th part is already drifting, the machine settings are not the only thing to check. Tool wear, chip evacuation and coolant delivery need to be part of the same conversation. On some jobs, the first warning is not a failed gauge, it is a part that keeps needing a tweak to stay in spec.
- Measure parts at set intervals, not only at the start and end
- Track hole size, wall size and flatness over the run
- Check whether offsets are being changed more often than normal
- Investigate repeated correction before it becomes scrap
Chip shape and colour can flag trouble early
Good chips are a useful sign that the tool is still cutting properly. When chips start coming off as dust, long stringers or discoloured pieces, the cutting edge may be overheating or losing its geometry. In stainless work, that can mean the edge is rubbing instead of shearing. In aluminium, it can mean the flutes are starting to clog. In cast materials, packing and recutting can shorten life very quickly if chip control is not under control.
Load-shedding in South Africa adds another layer of pressure. When a job stops and starts, temperature changes, coolant pumps pause and operators may restart a cut after an interruption. That is not always a problem, but it can make a marginal tool fail sooner. Coastal humidity in places like Durban and Gqeberha can also affect storage, coolant behaviour and corrosion on holders or tool shanks if stock is not managed properly.
- Check chip shape against the normal chip from a fresh tool
- Watch for blue, dark or burnt looking chips on metals that should cut cleanly
- Clear packed chips before they recut and damage the edge
- Review coolant flow after a power interruption or extended idle time
Why one material runs fine and the next exposes wear
Tool life is not only about hours on the cutter. It changes with material, clamping, stick-out, coolant delivery and the actual cut being made. A tool that performs well in free cutting steel may show wear quickly in a harder grade. A drill that handles shallow holes well may struggle when depth increases. That is why material matching matters so much in CNC work.
At our Wadeville base in Germiston, many shops ask for help when a tool that was fine on one batch starts failing on the next. Often the issue is not just the cutter, but the job mix. If a part moves from mild steel to stainless, or from aluminium to a more abrasive material, the same tool data may no longer suit. Tool life signs become more important when production changes without a full process review.
- Do not assume a previous cycle will suit a new material batch
- Review stick-out and holder condition before blaming the cutter
- Check whether the same tool is being used for roughing and finishing
- Match tool geometry and coating choice to the actual material being machined
A practical replacement plan beats emergency changeouts
The best time to replace a cutter is before it ruins a part. That means setting a useful life limit instead of waiting for a breakage. For some shops, that limit is based on part count. For others, it is based on measured wear, finish change or a predictable rise in spindle load. A simple tool log helps. It gives the team a record of how long a cutter lasts on a specific job, in a specific material, with a specific feed and speed.
Urgent tool supply matters too. A shop in Alberton may lose half a shift if a critical drill fails and nobody has a replacement on hand. The same goes for a production line in Pretoria or a contract job in Durban that needs standardised output across multiple machines. If you know the warning signs early, you can plan stock better and keep the line moving instead of scrambling after the failure.
- Set replacement limits for known jobs and materials
- Keep a simple log of tool life by part count or cutting time
- Hold spare sizes for high use tools that fail predictably
- Use sample tool trials when changing material or cycle time
A local example from a busy East Rand shop
A machining shop in Germiston was running repeated aluminium parts on a tight delivery window. At first the parts looked fine, then operators noticed a duller finish and more burrs on the edge. Measurements were still close, so the job kept running. By the next day, hole sizes had started to creep and the team was spending extra time cleaning each part. The issue was not a broken tool, it was a worn end mill that had been left in service too long. Once the cutter was changed earlier in the cycle, finish improved and the extra deburring dropped away.
That sort of problem is common because wear creeps in quietly. A cutter does not always fail loudly. More often it gives a few small warnings first, and the shop that notices those signs early saves time, material and frustration.