
Steel bracket work in Centurion, and what was not working
The client was a Gauteng CNC machining shop in Centurion producing steel brackets for an assembly line application. The parts were being machined on a compact CNC cell running multiple bracket variants, with the main issue showing up on the side walls and edge breaks. The parts were functional, but the finish marks were too visible and the edges were not as consistent as the client wanted for repeat production.
The brief was straightforward: improve finish quality on the vertical walls and outer edges, keep the process stable across a mixed batch, and avoid creating extra tool changes in a cell that already had a tight production rhythm. The job was being run on medium carbon steel in batch sizes of about 80 to 240 pieces per run, with a requirement to keep deburring to a minimum.
- Material: mild to medium carbon steel bracket stock
- Machine type: CNC cell with repeat fixture loading
- Problem areas: side wall finish, edge consistency, light burr formation
- Production need: stable results across repeated batches
The constraints that shaped the tooling choice
The cell had to keep moving, even during load-shedding planning and shift changes, so the tool plan needed to be practical. The shop also had to work within a fairly narrow spindle speed window because of the machine's older control setup and the way the fixture was clamping thin bracket sections. If the cut was too aggressive, the walls picked up chatter marks. If it was too light, cycle time climbed too high.
There was also a coolant and chip control issue. The brackets were producing fine, hot chips that would recut near the corner if the tool path was not set properly. The client wanted a solution that would suit day to day production, not just a one-off test cut. We kept the setup simple and focused on tool geometry, feed stability, and how the tool loaded the cut over the full side wall.
- Fixture constraint: thin sections could vibrate if the cut was too heavy
- Machine constraint: limited spindle range on the existing setup
- Process constraint: chips had to clear cleanly to avoid surface damage
- Production constraint: no long trial period or major programme changes
What we supplied for the first trial run
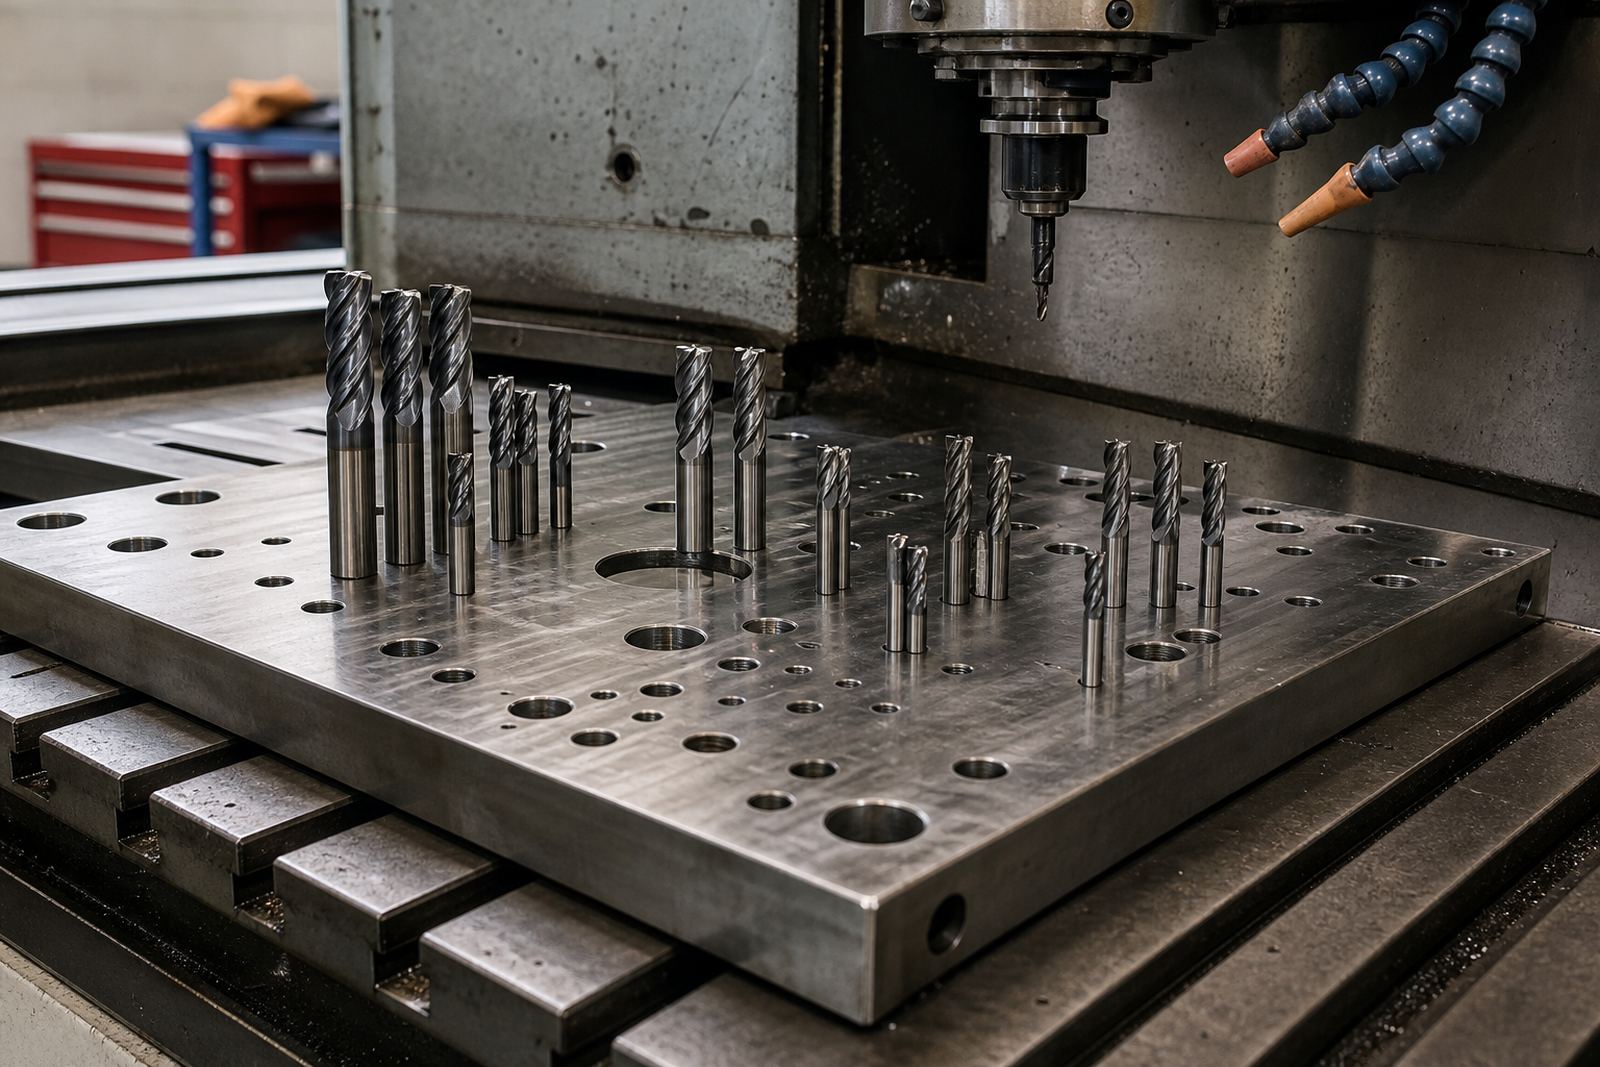
We supplied solid carbide end mills in sizes suited to the bracket geometry, along with drill recommendations for the location holes and clearance points used in the same cell. The focus was on a cutter that could hold edge quality through a repeated batch without needing excessive touch ups. For this job, we selected tools with a geometry that supported smoother side wall finish and better chip evacuation in steel.
On the technical side, Johan worked through the speed and feed settings with the client team and adjusted the cutting strategy to reduce rubbing on the wall. The trial was set up as a controlled run over one week, with the first batch used to compare surface finish and burr formation against the previous tooling. We also helped with material matching so the cutter choice fit the steel grade being used, rather than forcing a general purpose set-up.
- Solid carbide end mills for side wall finishing and contour work
- Drill recommendations matched to the bracket hole pattern
- Speed and feed advice for stable chip load
- Cutting strategy adjusted to reduce edge marking
- Trial period: 1 week to prove finish and repeatability
Setup adjustments that made the biggest difference
The biggest improvement came from matching the finishing pass to the actual rigidity of the bracket, not the theoretical machine capability. We reduced the tendency for the cutter to bite too hard at the entry point and kept the load more even through the side wall. That change alone cut the visible witness marks down on the finished faces.
We also supported the shop with tool life optimisation. Instead of pushing the tool until edge wear became obvious, the team monitored finish quality at set intervals and changed inserts of the process early enough to protect the last parts in the batch. For a CNC cell this matters, because one worn tool can spoil a whole tray of parts before anyone notices. The result was better consistency across the run, and less time spent on manual rework. It was a simple fix, but it saved time.
- Lightly adjusted entry and exit to protect the wall finish
- Reduced burrs at the corners and edge breaks
- More predictable tool wear across the batch
- Less hand finishing after machining
Results seen on the shop floor
By the end of the first production week, the client was getting a cleaner finish on the side walls and a neater edge line on the outer profile. The brackets still held the same dimensional requirements, but the visual finish was noticeably improved. In practical terms, this reduced the amount of secondary work the team had to do before sending parts forward.
The operator feedback was that the tools felt more stable in the cut, with less chatter near the corner transitions and less heat at the cutting edge. Tool life also became easier to plan, because the wear pattern was more even. For the shop manager, the main benefit was not just the finish, but the fact that the process now ran with fewer interruptions and less guesswork.
- Cleaner side wall finish on the machined brackets
- Sharper and more even edge condition
- Less manual deburring after machining
- Better repeatability across multiple batches
- Improved confidence in tool change intervals
What we would repeat on the next CNC cell
If we were doing the same job again for another Centurion CNC cell, we would start with the same approach: match the carbide geometry to the steel, keep the finishing pass light enough for the fixture, and prove the tool in a short trial before locking in full production. That approach keeps risk low and avoids wasting time on a long round of testing.
We would also keep the communication tight between sales, technical support, and operations so the shop gets the right cutter, the right advice, and the right stock when it is needed. For local CNC users in Gauteng, that matters because production schedules can shift quickly and urgent replacement tools are often needed same week. As Marius van der Merwe puts it, if the process is steady, the machine does not need heroics. Just the right tool and a clear plan.
- Start with a short trial before full release
- Use the same wall-finishing logic on similar bracket jobs
- Keep spare cutters ready for urgent replenishment
- Review wear patterns after the first run, not after failure
Key facts
| Project location | Centurion, Gauteng |
|---|---|
| Client type | CNC machining shop producing steel brackets |
| Material | Mild to medium carbon steel |
| Tools supplied | Solid carbide end mills and drill recommendations |
| Trial timeline | 1 week initial trial, then production support |
| Main outcome | Improved finish quality on side walls and edges |